Page 1 Maxis
TM
Do It Yourself Solution User Guide IEC (September 15, 2020 3:39 PM)
:
User Guide
Swivelpole’s Maxis™ Do It Yourself Solution
The Maxis™ joint is suitable for greenfield and brownfield applications and can easily be installed into new or existing
pipe to make a lowering pole. This guide applies to greenfield applications, where you make your own lowering pole
(link to DIY page once we have one).
The Maxis™ joint is available to suit DN32 [11/4”], DN40 [11/2”], DN50 [2”] and DN65 [21/2”] pipe, and is dispatched fully
assembled and ready to install, including two orange plastic inserts to protect the cable if required.
This guide is to be followed in conjunction with onsite work procedures, safety rules and regulations.
Drawings:
Copies of client drawings are available online at
swivelpole.com/maxis
Ordering:
Please email [email protected]
Copyright and Patent:
The Swivelpole™ and Maxis™ product range is protected worldwide by patents and registered
designs owned by Swivelpole Group Pty Ltd and Exemplar Products Pty Ltd.
OVERVIEW
GREENFIELD INSTALLATION
PREPARING POLE SECTIONS
Step 1
Ensure you have pipe cut to required lengths and
ready to be used with the Maxis™ joint.
Note: Optimum installed height for the Maxis™ joint
is 1100mm [43.31in] from floor level, approx 50mm
[1.97in] above the handrail.
INSTALLING THE POLE BASE
Step 2
Mount junction box to pole base.
Install the pole base onto guardrail stanchion using
appropriate mounting brackets (mounting brackets
available from Swivelpole
TM
).
Ensure the pole base extends 50mm [1.97in] above
the handrail.
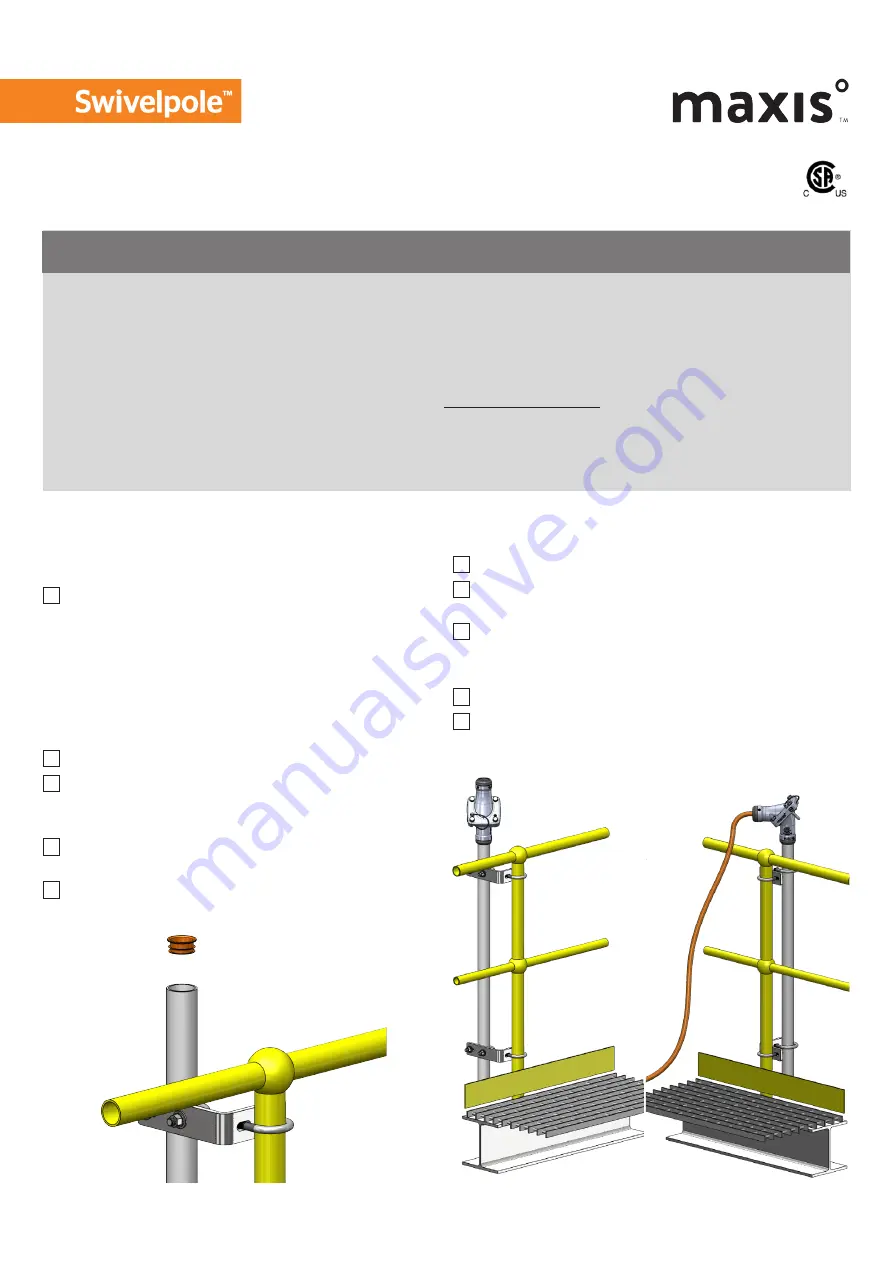
Fit orange plastic insert into the cut end of the pole
base. (Fig 1)
INSTALLING THE MAXIS
TM
JOINT
Step 3
Position the Maxis
TM
joint onto the pole base. (Fig 2)
Adjust the Maxis
TM
joint to desired direction and
tighten the bottom grub screws firmly.
The cable can be fed through Maxis
TM
joint to
junction box (cable management bracket available
from Swivelpole
TM
).
Loosen the four bolts by one full turn only.
Swivel the Maxis
TM
joint to lowered position. (Fig 3)
Readjust direction if necessary.
Fig 2
Fig 3
Fig 1


