4
Connectors
Cameras from SVS-Vistek feature a combined I/O and power supply connector
(Hirose) and a data connector.
4.1
GigE IP Setup
Your GigEVision camera needs a working network connection. Make sure the
camera is attached to the network and is powered on. Make sure everything is
plugged in properly and that the firewall settings are not blocking the connection to
the camera or SVCapture.
4.1.1
Automatic camera detection
By default, SVS-Vistek GigE Vision cameras are trying to acquire a valid network
address via LLA or DHCP from the network.
INFO
Please make sure to have valid network protocol with
enabled on your host computer.
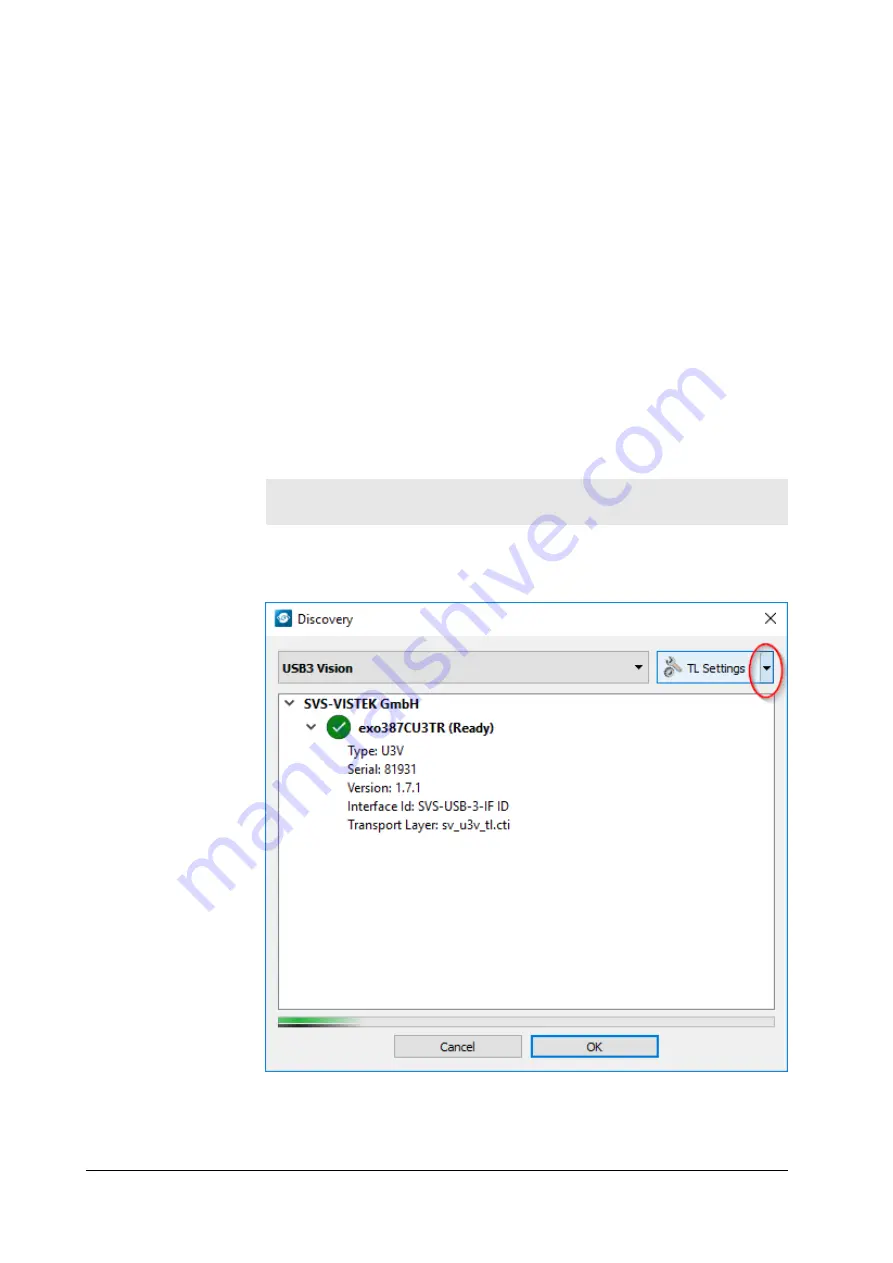
For finding and accessing your camera, start SVCapture on your computer. As
soon as the camera has booted, all SVS-Vistek GigE cameras are showing up in
the main window. Select the camera you want to connect to and press ok.
If you want to change automatic address or go back to automatic mode, configure
the IP settings manually. You will find this in the drop down marked above.
4 Connectors
19
Summary of Contents for SHR 10GigE
Page 1: ...Manual SHR 10GigE shr411 shr461 ...
Page 18: ...Fig 3 3 Firmware update 3 Getting started 18 ...
Page 30: ...Fig 5 4 Original image Fig 5 5 Horizontal flip 5 Feature description 30 ...
Page 37: ...5 Feature description 37 ...
Page 75: ...Fig 5 31 Example 25 PWM load Fig 5 32 Example 50 PWM load 5 Feature description 75 ...
Page 76: ...Fig 5 33 Example 75 PWM load The PWM module Fig 5 34 The PWM module 5 Feature description 76 ...
Page 92: ...6 2 shr411XGE 6 Dimensions 92 ...
Page 93: ...6 Dimensions 93 ...
Page 94: ...6 Dimensions 94 ...
Page 95: ...6 3 shr461XGE 6 Dimensions 95 ...
Page 96: ...6 Dimensions 96 ...
Page 97: ...6 Dimensions 97 ...


