109
3.
Click the
Browse
button to open a windows dialog. Select your map and click
the
Open
button. The drawing will be stored in the Server.
4.
Enter a name for the map in the
Map
Name
field.
5.
Click
Save
. Once successfully added, an E-map node will appear.
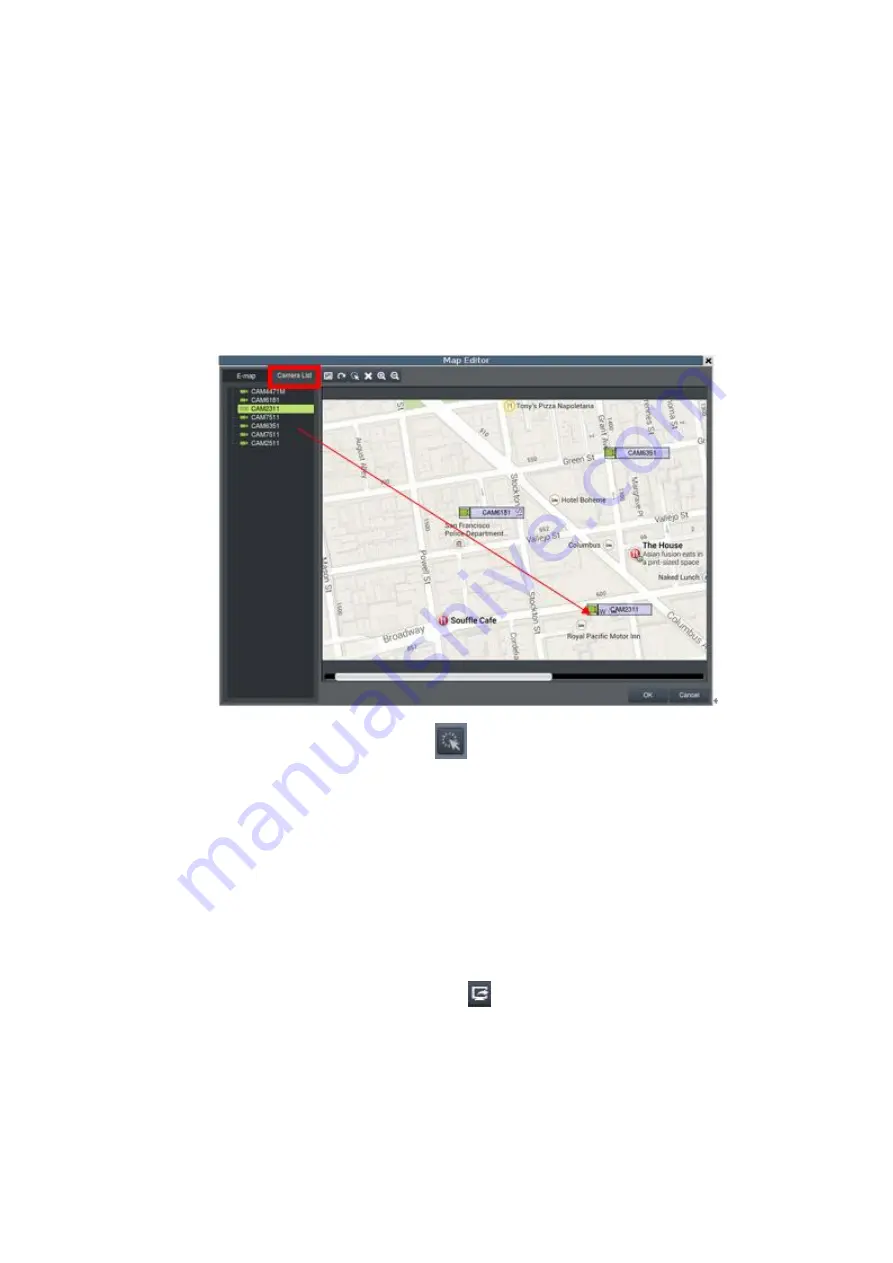
6.
Go to the Camera List tab to drag and drop the cameras to the desired
location on the E-map to complete the E-map creation.
For camera relocation, click
to select the cameras and then the selected
camera can be moved.
Go to
VMS Setup > System > Map Editor
in the setup to add another E-map or
any further setups.
Secondary Display
Click the
Secondary Display
button
in the button area when you have the
second monitor, the view will be sent to the secondary display.
Summary of Contents for NVR7312(2U)
Page 1: ...NVR7300 Series User Manual Release 1 2...
Page 72: ...72 1st JBOD 2nd JBOD Last JBOD...
Page 92: ...92...
Page 98: ...98 2 Click the Apply button to apply the schedule and OK to exit the dialog...
Page 100: ...100...
Page 127: ...127...
Page 249: ...249 Jumps to the next segment The play speed can be adjusted from 1x to 8x...
Page 286: ...286 12 5 5 FTP Setting It allows you to configure FTP server settings...
Page 336: ...336 2 Accept the terms in the license agreement and click Next...