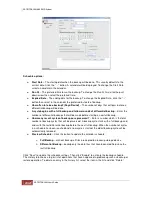

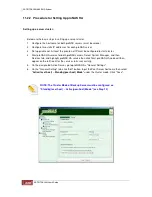
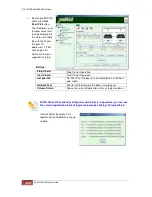
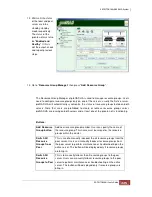
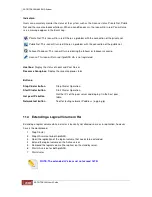
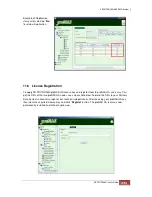


14. Input a resource group name. You may check "Auto Switch back" or "Auto Bring In" then click
“Save”.
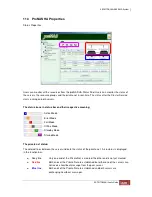
Resource Group Properties:
Resource Name
A unique name for identifying the resource group
Active Server
The active server of the resource group
Backup Server
The peer server is automatically display
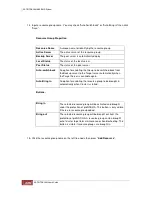
Local Status
The status of the local server
Peer Status
The status of the peer server
Auto-switch back
An option for enabling the Group to be switched back from
the Backup server to the Target server automatically when
the Target Server is available again.
Auto Bring In
An option for enabling the resource group to be brought in
automatically when Cluster is started.
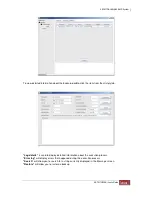
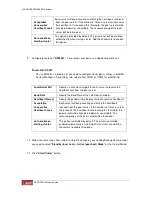
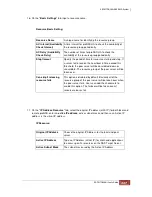
Buttons:
Bring in
The selected resource group will be activated and brought
under the protection of proNAS HA. This button is only visible
if there are resource group added.
Bring out
The selected resource group will be brought out from the
protection of proNAS HA. A resource group can be brought
out of cluster to perform maintenance or troubleshooting. This
button is visible if resource groups are brought in.
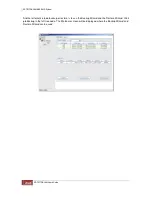
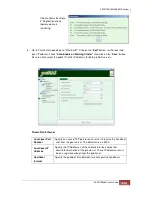
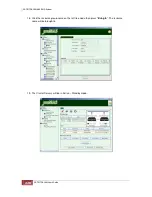
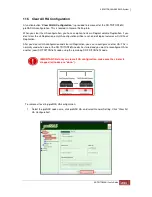
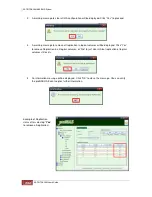
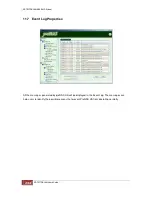
15. Click the resource group name on the left tree node then press "
Add Resource
".
Summary of Contents for TRITON 16Ni
Page 1: ...SurfRAID TRITON 16Ni User s Guide Revision 1 1...
Page 40: ......
Page 41: ......
Page 42: ......
Page 43: ......
Page 67: ...5 3 7 Stop Volume Check Use this option to stop current running Check Volume Set process...
Page 111: ...4 Verify the new LV size...
Page 135: ...4 The iSCSI logical volume capacity is extended...
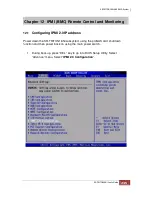
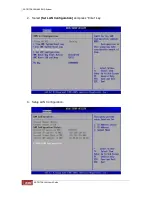
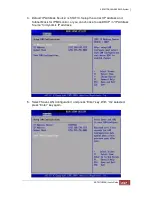
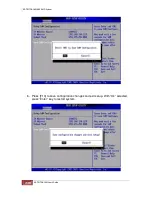
Page 236: ...2 Select Set LAN Configuration and press Enter key 3 Setup LAN Configuration...
Page 247: ......