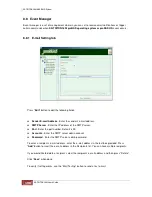

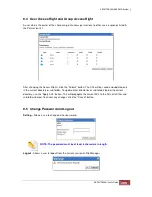
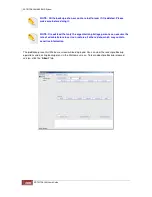
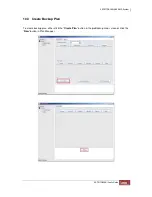

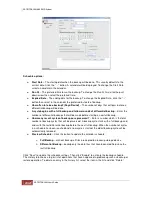
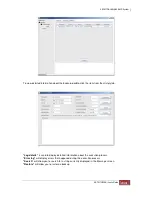

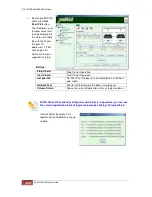
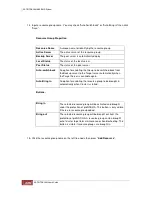

Schedule options:
♦
Start Date
– The starting date when the backup will be done. This usually defaults to the
current date. Click the “…” button. A calendar will be displayed. To change the Start Date,
select a new date in the calendar.
♦
Run At
– The preferred time to run the backup. To change the Run At time, click the pull-
down arrow then select the preferred time.
♦
Expired Date
– The ending date for the backup. To change the Expired Date, click the “…”
button then select in the calendar the preferred last date of backup.
♦
How often to take a backup? (Days/Round)
– The number of days that will pass before a
differential backup will be done.
♦
A cycle begins with a full backup and follows rounds of differential backup
– Enter the
number of differential backups that will be made before starting a new full backup.
♦
How many recent cycles of backups are preserved?
– Enter a number which is the total
number of backup cycles that will be preserved. A backup cycle starts with a full backup and
ends with the last differential backup before the next full backup. When the number of cycles
in a schedule has been reached and a new cycle is started, the oldest backup cycle will be
automatically removed.
♦
Preview Schedule
– Click this button to update the calendar schedule.
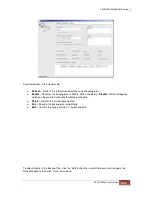
Full Backup
– archival backup; all files are copied to a backup storage device
Differential Backup
– backup only the data files that have been modified since the
last full backup
Click “Save” to update the schedule settings. Then click “Enable” to activate the backup schedule.
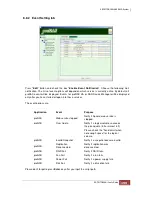
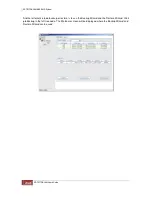
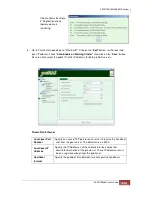
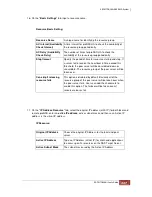
The History tab shows a log or list of operations that have happened in proBackup such as backup or
restore operation. To delete an entry in the history list, select the item in the list and click “Delete”.
Summary of Contents for TRITON 16Ni
Page 1: ...SurfRAID TRITON 16Ni User s Guide Revision 1 1...
Page 40: ......
Page 41: ......
Page 42: ......
Page 43: ......
Page 67: ...5 3 7 Stop Volume Check Use this option to stop current running Check Volume Set process...
Page 111: ...4 Verify the new LV size...
Page 135: ...4 The iSCSI logical volume capacity is extended...
Page 236: ...2 Select Set LAN Configuration and press Enter key 3 Setup LAN Configuration...
Page 247: ......