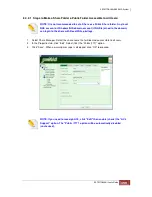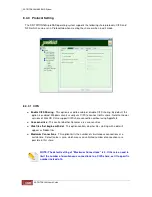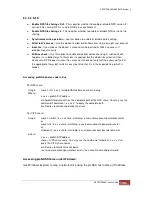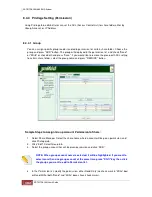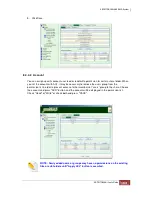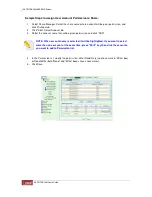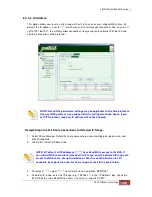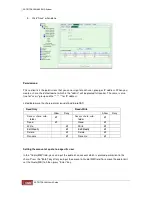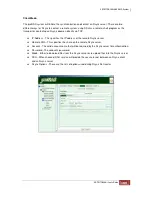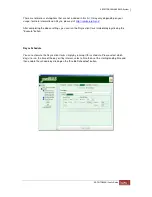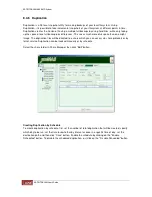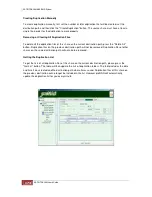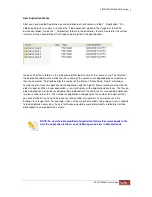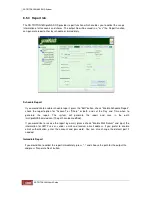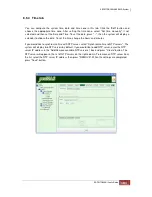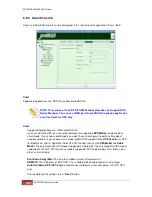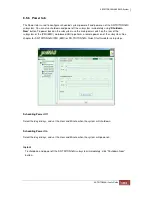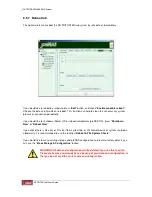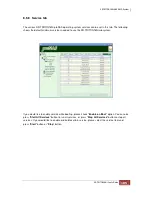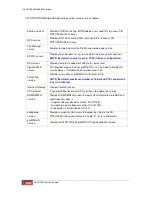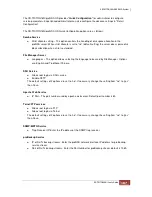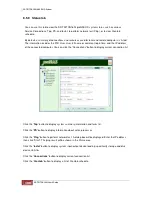
The Duplication tab information is shown below.
Execute Day:
Specifies whether the scheduled task is to run on this day.
Execute Time:
Once
- Specifies the time of the day the scheduled task create the
snapshot.
Every
- Specifies how often the scheduled task is to be repeated. You can
also select the starting time and the ending time.
Destination Path:
This will be the location where your duplication files will be saved. The
default path will be the path of the share itself. You can change the path to
the other shares except home and public. Duplication will follow the ACL
settings of the destination share. If you set the destination of your home
duplication to a public share then anybody can access that folders, so
please be warned!
Snapshot
Numbers:
Specifies the total number of snapshots that can be created. The maximum
total number of duplication a share can have is 256.
NOTE: The destination space must be larger than the source. proNAS
operating system will check only the destination volume size, not the share
usage. Be sure that the available space on the destination is reasonably big
enough to accommodate any changes in the source. Home duplication is a
special case. If the destination path of the home folder is set to the home itself,
its duplication files will only be accessible via NFS or telnet service.
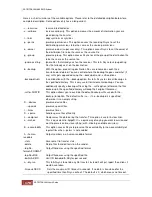
Create Duplication:
This button allows you to create duplication manually.
Delete All:
This button will remove all the duplication files of this share
on the current destination path.
Enable/Disable
Scheduled:
This button allows you to enable or disable a scheduled
task.
Get List:
This button allows you to get the lists of duplications on the
current destination path.
Summary of Contents for TRITON 16Ni
Page 1: ...SurfRAID TRITON 16Ni User s Guide Revision 1 1...
Page 40: ......
Page 41: ......
Page 42: ......
Page 43: ......
Page 67: ...5 3 7 Stop Volume Check Use this option to stop current running Check Volume Set process...
Page 111: ...4 Verify the new LV size...
Page 135: ...4 The iSCSI logical volume capacity is extended...
Page 236: ...2 Select Set LAN Configuration and press Enter key 3 Setup LAN Configuration...
Page 247: ......

