37
Chapter 2: Maintenance and Component Installation
System Cooling
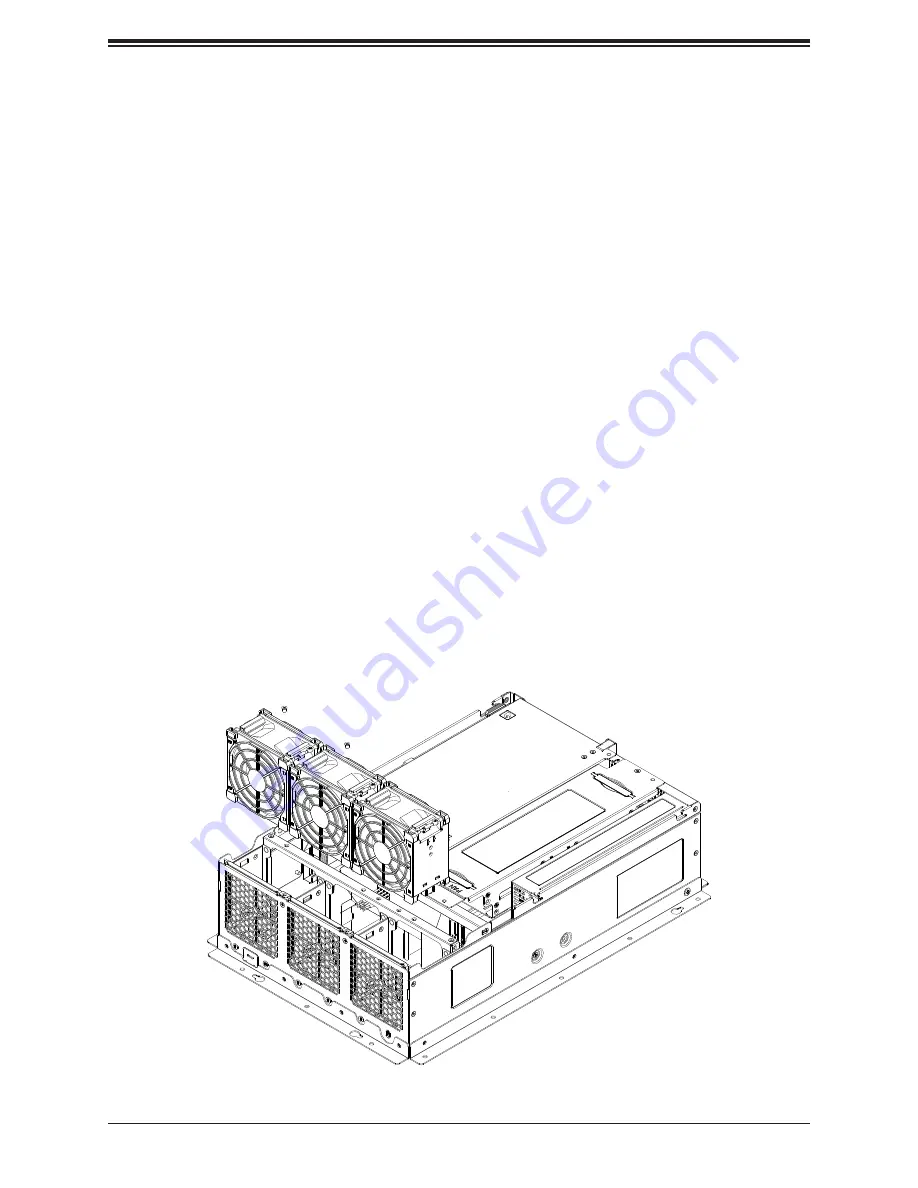
The system includes three replaceable 8-cm x 3.8-cm fans and shrouds to direct air flow.
Caution
: Since the system continues to draw a small amount of power in standby mode (and
fans are off), there is a potential for overheating if the system is idle for a long time. In this
situation, there is no warning from the overheat/fan fail LED.
Installing or Replacing the System Fan
1. Power down the system and remove the AC power cord and the chassis cover.
2. Remove the fan power cables from motherboard.
3. Remove the screws securing the fan brace to the chassis and save them.
4. Lift the fan brace containing the system fans out of the chassis.
5. If replacing a fan, remove the old fan from the fan brace and install the new fan.
6. Align the new fan with the holes in the fan brace.
7. Secure the fan to the fan brace using the screws previously set aside.
8. Screw the fan brace on to the chassis using the screws previously set aside.
9. Reconnect the fan cable to motherboard.
10. Reinstall the chassis top cover, reconnect the AC power cord and power up the
system.
Figure 2-9. System Fans


