FatTwin F619P2/3-FT User's Manual
33
Installing and Replacing 3.5" Hard Drives
Replacing a Fixed 3.5" Hard Drive
1. Remove the node from the chassis and remove the cover from the node as described
previously in this section.
2. Push the release tab on the tool-less hard drive tray to remove the tray and drive
together from the floor of the node chassis. Then lift the hard drive and tray up and out
of the node chassis.
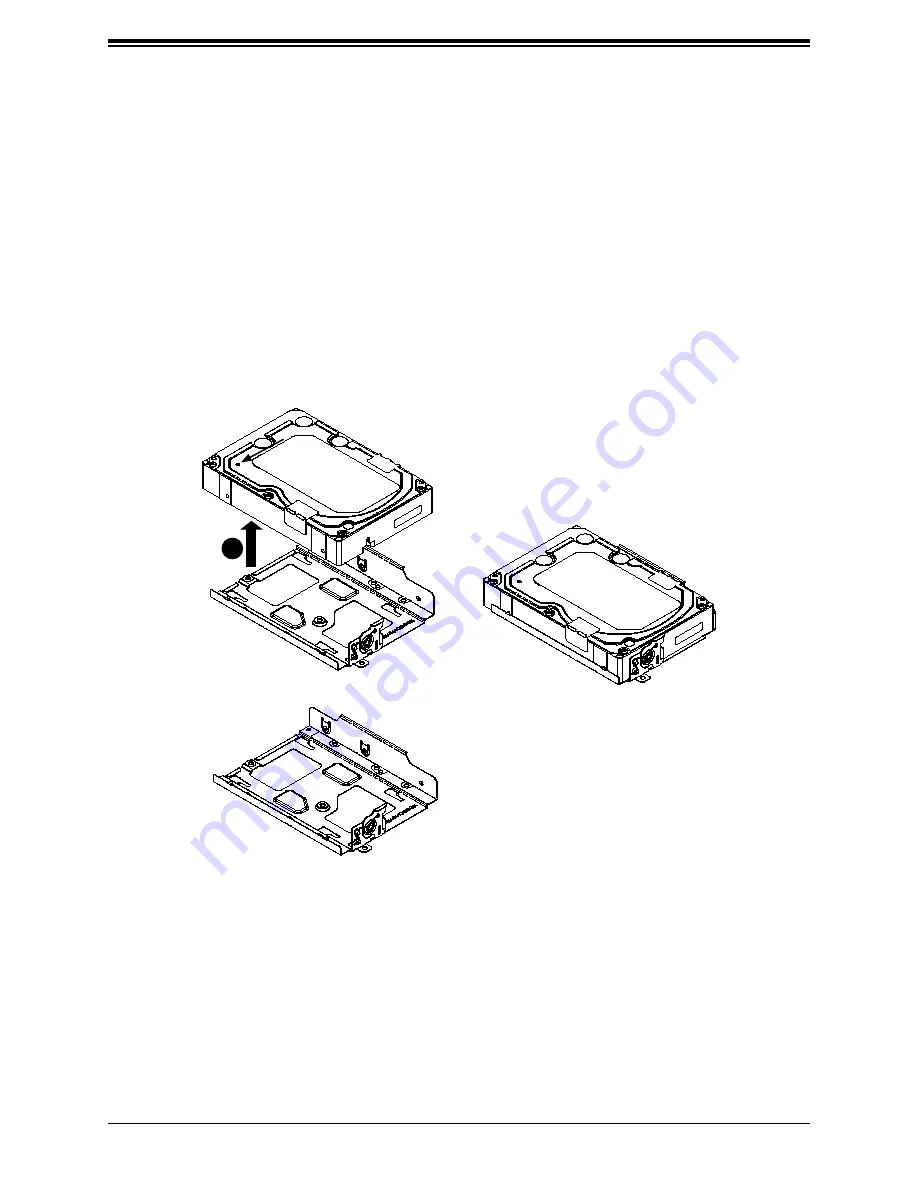
3. To remove the 3.5” drive from the drive tray, without using any tools, gently grip the
drive on the tray side that is higher, and separate the drive from the tray. There will be
small clips that hold the drive into the lower side of the tray, so remove the drive from
the higher side of the tray first, and then separate the drive from the tray.
Figure 3-8 Installing 3.5" Hard Drives in the Node
3.5" HDD
3
4. To replace a new drive into the tray, reverse the above procedure by inserting the drive
into the tray, at the lower side first, aligning the small clips on the tray into the small
slots in the drive. Then seat the drive into the higher side of the tray until it clicks in
place.
5.
Without using any tools, replace the drive and tray back onto the floor of the node
chassis, and gently slide the tray forward until it seats itself with a click of the release
tab.


