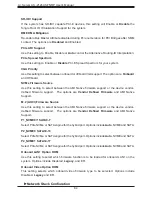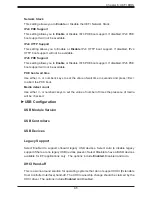
Chapter 6: UEFI BIOS
71
Chapter 6
UEFI BIOS
6.1 Introduction
This chapter describes the AMI BIOS setup utility for the H12DSU-iN and provides the
instructions on navigating the setup screens. The BIOS is stored in a Flash EEPROM and
can be updated.
Note:
Due to periodic changes to the BIOS, some settings may have been added or deleted
since this manual was published.
Starting BIOS Setup Utility
To enter the AMI BIOS setup utility screens, press the <Delete> key while the system is
booting up. (There are a few cases when other keys are used, such as <F1>, <F2>, etc.)
The BIOS screens have three main frames. The large left frame displays options can be
configured by the user. These are blue. When an option is selected, it is highlighted in white.
Settings printed in
Bold
are the default values.
In the left frame, a "
"
indicates a submenu. Highlighting such an item and pressing the
<Enter> key opens the list of settings in that submenu.
The upper right frame displays helpful information for the user. The AMI BIOS has default
informational messages built in. The manufacturer retains the option to include, omit, or
change any of these informational messages.
The lower right frame lists navigational methods. The AMI BIOS setup utility uses a key-based
navigation system called
hot keys
. Most of these hot keys can be used at any time during
setup navigation. These keys include <F3>, <F4>, <Enter>, <ESC>, arrow keys, etc.
Some system parameters may be changed.
6.2 Main Setup
When running the AMI BIOS setup utility, it starts with the Main screen. You can always return
to it by selecting the Main
tab on the top of the screen.

