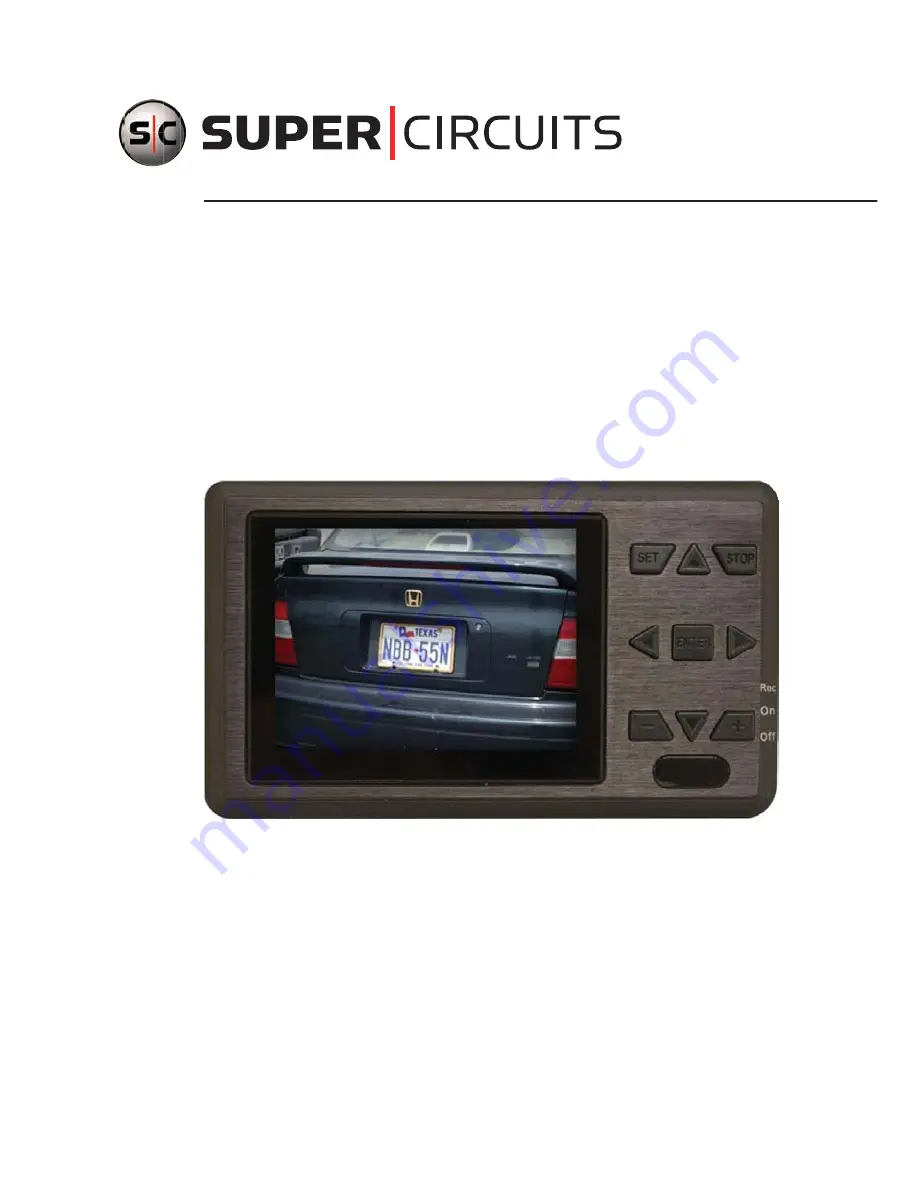
Advanced Micro DVR
User Manual
Product: MDVR18
Please read this manual before using your recorder, and always follow the
instructions for safety and proper use. Save this manual for future reference.
LE_MDVR18_RM
Page 1: ...nced Micro DVR User Manual Product MDVR18 Please read this manual before using your recorder and always follow the instructions for safety and proper use Save this manual for future reference LE_MDVR1...
Page 2: ...use of non Supercircuits authorized accessories The recording transmission or broadcast of any person s voice without their consent or a court order is strictly prohibited by law Supercircuits makes n...
Page 3: ...ry 7 2 5 1 Charging the battery 8 2 6 Using an SD card 8 SECTION 3 Operation 9 3 1 Turn ON OFF the DVR 9 3 2 DVR Main Menu function modes 9 3 2 1 Navigating menus 10 3 2 2 Setup 10 3 2 3 Adjust volume...
Page 4: ...ring audio playback 26 8 2 In the file list 26 SECTION 9 Photo Browsing 27 9 1 Opening a photo 27 9 2 Browse photos 27 9 3 Photo zoom 28 SECTION 10 Slide Show Audio 29 SECTION 11 Photo Editing 30 11 1...
Page 5: ...ion batteries cables carrying case remote control power supply headphones easy to use instructions and a 1 year warranty Features include Manual scheduled auto and motion triggered recording modes MP...
Page 6: ...s sensed the DVR will produce five 0 5 second vibration alerts Also an empty battery icon will appear on the display and any video audio file being recorded will be saved Power off the DVR will produc...
Page 7: ...h to Off to power off the device Power On Slide the switch to On to power on the device Record Slide the switch to Rec to record 1 4 What s in the box Your DVR includes MDVR18 recorder unit Earbud sty...
Page 8: ...4 www supercircuits com SECTION 1 FEATURES Documentation CD USB cable with type A and mini B plugs Remote control Pouch Wire control remote power on switch with control cable 1 5 Accessories...
Page 9: ...jack into the A V IN DC5V Out or A V IN DC12V Out connector whichever applies on the side of the DVR A V IN DC5V Out A V IN DC12V Out 2 2 DVR connection to a monitor To connect the DVR to a monitor o...
Page 10: ...nector into the USB port on the DVR The PC connection can be used for transferring files to and from the DVR and defragmenting the DVR HDD through a Windows operating system NOTE When it is necessary...
Page 11: ...disabled Use wire control switch to power on and power off the system and to record 2 4 1 Wire control switch and cables assembly The wire control and cables with the A V power cable provided can be u...
Page 12: ...ge the battery 1 Plug the power adapter into the DC IN jack on the side of the MDVR18 then plug it into an AC outlet When the battery is charging the Pwr LED will be orange 2 When the Pwr LED extingui...
Page 13: ...DVR or remote control to power on the DVR Turn OFF Press the Power ON OFF button again to power off the DVR A system shutdown message will appear 3 2 DVR Main Menu function modes Main Menu function mo...
Page 14: ...tion In this document both are represented by the symbol u To open the main menu Press SET UP on the DVR or the SETUP button on remote control To enter submenu Press u to enter the submenu To highligh...
Page 15: ...SECTION 3 OPERATION 2 Use the q and p keys to highlight an item in the menu 3 Press the u or u key to enter the submenu 4 Use the q and p keys to select the item in the submenu you want to select 5 P...
Page 16: ...7 To exit Setup press the SETUP or press g after returning to the previous menu 3 2 3 Adjust volume While playing video audio or slide audio you can adjust the volume with the volume adjust buttons T...
Page 17: ...User Manual SECTION 3 OPERATION 13 Volume Level 3 2 4 REC button 1 When the DVR is at the Main Menu start recording immediately by pressing the REC button 2 To stop recording press STOP The DVR will r...
Page 18: ...configuration of your DVR Recorder Settings and Program Settings Navigation and option selection in these menus is performed with the navigation keys u q p and t Confirm the option you select by press...
Page 19: ...once or play repeatedly Slide Show Time Sets the pause duration on each image in a slide show to 3 5 7 or 10 seconds Slide Show Audio Select this option to play audio tracks during a slide show Slide...
Page 20: ...o Recording To set recording start and end times refer to the Operations section for a description of how to use the navigation keys to make these selections NOTE The Setting parameter must be ON for...
Page 21: ...ns section for a description of how to use the navigation keys to make these selections Firmware Upgrade Firmware upgrades are performed by copying firmware to an SD card inserting it into the SD card...
Page 22: ...default value Storage Select SD for the SD memory card or HD internal hard drive for the location of recorded files For SD storage the SD card must be installed in the DVR Storage Information Selectin...
Page 23: ...n keys to select Video Files then press the u key to confirm your selection In the File List screen use the q and p keys to highlight the file you want to play then press u Select File Play Selected F...
Page 24: ...use video playback at normal speed press u 5 4 Slow motion playback To slow video playback to 1 2 speed press u to pause the player then press u To return to normal speed press u To playback at 1 4 sp...
Page 25: ...is paused press u again Image files are stored in the MyRecord folder under photo mode with the filename format V mmddsss where mmdd is the month and day and sss is an index number 000 999 For exampl...
Page 26: ...the navigation keys and the u key to change the option settings Refer to the Operations section for a description of how to change these selections 6 2 In the file list To change the configuration opt...
Page 27: ...to select Audio Files then press u to confirm your selection In the File List screen use the q and p keys to highlight the file you want to play then press u Press g to stop and return to the previous...
Page 28: ...dio file press the t key to move to an earlier time in the file The elapsed time counter will decrement during reverse playback Press the u key to stop at that spot and resume normal playback 7 4 Paus...
Page 29: ...25 Advanced Micro DVR User Manual SECTION 7 AUDIO PLAYBACK 7 5 Stop playback Press g to stop playback of the audio file and return to the file list...
Page 30: ...during audio playback press SETUP Use the navigation keys and the u key to change the option settings Refer to the Operations section for a description of how to change these selections 8 2 In the fil...
Page 31: ...keys to select Photo Files then press u 2 In the File List screen use the q and p keys to highlight the file you want to display then press u to display the photo Press g to return to the previous sc...
Page 32: ...SECTION 9 PHOTO BROWSING 9 3 Photo zoom To zoom in on the photo you are viewing by 2X press u When the photo is enlarged use the p q t and u keys to view a different portion of the photo To zoom from...
Page 33: ...ttings Highlight Start Slide Show then press u to start a Slide Show Audio To use this feature image files and audio files must be stored in the same folder Selecting SETUP in the file list screen Sel...
Page 34: ...hange the photo configuration options while viewing photos press SETUP Use the navigation keys and the u key to change the option settings 11 2 In the file list To change the configuration options whi...
Page 35: ...files can be up to 3 hours in length If there is a conflict in the recording time setting or if file storage space is insufficient a red forbidden icon appears warning that the recording will not be...
Page 36: ...same file Stop recording Press g or REC to stop recording and go to standby mode 12 2 Video Line In REC 1 To setup your recorder for video line in recording go to the Main Menu use the navigation but...
Page 37: ...d standby mode and the message Press REC to start Record will appear for 5 seconds If REC is not pressed while the message is present press REC to return to standby mode then press REC again to start...
Page 38: ...00 240 V 50 60 AC Dimensions Weight 3 72 x 2 20 x 0 96 in 94 5 x 56 x 24 4 mm 3 53 oz 100 g without battery 4 97 oz 140 8 g with battery Computer interface USB 2 0 mini B connector Computer system req...
Page 39: ...t MPEG1 layer 3 version 1 2 2 5 stereo Yes MPEG1 layer 3 version 1 2 2 5 joint stereo Yes WMA 64 320 kbps Yes WAV Yes Video files support WMA and WAV audio formats only Table 4 Supported image file fo...