Zigbee Smart Outlet
70110005
Important:
Read All Instructions Prior to Installation
Product Data
3. Zigbee Network Pairing through Coordinator or Hub
(
Added
to
a
Zigbee
Network
)
4. TouchLink
to
a
Zigbee
Remote
Zigbee
Remote
Step 1
: Remove the device from previous zigbee network if it has already been added to
,
otherwise
pairing
will
fail
.
Please
refer
to
the
part
"
Factory
Reset Manually
".
Step 2
: From your ZigBee Controller or hub interface, choose to add lighting device and enter Pairing mode as
instructed by the controller.
Step 3
: Short press “Program” button 5 times continuously to set the device to network pairing mode, LED
indicator will flash 3 times slowly then flash fast.
Step 1
: Short press “Prog” button 4 times (Or re-power on the device 4 times) to start Touchlink commissioning,
180S timeout. Once timeout, repeat the operation.
Step 4
: There shall be indication
on the remote for successful link
and LED indicator of the outlet will
flash twice.
Function introduction
Zigbee profile
Device ID
Radio Frequency
Input Voltage
Max. Load
Number of AC Output
AC Output Load
Number of USB Port
USB Output Voltage
USB Output Load
Operating temperature
Relative humidity
Dimensions
0x0104(ZHA)
0x000A(Plug-in Unit)
2.4GHz
AC200-240V, 50/60Hz
Total 16A
4
Max. 16A/output, total 16A for 4 outputs
2
5VDC
Max. 2.1A/output, total 3.1A for 2 outputs
0 to 40°C
8% to 80%
350×68×40(mm)
1.Plug the smart outlet into AC power source.
2.This ZigBee device is a wireless receiver that communicates with a variety of ZigBee compatible
systems. This receiver receives and is controlled by wireless radio signals from the compatible ZigBee
system.
•
DO NOT install with power applied to device.
•
DO NOT expose the device to moisture.
Safety & Warnings
Operation
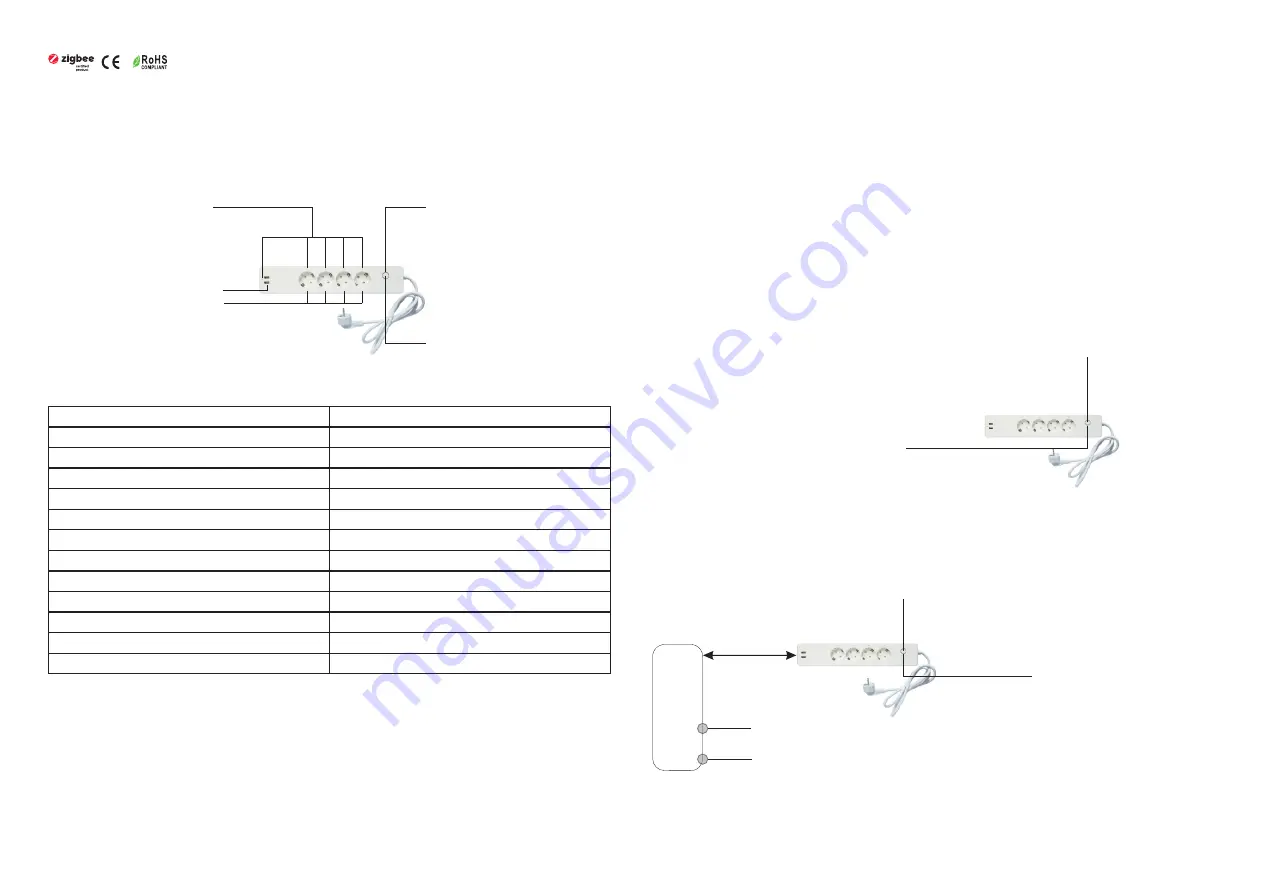
Load status indicator, turns
off when corresponding load
is turned off, turns on when
corresponding load is turned on
Step 4
: LED indicators will flash 6 times to
indicate successful pairing. LED indicator will
maintain the status before entering into network
pairing mode if pairing fails.
< 10cm
Step 3
: Set the remote or touch panel into Touchlink commissioning,
please refer to corresponding remote or touch panel manual to learn how
.
2 USB ports, 1 endpoint
4 AC outputs, 4 endpoints
•
ZigBee smart outlet based on latest ZigBee 3.0 protocol
•
Enables to control ON/OFF of the load, supports max. 16 scenes
•
ZigBee device that supports Touchlink commissioning
•
Supports find and bind mode to bind a ZigBee remote
•
Waterproof grade: IP20
•
Zigbee
device
with
5
endpoints, With 4 AC outputs and 2 USB ports
•
The 4 AC outputs can be controlled individually
•
Supports zigbee green power and can bind max. 20 zigbee green power switches
•
Supports
over
current
protection
and
power
metering, enables to report power consumption to gateway
Note: 1) Directly TouchLink (both not added to a ZigBee network), each device can link with 1 remote.
2) TouchLink after both added to a ZigBee network, each device can link with max. 30 remotes.
3) To control by both gateway and remote, add remote and device to network first then TouchLink.
4) After TouchLink, the device can be controlled by the linked remotes.
Program button, for network
pairing, touchlink, factory reset,
short press to turn on/off loads
Zigbee indicator, stay off when
power on the outlet, turns on
after added to a Zigbee hub,
indicates when program the
outlet (network pairing,
touchlink, factory reset)
Step 2
: Bring the remote or touch panel within 10cm of the lighting device
.


