38
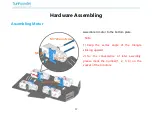
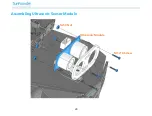
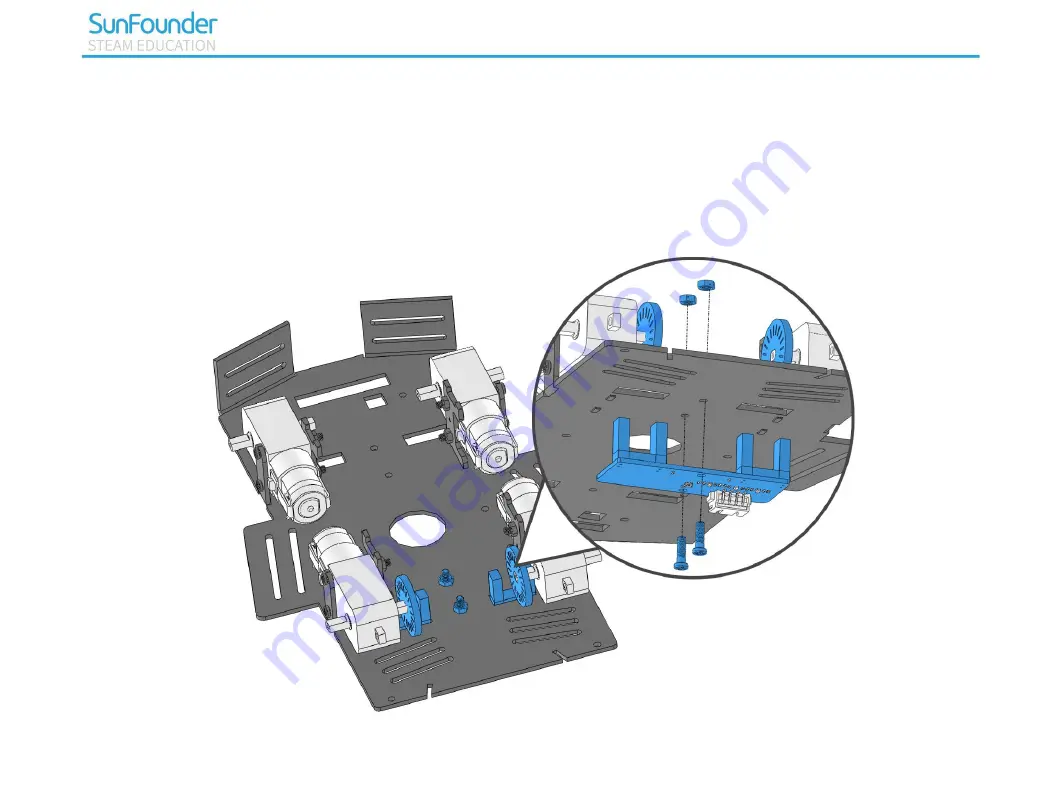
Photo-interrupter Encoding Disk
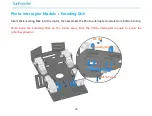
Insert the Encoding Disk into the motor, then assemble the Photo-interrupter module from bottom to top.
Note: Keep the Encoding Disk on the motor away from the Photo-interrupter module to avoid the
potential abrasion.
M3*8 Screw
Encoding Disk
M3 Nut
Photo-interrupter Module
Summary of Contents for PiCar-4WD
Page 6: ...1 Component List Structural Plates ...
Page 7: ...2 Mechanical Parts ...
Page 8: ...3 Electronic Parts ...
Page 9: ...4 Other Parts ...
Page 10: ...5 ...
Page 20: ...15 Step 9 Set country region language and time zone and then click next again ...
Page 21: ...16 Step 10 Input the new password of Raspberry Pi and click Next ...
Page 22: ...17 Step 11 Connect the Raspberry Pi to WIFI and click Next ...
Page 23: ...18 Step 12 Retrieve update ...
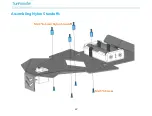
Page 47: ...42 Assembling Nylon Standoffs M2 5 6 Screw M2 5 8 6mm Nylon Standoff ...
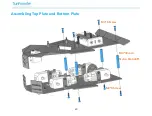
Page 48: ...43 Assembling Top Plate and Bottom Plate M3 8 Screw M3 30mm Nylon Standoff M3 8 Screw ...
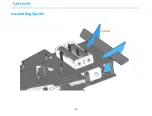
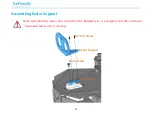
Page 49: ...44 Assembling Spoiler Spoiler ...
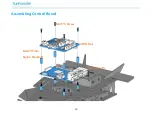
Page 50: ...45 Assembling Control Board 4WD Hat M2 5 11mm Nylon Standoff M2 5 6 Screw Raspberry Pi ...
Page 53: ...48 Assembling Ultrasonic Sensor Module M1 4 8 Screw M1 4 Nut Ultrasonic Module ...
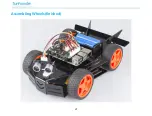
Page 54: ...49 Assembling Wheels finished ...
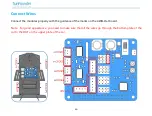
Page 56: ...51 Interface Introduction ...
Page 63: ...58 ...
Page 67: ...62 Python Example Code Analysis Program Structure Framework ...


