CHAPTER
TWO
INSTALL THE RASPBERRY PI OS
In this chapter, we firstly learn to write the Raspberry Pi OS to your Micro SD card. You can check the complete tutorial
on the official website of the Raspberry Pi:
https://projects.raspberrypi.org/en/projects/raspberry-pi-setting-up
Note:
If you have already done it, you can skip this chapter.
Required Components
1 * Micro SD Card
1 * Personal Computer
1 * Micro SD Card Reader
Step 1
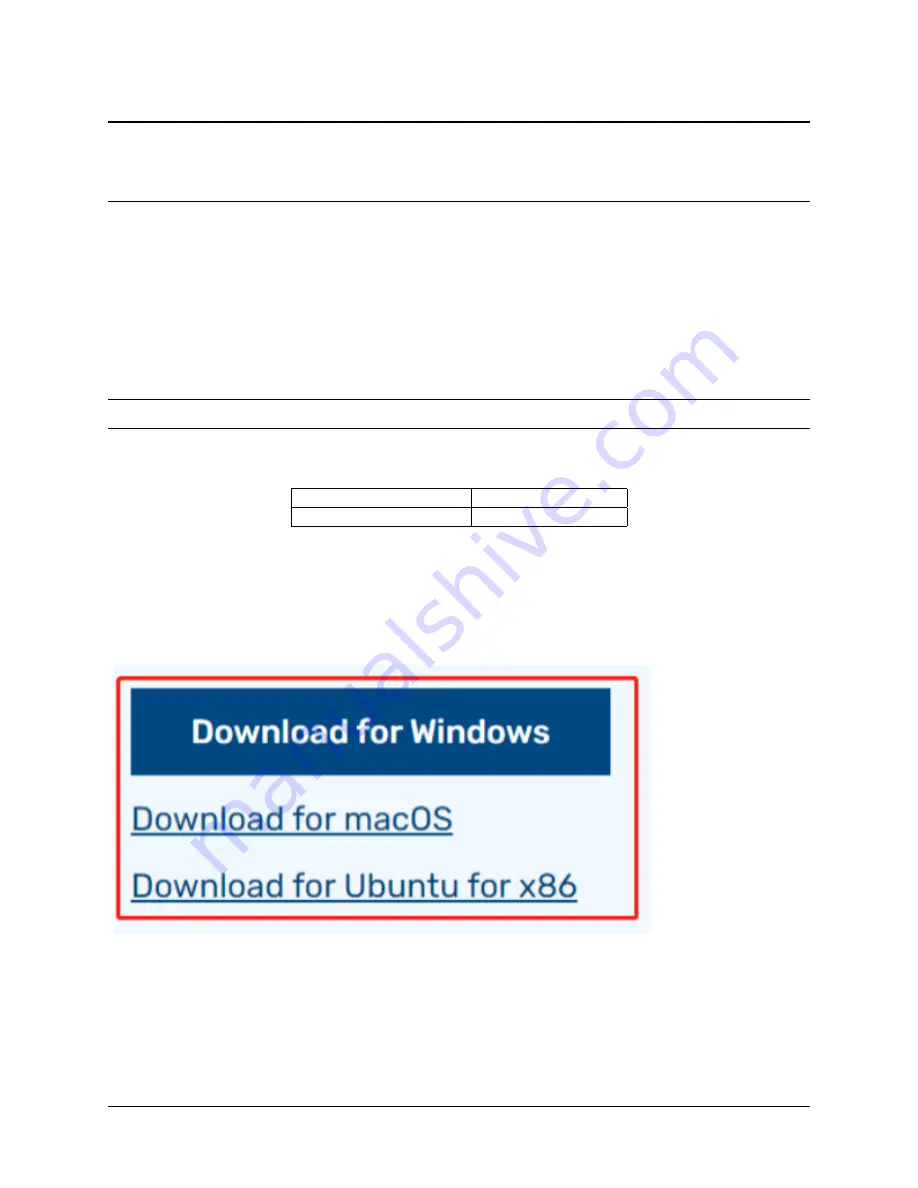
Raspberry Pi have developed a graphical SD card writing tool that works on Mac OS, Ubuntu 18.04 and Windows,
and is the easiest option for most users as it will download the image and install it automatically to the SD card.
Visit the download page:
https://www.raspberrypi.org/software/
. Click on the link for the Raspberry Pi Imager that
matches your operating system, when the download finishes, click it to launch the installer.
Step 2
When you launch the installer, your operating system may try to block you from running it. For example, on Windows
I receive the following message:
If this pops up, click on
More info
and then
Run anyway
, then follow the instructions to install the Raspberry Pi
Imager.
5
Summary of Contents for 7-inch Touch Screen
Page 1: ...7 inch Touch Screen www sunfounder com Jul 15 2021 ...
Page 2: ......
Page 4: ...ii ...
Page 6: ...7 inch Touch Screen 2 CONTENTS ...
Page 7: ...3 ...
Page 8: ...7 inch Touch Screen CHAPTER ONE PACKING LIST 4 Chapter 1 Packing List ...
Page 14: ...7 inch Touch Screen 10 Chapter 2 Install the Raspberry Pi OS ...
Page 15: ...CHAPTER THREE QUICK GUIDE 1 Plug the HDMI cable 2 Wire up the USB cable 11 ...
Page 17: ...7 inch Touch Screen 13 ...
Page 18: ...7 inch Touch Screen 14 Chapter 3 Quick Guide ...
Page 19: ...CHAPTER FOUR BUTTON PORT 15 ...
Page 20: ...7 inch Touch Screen 16 Chapter 4 Button Port ...
Page 23: ...CHAPTER SIX ON SCREEN SETTINGS 19 ...
Page 24: ...7 inch Touch Screen 6 1 Menu Item Descriptions 20 Chapter 6 On Screen Settings ...
Page 36: ...7 inch Touch Screen 32 Chapter 8 Product Features ...


