Please read these instructions carefully and retain for future reference.
Artista
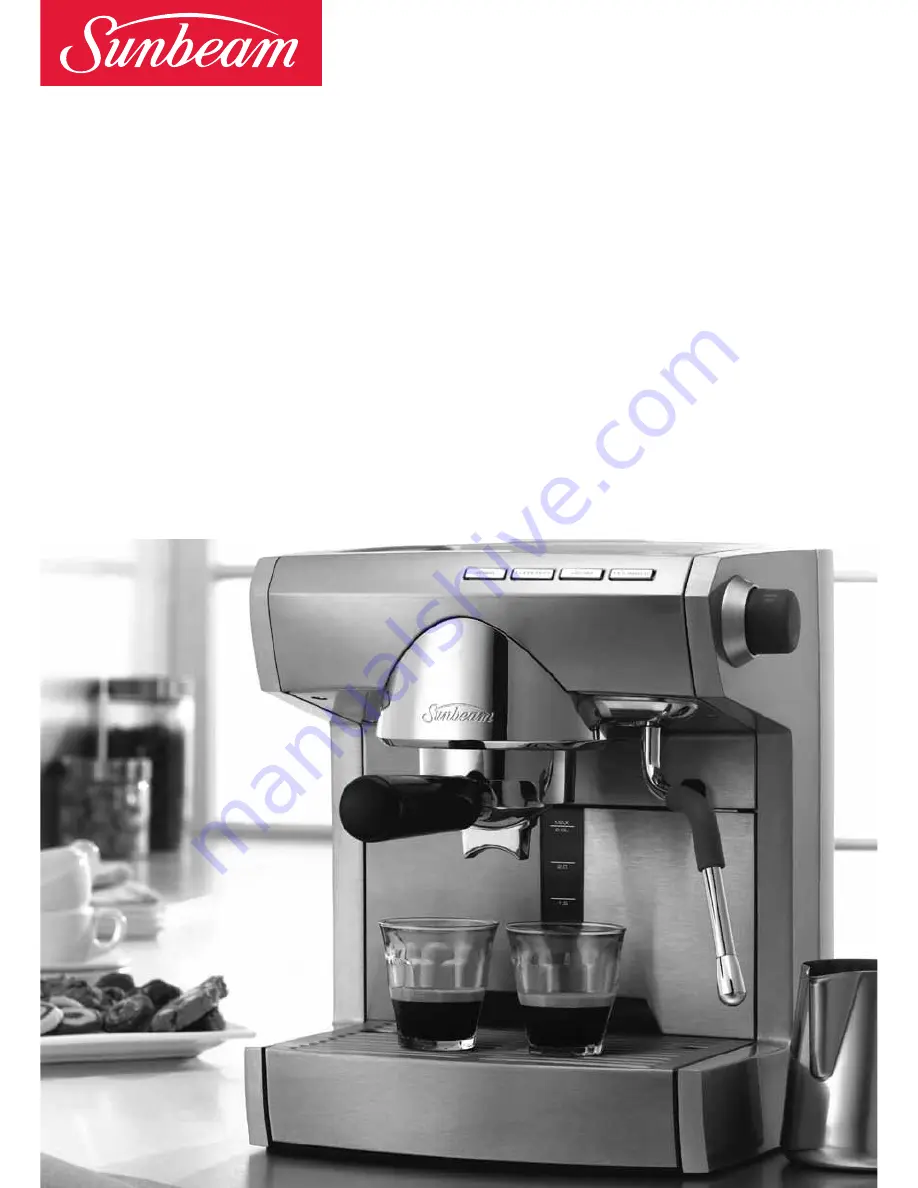
Pump espresso machine with stainless steel thermoblock
Instruction Booklet
EM5900
Page 1: ...Please read these instructions carefully and retain for future reference Artista Pump espresso machine with stainless steel thermoblock Instruction Booklet EM5900...
Page 2: ......
Page 3: ...Using the control panel 7 Reference guide to using your espresso machine 10 Preparing your espresso machine before use 15 Guide to the perfect espresso 16 Guide to milk texturing 18 Using the hot wate...
Page 4: ...e is not in use and before cleaning Do not use your appliance with an extension cord unless this cord has been checked and tested by a qualified technician or service person Always use your appliance...
Page 5: ...rs and controls the thermoblock heating system to achieve the precise temperature required for each task whether you are extracting espresso texturing milk or brewing tea Designed and engineered to la...
Page 6: ...s and phenolic filter handle Extra cup height clearance Additional clearance between the filter handle and the drip tray is designed to suit taller cups Water level indicator The water level indicator...
Page 7: ...ot water The commercial 3600 ball joint allows the steam wand to be moved into the ideal position Removable drip tray and grill The large capacity die cast metal drip tray is lined with plastic preven...
Page 8: ...It is a gradual increase of water pressure pre soaking the coffee cake before full water pressure is applied This in turn delivers greater body and sweetness to the espresso Crema System The specially...
Page 9: ...he espresso pour Once the espresso machine is switched on and heated so the machine is in ready mode see above the coffee maker is able to use the espresso coffee operation The coffee maker simply nee...
Page 10: ...ting system You will be able to use the steam while it is heating up but this is not advised as the steam will be wetter than if the machine is fully heated up Once the espresso machine is heated to t...
Page 11: ...ton Note When the coffee maker has activated the hot water function the light behind the HOT WATER button will show a constant white light and the light behind the COFFEE and STEAM buttons will go off...
Page 12: ...For example Fill the water reservoir 1 2 3 4 5 with cold tap water Each time you see these numbers please refer back to the diagrams 1 2 3 8 Preparing the espresso machine 4 5 6 Double filter basket S...
Page 13: ...under both pouring spouts Press the COFFEE button and allow the water to run through Press button again to stop Select appropriate filter and place into group handle Hold group handle under group head...
Page 14: ...emove group handle by turning to the left Discard the used coffee grinds Press the STEAM button to activate steam mode Purge the steam wand by turning dial anti clockwise Turn off steam by turning dia...
Page 15: ...am hot water wand over the drip tray Close the steam by turning dial clockwise Wipe steam nozzle and wand with damp cloth and purge a small amount of steam Press the HOT WATER button to activate hot w...
Page 16: ...r Insert thinner end of cleaning pin into the single hole in the base of the filter Wrap steam wand with damp cloth and turn steam on for 10 seconds Insert thicker end of cleaning pin into the hole in...
Page 17: ...ting up When the green light behind the POWER button stops flashing and turns to a constant red light this indicates that the espresso machine is heated and ready to use The lights behind the COFFEE S...
Page 18: ...the group handle onto the group head 19 20 Then without having made a coffee remove the group handle 23 and inspect the top of the tamped coffee it should have only a slight indent from the shower sc...
Page 19: ...through the group head as this will wash out any old or used coffee grinds stuck to the underside of the group head Simply press the COFFEE button and allow some water to run through Press button aga...
Page 20: ...urged close the steam by turning the steam and hot water control dial clockwise 27 4 Swing the steam wand to the side of the espresso machine 28 5 Place the steam wand into the milk so that the tip of...
Page 21: ...ups and glasses brewing teas preparing long blacks hot chocolates and filling coffee plungers When using the hot water function the espresso machine needs to be in hot water mode so the red light behi...
Page 22: ...st so that the crema is maintained 190mL cup hot water to taste single or double espresso MACCHIATO Macchiato Italian for to stain or mark Traditionally served as a standard espresso with a dash of mi...
Page 23: ...third froth dusted with chocolate CAFFE MOCHA Made in a similar way to a cappuccino but with the addition of drinking chocolate Simply stir the chocolate into the espresso prior to adding the steamed...
Page 24: ...group head of any old coffee grinds cycle water through and wipe the group head and around the inside rim with a damp cloth Should the holes in the filter baskets become clogged with coffee grinds use...
Page 25: ...h swing the steam wand over the drip tray and turn the steam on for approximately 10 seconds 41 With the cloth still on the steam wand leave to sit for about 5 minutes and you will find that after thi...
Page 26: ...spoons of vinegar and replace the reservoir 2 Should the group handle be attached to the group head remove it rinse thoroughly under running water and set aside 3 Using a screwdriver unscrew the brewi...
Page 27: ...ean water and replace the reservoir 14 Press the COFFEE button and allow the entire water reservoir to cycle through the group head Press button again to stop Note Depending on the size of the contain...
Page 28: ...beeps See chart below to determine what setting your machine is programmed to Note The lights behind the STEAM and HOT WATER buttons will start flashing 5 Within 30 seconds press and release one of th...
Page 29: ...e chart below to determine what setting your machine is programmed to Note The lights behind the COFFEE and HOT WATER buttons will start flashing 5 Within 30 seconds press and release one of the flash...
Page 30: ...nce of beeps See chart below to determine what setting your machine is programmed to Advanced Programming Options continued Note The lights behind the COFFEE and STEAM buttons will start flashing 5 Wi...
Page 31: ...control panel ie the power outlet should be ON but the espresso machine will be OFF 2 Press and hold down the POWER button for 3 seconds 3 Release the POWER button Note This resets ALL the program set...
Page 32: ...d back of the unit to ensure it is correctly positioned Steam and hot water control dial Ensure the steam and hot water control left open dial is in the off position Group filter may be blocked See De...
Page 33: ...ffee is too cold Cups filter basket and Pre heat cups filters and group handle group handle are cold See Guide to the perfect espresso pg 16 If making a cappuccino or latte Ensure that milk is heated...
Page 34: ...through the machine before making another coffee Coffee pour is too slow as a Increase the coarseness of your result of fine grind coffee grind Pump makes an unusually No water in reservoir Fill the...
Page 35: ...guarantees that cannot be excluded under the Australian Consumer Law and under the New Zealand Consumer Guarantees Act In Australia you are entitled to a replacement or refund for a major failure and...
Page 36: ...r call 0800 786 232 Artista is a trademark of Sunbeam Corporation Made in China Due to minor changes in design or otherwise the product may differ from the one shown in this leaflet Copyright Sunbeam...