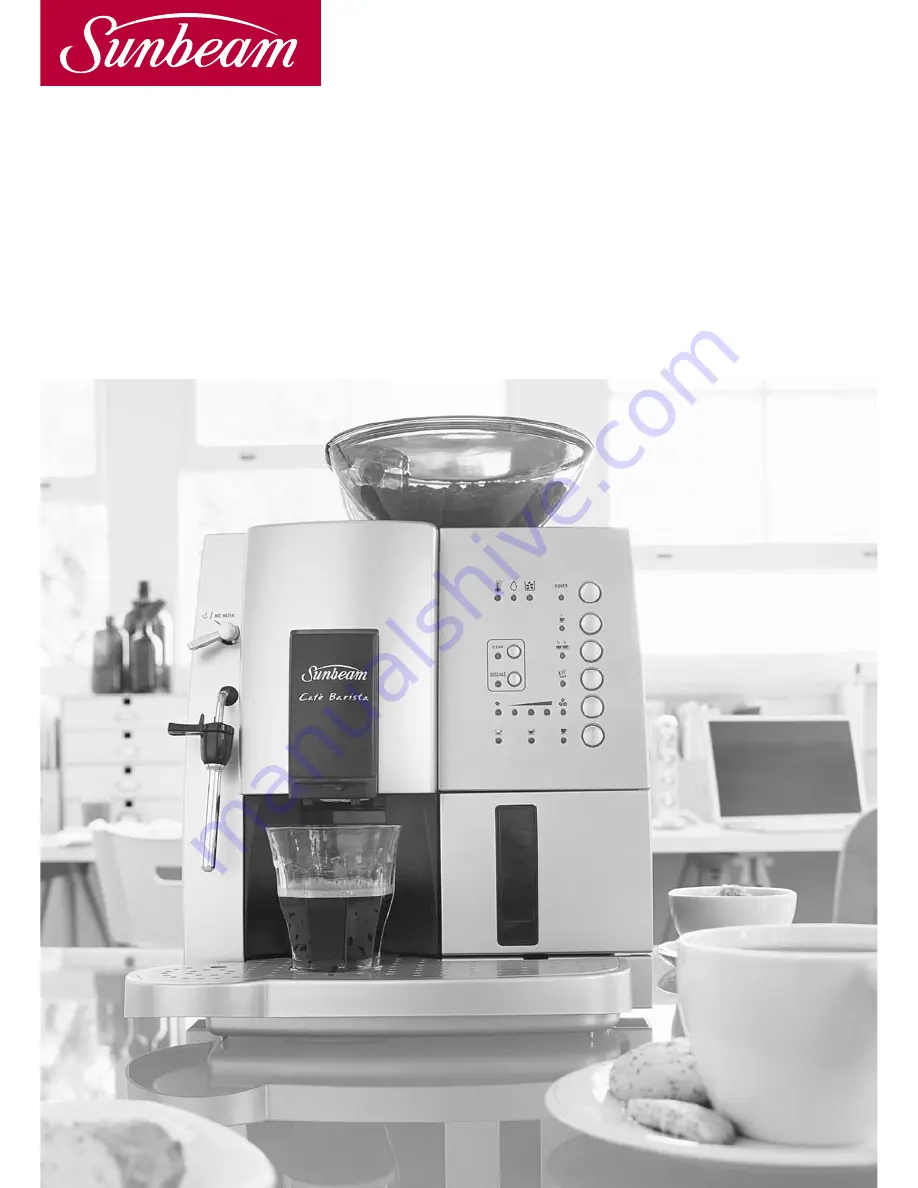
Café Barista
™
Automatic 15 BAR pump espresso machine
Instruction Booklet
EM8800
Please read these instructions carefully and retain for future reference.
Page 1: ...Caf Barista Automatic 15 BAR pump espresso machine Instruction Booklet EM8800 Please read these instructions carefully and retain for future reference...
Page 2: ......
Page 3: ...Making an espresso with pre ground coffee 17 Milk frothing using the steam function 20 Easy steps for frothing milk 22 Hot water function 23 Changing and saving coffee pour volumes and coffee strengt...
Page 4: ...rned to the nearest Sunbeam Appointed Service Centre for adjustment or repair if required Do not operate any electrical appliance with a damaged cord or after the appliance has been dropped or damaged...
Page 5: ...or taller cups Drinking authentic caf quality coffee at home is guaranteed with a Sunbeam espresso machine The simple to use design of the machine allows you to enjoy the sweet aroma and taste of the...
Page 6: ...ch to activate steam or hot water Steam nozzle Dispenses steam or hot water Height adjustable espresso pour spout Fits any size cup Lower the spout for espresso cups to prevent splashing and raise it...
Page 7: ...vable water reservoir Simply slides out for easy filling Removable drip tray and cup resting grid Pulls out for easy emptying and cleaning Also features a water level indicator that floats through the...
Page 8: ...constant light indicates that the coffee waste container needs emptying Power button and indicator 1 cup coffee request button and indicator 2 cup coffee request button and indicator Steam pre select...
Page 9: ...eans dispenses the ground coffee into the filter tamps it and pumps water through to produce a consistent shot of espresso every time all with the touch of a button 15 BAR pump Italian designed manufa...
Page 10: ...em Ensures the precise temperature is achieved As espresso is made with hot rather than boiling water the thermoblock heats the water to 92 C just below boiling point for optimum extraction of oils fr...
Page 11: ...ncentrate vary the quantity of milk to determine the strength and volume of the coffee If you are using a large coffee cup or mug you may require a double shot of espresso rather than just a single sh...
Page 12: ...kwise so that the arrow on the base of the hopper meets with one of the other two positions whole beans or pre ground coffee See figures 1 and 2 Insert the drip tray Simply slide the drip tray into th...
Page 13: ...he water reservoir Slide the water reservoir in and press firmly into place to ensure that the valve of the water reservoir opens See figure 7 Note If the water reservoir is not correctly in position...
Page 14: ...ure 9 The espresso machine is now ready for operation 12 Filling of water and switching on your Caf Barista continued Switching off your Caf Barista Figure 9 When the espresso machine is switched off...
Page 15: ...saving the determined degree of water hardness Note The Caf Barista is factory set at a hardness degree of 4 Press the DESCALE button and keep it depressed See figure 10 While holding down the DESCALE...
Page 16: ...an cause damage to the grinding mechanism Set the grinding degree See figure 14 Note You may set the grinding degree of the grinding mechanism by using the coffee grind lever There are two ways in whi...
Page 17: ...presso from splashing See figure 15 Press the coffee pour volume button as many times as needed to reach the required pour length See figure 16 The Caf Barista pour volumes are set as follows 20mLs 30...
Page 18: ...of the coffee strength quantity settings with reference to the length of the coffee pour volumes in order not to have to choose the coffee pour volume every time the espresso machine is switched on Fo...
Page 19: ...tant Please use only the supplied measuring spoon Never fill the receptacle with more than 2 level measuring spoons of pre ground coffee Important Do not fill the receptacle with water soluble or free...
Page 20: ...le lid open when using pre ground coffee When using coffee beans ensure that the lid to the pre ground coffee receptacle is closed Placing cup s under the espresso pour spout setting the coffee pour v...
Page 21: ...ee the pre set values for the coffee strength quantity and coffee pour volume are increased accordingly Note Before the actual coffee brewing process the ground coffee is dampened by a small amount of...
Page 22: ...that the espresso machine is heating When heating is finished the indicator will stop flashing and remain constant The espresso machine is now ready for texturing frothing milk see figure 28 Note If t...
Page 23: ...you remove the jug with the frothed milk Deselect the steam mode by pressing the steam pre selection button the indicator light will turn off and the appliance is now ready again for making coffee See...
Page 24: ...it With the frothing jug in hand swirl and tap the jug until the milk becomes shiny and no bubbles remain this ensures an even consistency Pour the textured milk into your espresso as soon as possibl...
Page 25: ...se scalding Only use the steam nozzle when holding a container underneath Place a cup or container under the steam nozzle and turn the steam hot water switch up to activate the hot water See figure 32...
Page 26: ...press the one cup coffee button and keep it depressed until the desired coffee pour volume is reached See figure 36 Release the button and your desired coffee pour volume has been saved Tip Repeat thi...
Page 27: ...s many times as needed until the indicator of the chosen coffee strength illuminates and keep the button depressed See figure 38 After a few seconds of holding the button depressed all indicators are...
Page 28: ...the espresso machine off by pressing the POWER button and unplug the power cord from the power outlet Turn the coffee bean hopper to the position marked HOPPER RELEASE and take it off See figure 41 Re...
Page 29: ...unction of the grinding mechanism with a small quantity of beans and make a cup of coffee Grind setting selection and maintenance continued Figure 43 Figure 42 Figure 44 Resetting the Caf Barista With...
Page 30: ...Important To prevent damage to the espresso machine do not use alkaline cleaning agents when cleaning use a soft cloth and a mild detergent Clean the drip tray cup resting grid coffee waste container...
Page 31: ...the espresso machine See figure 45 Press the release button on the top of the service door The service door opens to the front See figures 46 and 47 The coffee brewing unit is situated behind the ser...
Page 32: ...l go The ejection lever folds back again and the brewing unit closes See figure 53 Re insert the coffee brewing unit as follows 1 Place the coffee brewing unit onto the guide bar and push the coffee b...
Page 33: ...er down as far as it will go see figure 55 Close the service door and re insert the coffee waste container Note The Caf Barista can only be switched on if the service door is closed After switching on...
Page 34: ...blets are available from selected appliance retailers or from Sunbeam on 1800 025 059 Turn the coffee bean hopper to the pre ground coffee position Wait until the mechanism has adjusted itself and all...
Page 35: ...ating of water The Caf Barista should be descaled at regular intervals of 4 6 months at the latest however when the DESCALE indicator begins flashing The descaling process is carried out in 2 phases t...
Page 36: ...p switches off and no descaling solution emerges from the nozzle See figure 62 Turn the steam hot water switch to the off position and the automatic descaling process of the brewing unit starts See fi...
Page 37: ...ve the switch up until the pump switches off and no descaling solution emerges from the nozzle See figure 62 Turn the steam hot water switch to the off position See figure 63 After this the automatic...
Page 38: ...32 Starting the programme making function cleaning cleaning programme indicator is cannot be used flashing Descaling The espresso The machine needs See page 33 Starting the programme making function...
Page 39: ...Setting the fineness of the grind The setting for the coffee Select a higher setting of the strength quantity is too low coffee strength quantity See page 16 Selecting the strength of the coffee Not e...
Page 40: ...ains closed while turning the hopper remove the hopper and try engaging it again Therefore push down on the hopper with pressure whilst turning Brewing unit is not Should the grinder be working in the...
Page 41: ...h water pours through The water reservoir is not Slide the water reservoir in and correctly engaged press firmly into place to ensure the valve of the water reservoir opens The steam pre selection but...
Page 42: ...offee bean hopper to the pre ground coffee position Then switch off the machine and remove the brewing unit See page 29 Removing the coffee brewing unit The brewing unit Brewing unit is not closed Tur...
Page 43: ...dded first so that the crema is maintained 190mL cup hot water to taste single or double espresso MACCHIATO Macchiato Italian for to stain or mark Traditionally served as a standard espresso with a da...
Page 44: ...fee one third froth dusted with chocolate CAFFE MOCHA Made in a similar way to a cappuccino but with the addition of drinking chocolate Simply stir the chocolate into the espresso prior to adding the...
Page 45: ...duct may differ from the one shown in this leaflet Backed by Sunbeam s 12 Month Repair Guarantee and National Service Network Copyright SUNBEAM CORPORATION LIMITED 2004 INCORPORATED IN N S W A C N 000...
Page 46: ...ine Australia 1800 025 059 New Zealand 0800 786 232 Consumer information 1800 025 059 or www sunbeam com au is a registered Trademark of Sunbeam Corporation Limited ACN 000 006 771 Sunbeam Corporation...