OVER THE RANGE INSTALLATION
INSTRUCTIONS
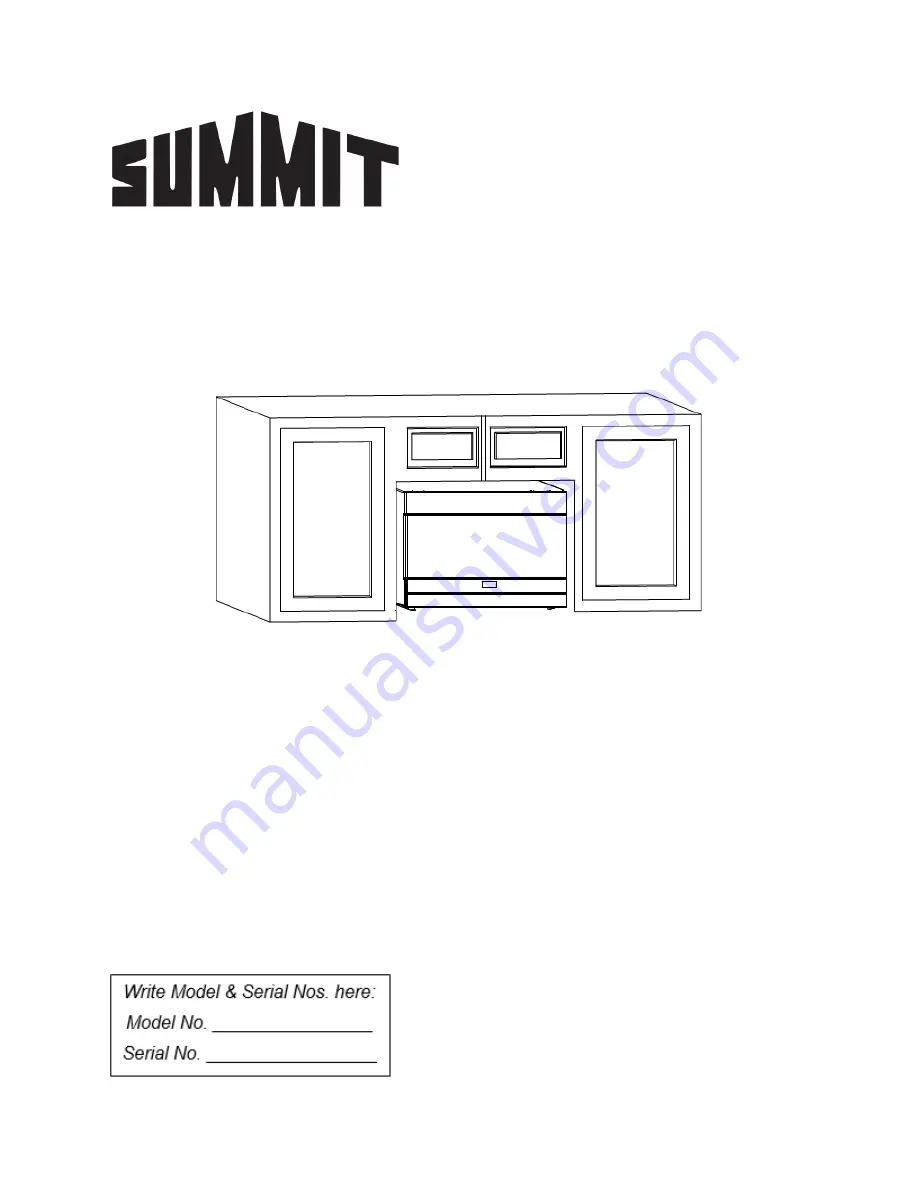
Models:
MHOTR241W
MHOTR242B
MHOTR243SS
BEFORE USE, PLEASE READ AND FOLLOW ALL SAFETY RULES AND OPERATING
INSTRUCTIONS
FELIX STORCH, INC.
An ISO 9001:2015 registered company
770 Garrison Avenue
Bronx, NY 10474
www.summitappliance.com


