SUMERAIN SANITARY GROUP WWW.SUMERAIN.COM
INSTALLATION GUIDE
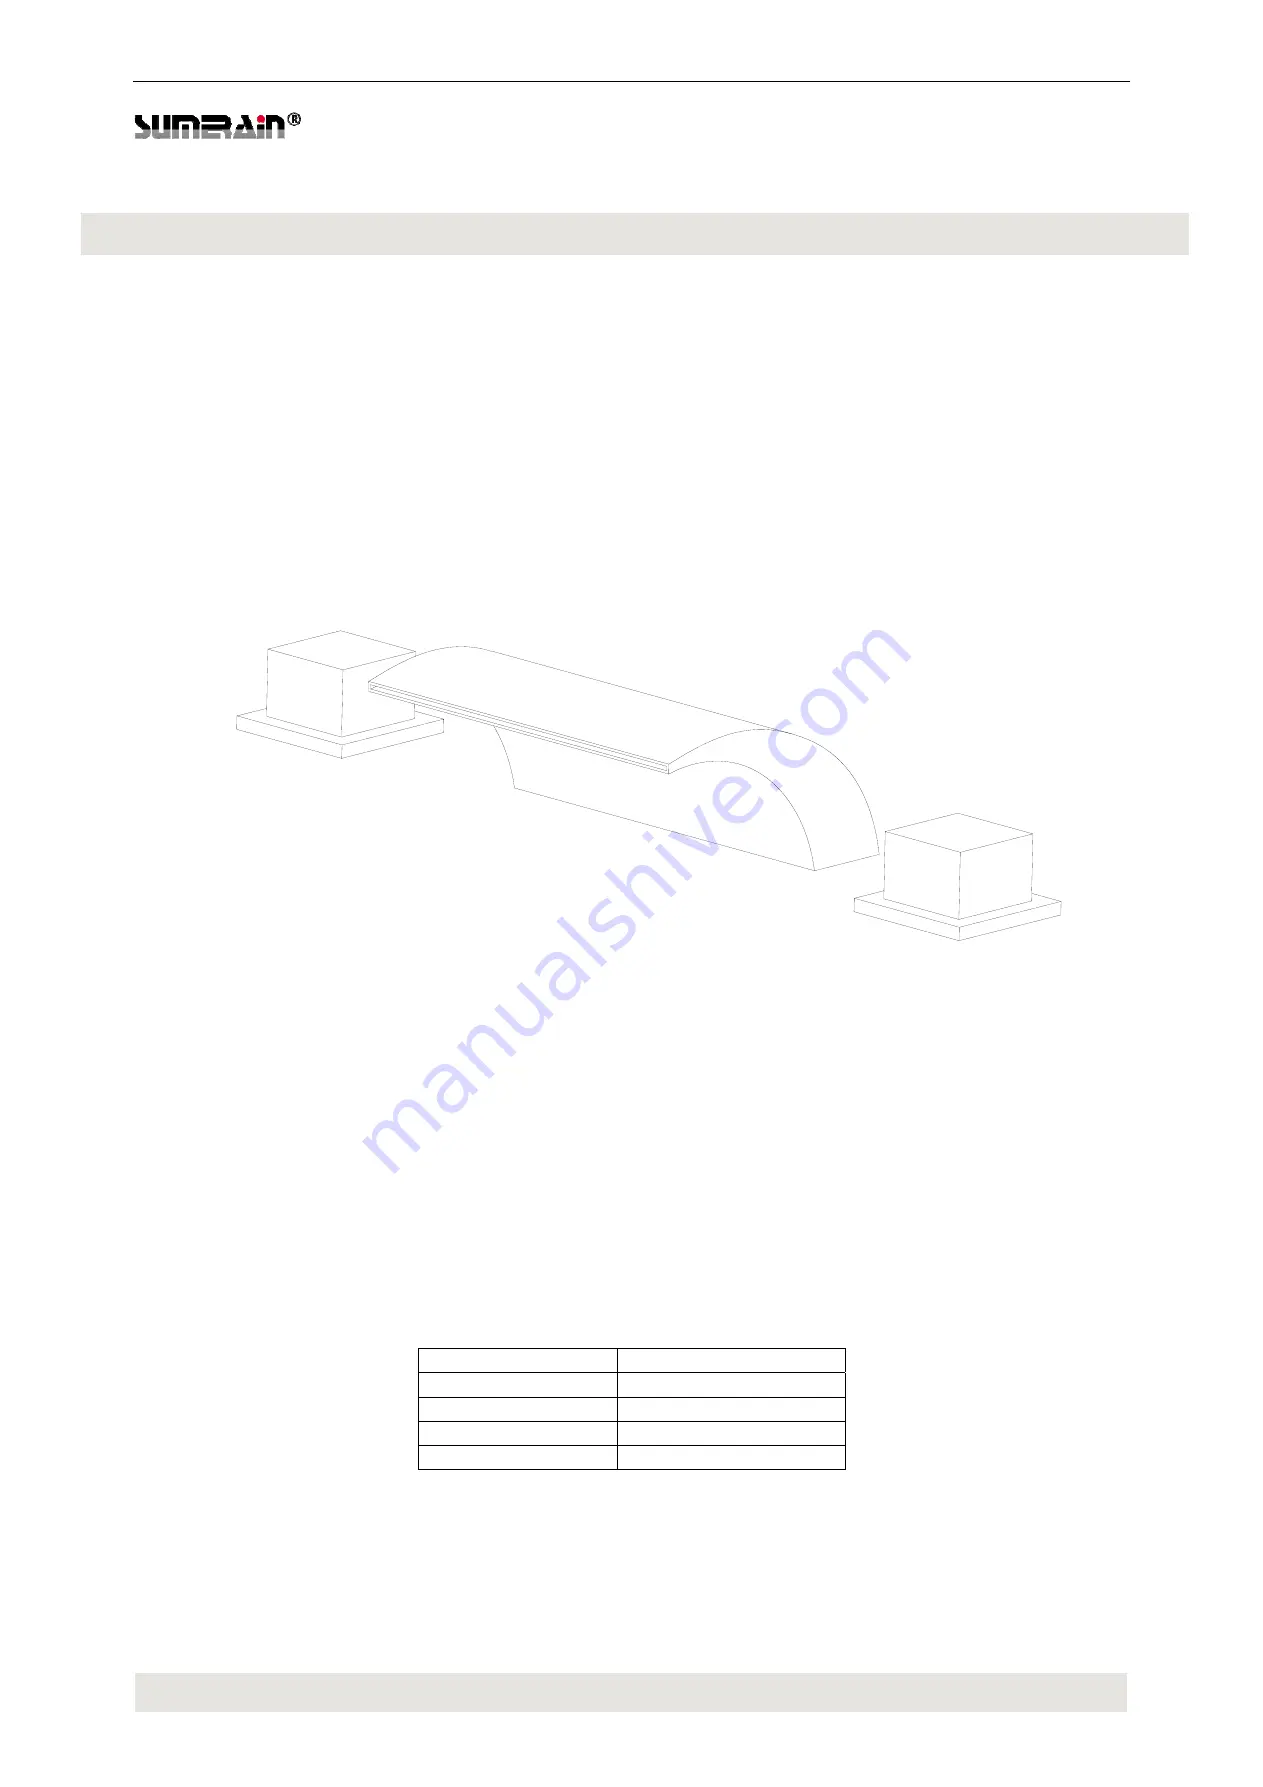
MODEL: S2091XW
Version: 1.3
ROMAN WATERFALL BATHTUB FAUCET
MODEL FINISH S2091CW CHROME S2091NW BRUSHED
NICEKL
S2091DW MATTE
BLACK
S2091BGW BRUSHED
GOLD
Page 1: ...AIN SANITARY GROUP WWW SUMERAIN COM INSTALLATION GUIDE MODEL S2091XW Version 1 3 ROMAN WATERFALL BATHTUB FAUCET MODEL FINISH S2091CW CHROME S2091NW BRUSHED NICEKL S2091DW MATTE BLACK S2091BGW BRUSHED...
Page 2: ...assisting you in the future If you have any questions regarding this product call 1 866 203 0866 or email to supports sumerain com Sincerely SUMERAIN customer service department 1 Unpack your new pro...
Page 3: ...ends only for one year with respect to SUMERAIN and commercial products THIS WARRANTY DOES NOT COVER AND SUMERAIN WILL NOT PAY FOR A Conditions malfunctions or damage not resulting from defects in mat...
Page 4: ...ght 71mm 2 25 32 Inch Spout Reach 112mm 4 7 16 Inch Spout Width 180mm 7 1 16 Inch Spout Height 60mm 2 3 8 Inch Max deck thickness 32mm 1 1 4 Inch Valve Type Ceramic Disc Valve Valve Body Material Bras...
Page 5: ...SUMERAIN SANITARY GROUP WWW SUMERAIN COM DIMENSION Front view of faucet Side view of faucet...
Page 6: ...SUMERAIN SANITARY GROUP WWW SUMERAIN COM MOUNTING HOLES DIMENSION MAX DECK THICKNESS...
Page 7: ...ace thoroughly 3 CHECKING THE CONTENTS OF THE BOX Upon opening the box check to ensure that all the following items are included If any of these items are missing please contact SUMERAIN consumer serv...
Page 8: ...GROUP WWW SUMERAIN COM 4 INSTALLATION HOLES INSPECTION Verify that the hole sizes and positions in the wall are correct the optimal diameter of mounting hole optional is 32mm 1 1 4 the max deck thickn...
Page 9: ...cold water supply pipe before connect to the faucet allow the water flush 3 5 minutes to flush out dirt and debris Shut off the water supply again after finish 5 2 Position spout onto the hole of mou...
Page 10: ...ob and loose the inside set screw by Allen wrench anticlockwise disassemble the knob from the valve assembly Valve assembly 5 4 Place the valve body onto mounting surface attach the rubber washer and...
Page 11: ...SUMERAIN SANITARY GROUP WWW SUMERAIN COM 5 5 Attach the rubber washer into the T tee for water leak proof 5 6 Screw on T tee onto the spout shank...
Page 12: ...e body to tee with flexible hoses 5 8 Connect hot valve body s inlet connector and cold water valve inlet connector to stop valve separately with flexible hose The water inlet connecting of hot and co...
Page 13: ...ure longer than necessary Regular cleaning can prevent calcification if scale deposits are noticed on the faucet surface or the spout you can clean it by a commercial limescale remover such as Lime Aw...
Page 14: ...k the water supply connections to the faucet B Inspect the water supply lines or hoses for leaks Handle is loose A Remove the cap and tighten the screw B Locate and tighten the hex set screw C Remove...