Eden260V User Guide
6 Operating and Maintaining the Printer
DOC-32020 Rev. F
6-41
12.Continue as follows:
❒
To make the alignment changes in the printer, make sure that
Yes
is
selected, and click
Next
.
❒
To recheck the alignment test results before making the alignment
changes in the printer, click
Previous
.
❒
If you do not want to make alignment changes in the printer at this time,
select
No
and click
Next
.
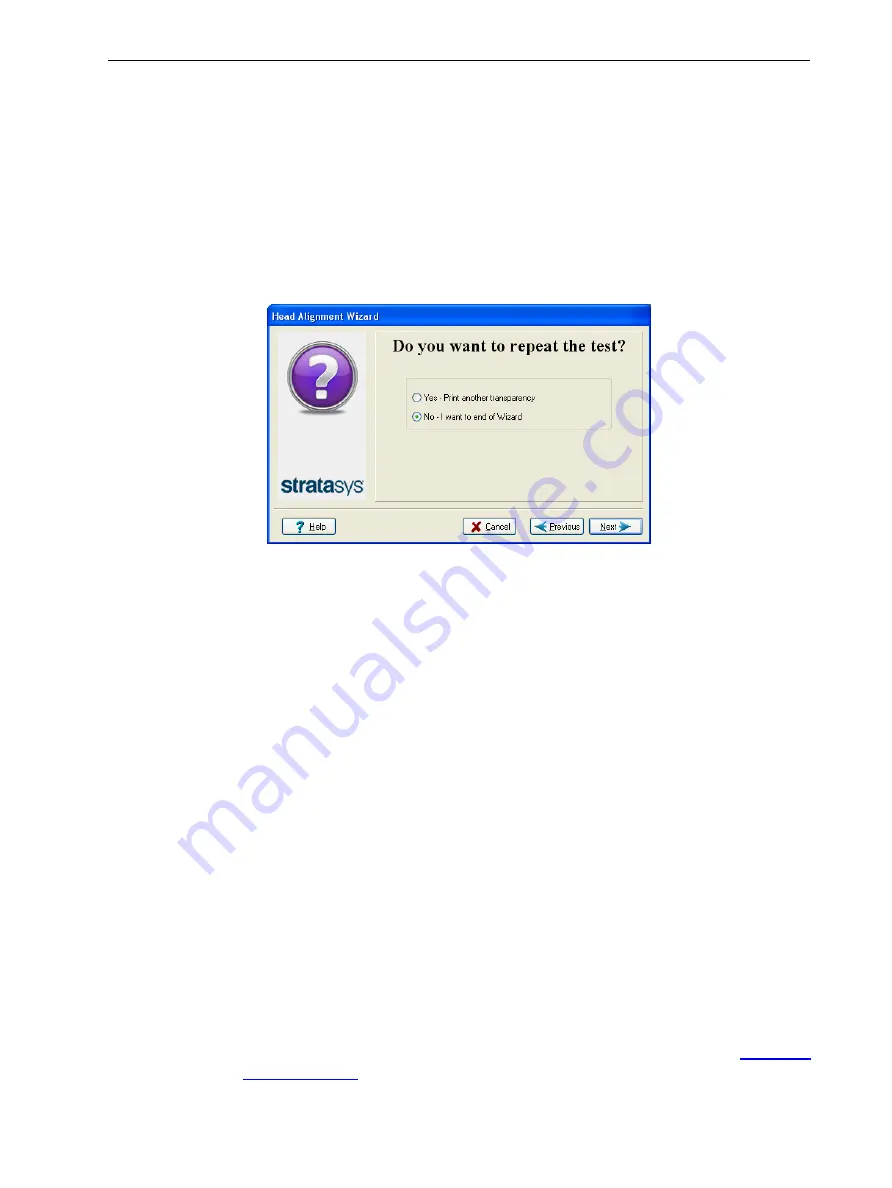
13.In the following screen, you can choose to either repeat the head alignment
procedure, or close the wizard.
Figure 6-54
Repeat head alignment
option
❒
If the most closely aligned vertical lines for a print head were at either
extreme—the first or seventh lines—, choose
Yes
to run the Head
Alignment wizard again, then click
Next
.
The additional transparency test will show if the heads are now properly
aligned, and—if not—the wizard will allow you to “fine tune” the
alignment.
❒
If the vertical lines for the print heads were not aligned at either extreme,
choose
No
to close the wizard, then click
Next
.
Calibrating Print Heads
The condition of the print heads directly affects the quality of printed models. To
maintain optimum printing, you should test the print heads and calibrate them to
the best working configuration possible every 300 hours of printing. You should
also calibrate print heads—
• whenever you suspect that the condition of print heads is negatively affecting
the quality of printed models
• if there is a problem with one or more of the print heads
• after replacing a print head
To perform the calibration procedure, use the external Head Calibration Utility.
You can download this application and related documentation from the


