STEINDORFF
®
- 6 -
⑥
:
Connect the switch to the power supply.
⑦
:
Connect the two goose lights to the switch.
⑧
:
The switch. It has three buttons. The one on the left is ON/OFF, to get or break the connection between the
device and the power supply. The rest two are for the two goose lights. The middle one means “brightness up”,
the right one means “brightness down”.
General Use
◆
Use Individually
1. According to the instructions given by last chapters, connect the camera to the power supply like
⑤⑥⑦
.
2. Press the “ON/OFF” button on the monitor. (Sometimes the camera will switch on automatically when it is
connected to the power supply)
3. Turn on the LED lights, adjust the object distance wheel and the focus controller to get the image that you
want.
4. Use the “UP/DOWN” to zoom in/out.
*To switch mode:
1. Press “M” shortly. (Or press the “Mode” on the remote)
2. Icons definition in different modes:
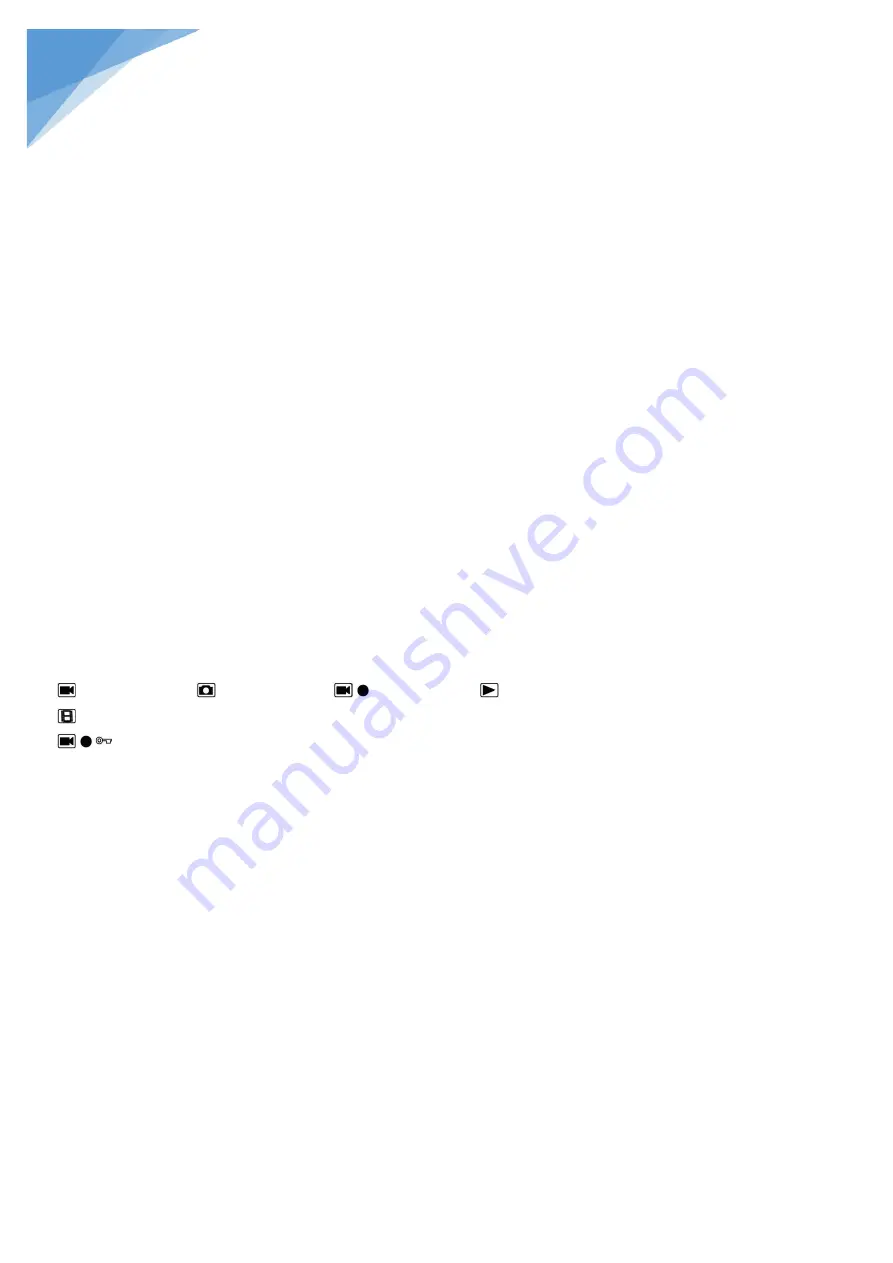
: standby mode;
: capture mode;
: record mode;
: image playback mode
: video playback mode (If the files are videos, press “OK” to play the video file)
: Lock the file which is being recording
*To set the menu for record mode:
1. Press “M” for few seconds until on the screen shows the menu. (Or press “MENU” on the remote.)
2. Press “UP/DOWN” and use “OK” to choose what to set.
3. Press “M” again when you are done.
*To set the menu for system:
1. Press “M” for few seconds until on the screen shows the menu. Then press “M” again to get into the system
setting menu. (Or press “MENU” on the remote twice)
2. Press “UP/DOWN” and use “OK” to choose what to set.
3. Press “M” again when you are done.
*To set the menu for capture mode:
1. Get into the capture mode and then press “M”.
2. Press “UP/DOWN” and use “OK” to choose what to set.
*To capture pictures, three ways:


