SP-PM207DC
WARNING! To Reduce The Risk Of Injury, User
Must Read And Understand Instruction Manual.
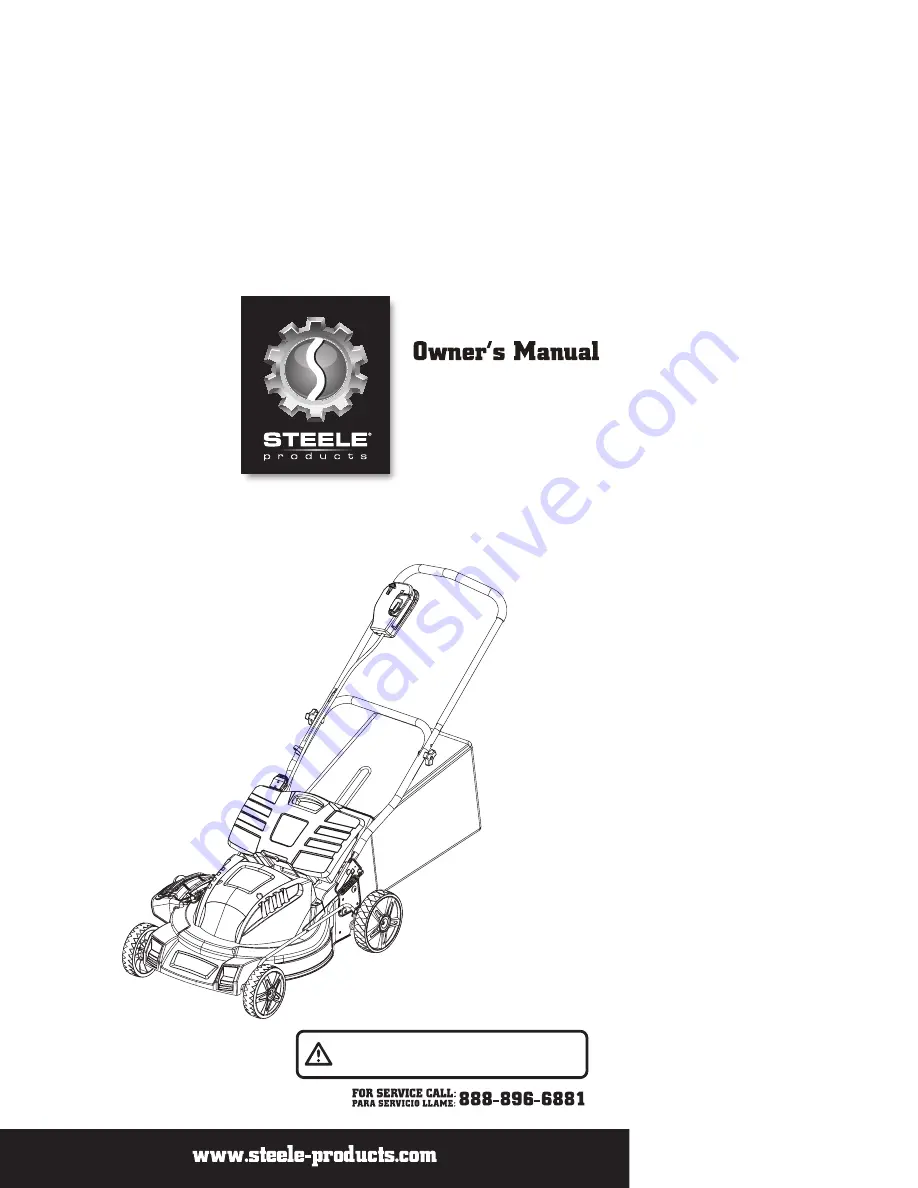
Cordless Lawn Mower
Page 1: ...SP PM207DC WARNING To Reduce The Risk Of Injury User Must Read And Understand Instruction Manual Cordless Lawn Mower...
Page 2: ...ire manual before attempting to assemble operate or install the product These safety instructions are not meant to cover every possible condition that could occur PRODUCT SPECIFICATION 1 Component Bat...
Page 3: ...dry and high or locked up place out of reach of children k Maintain appliance with care Keep cutting edge sharp and clean for best and safest performance and to reduce the risk of injury Follow instr...
Page 4: ...operate mower in wet grass Always be sure of your footing walk never run 15 Disengage the drive system if so equipped before starting the motor 16 If the machine should start to vibrate abnormally sto...
Page 5: ...the machine Repair if necessary before starting 5 Never make any adjustments or repairs with the motor running 6 Check grass catcher components and the discharge guard frequently and replace with man...
Page 6: ...o months when not in use If all of the following conditions are met the mower can be stored with the charger disconnected 1 The mower is fully charged before storing 2 The average temperature of the s...
Page 7: ...low to the mower in order to become familiar yourself with the location of the various controls and adjustments Save this manual for future reference KNOW YOUR PRODUCT 7 Handle grip Upper handle Switc...
Page 8: ...ASSEMBLING YOUR LAWN MOWER 8 8 Parts List Note ASSEMBLING THE HANDLE 3 3 1...
Page 9: ...cover 1 place the grass catcher bag hanger hooks 2 into the opening on the chute cover 1 to allow the hanger hooks to attach to the rod 3 which secures the chute cover NOTE For optimal performance em...
Page 10: ...LUG THE POWER CORD AND WAIT FOR BLADE TO COME TO A COMPLETE STOP 2 Lift the side discharge cover 1 3 Align the grooves on the discharge chute 2 with the pins on the underside of the discharge cover 1...
Page 11: ...E POWER CORD AND WAIT FOR BLADE TO COME TO A COMPLETE STOP 2 To remove the mulch plug lift the chute cover 1 and pull out on the handle 3 The mulch plug 2 is inserted on an angle so it will require so...
Page 12: ...UPPER HANDLE HEIGHT see Fig 7 1 Loosen the upper handle knob 2 Adjust the handle to the most comfortable of the 3 positions 3 Tighten the upper handle knob as tight as you can ASSEMBLING YOUR LAWN MOW...
Page 13: ...ted even actuated by holding the switch control level CAUTION Do not attempt to override the operation of the safety key or lever WARNING The operation of any mower can result in foreign objects being...
Page 14: ...e the height pull the height adjustment lever from the current stop position towards the back of the mower 3 To lower the height pull the height adjustment lever from the current stop position towards...
Page 15: ...15 hours to charge a fully discharged battery REMOVING BATTERY INSTALLING BATTERY Push battery down to limit chute Laminated both after rotaing Level two rails Slide into the pole position Pull up the...
Page 16: ...is growth the lawn should be cut in the fall MULCHING TIPS blade 3 For effective mulching do not cut wet grass because it tends to stick to the underside of the deck preventing proper highest cutting...
Page 17: ...cleaned after each use as grass clippings leaves dirt and other debris will accumulate causing rust and corrosion Remove any buildup of grass and leaves on or around the motor cover do not use water W...
Page 18: ...before operating the mower 10 Lawn mower components are subject to wear and damage which could expose moving parts or allow objects to be thrown As a safety precaution frequently check components and...
Page 19: ...PARTS LIST 18...
Page 20: ...701 8411501 8331601 8221501 8430201 8410801 8321301 8412301 8412201 8330501 8411301 8331801 8320201 8320801 8220601 8411901 8221201 8412001 8320401 8322901 8411401 26 1 2 5 2 1 2 2 7 4 11 2 1 1 1 2 1...
Page 21: ...0101 8410501 8650701 8110101 8110401 8110301 8412101 8228001 8410101 8650801 8641201 8412801 8130101 8220302 8410601 8240102 8227502 8230201 8321001 8330601 8238301 8331201 8320901 8330901 8120101 842...
Page 22: ...e Center For the location of the nearest Authorized Warranty Service Center contact the retailer or place of purchase Retain original cash register sales receipt as proof of purchase for warranty to w...
Page 23: ...FUNCTION OF THE PRODUCT IS NOT COVERED BY THIS WARRANTY Some states do not allow the exclusion so it may not apply to you IMPLIED WARRANTIES INCLUDING THOSE OF MERCHANTABILITY OR FITNESS FOR A PARTICU...