background image

Steelcase, Inc.
Grand Rapids, MI 49501
U.S.A.
1-888-783-3522

Y9501884

Tools

Page 1 of 14

REV   BA

Wood

glue

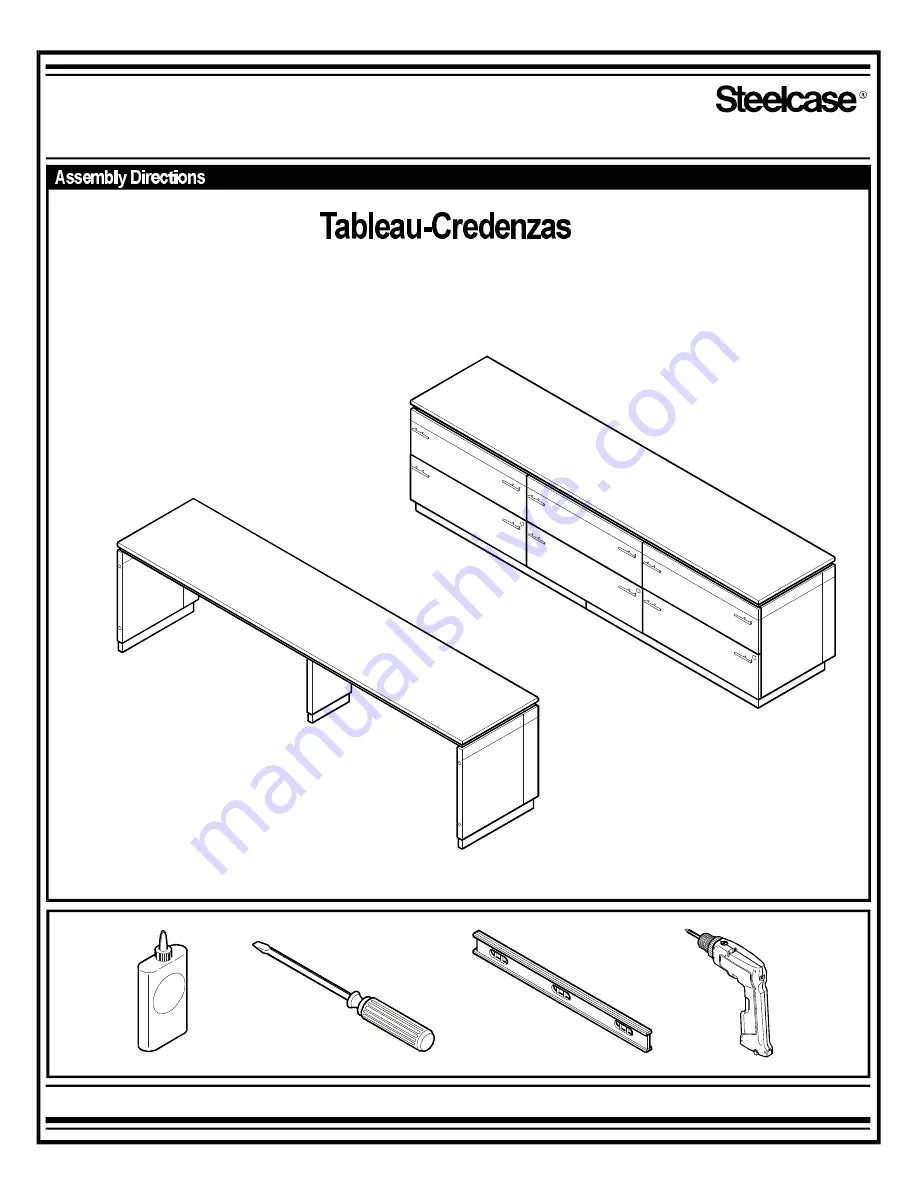
108” Credenza
(Begin on page 2)

108” Kneewell Credenza

(begins on page 11)

NOTE:

108” credenzas

are shipped unassembled.
All others shipped assembled.

Summary of Contents for Tableau-Credenzas

Page 1: ...Rapids MI 49501 U S A 1 888 783 3522 Y9501884 Tools Page 1 of 14 REV BA Wood glue 108 Credenza Begin on page 2 108 Kneewell Credenza begins on page 11 NOTE 108 credenzas are shipped unassembled All others shipped assembled ...

Page 2: ...Steelcase 1 Unlock and remove drawers Page 2 of 14 Y9501884 108 Credenza with drawer pedestals ...

Page 3: ...Steelcase 2 Slide credenza pedestal toward each other so the two end panels are flush Page 3 of 14 Y9501884 ...

Page 4: ...3 Attach pedestal to adjoining pedestal using six 6 8 flat countersunk head woodscrews 1 1 4 long Repeat procedure for other pedestals if necessary Steelcase Page 4 of 14 Y9501884 ...

Page 5: ...flush with the front of the credenza Make sure the sides of the base are 1 2 in from the sides of the credenza Attach base assemblies using 32 screws are provided not all may be used depending on your configuration 8 pan head wood screws 1 2 long NOTE Steelcase Page 5 of 14 Y9501884 ...

Page 6: ...ip credenza over so it is in an upright position Attach pedestal to sub top and top using six 6 per 36 pedestal 4 per 18 pedestal 8 pan head woodscrews 1 3 4 long Page 6 of 14 Y9501884 Top Subtop Stretcher 15 16 24mm ...

Page 7: ...Steelcase 6 Secure back to pedestal using six 6 8 pan head wood screws 1 1 4 long Repeat procedure for other pedestals Page 7 of 14 Y9501884 Top removed for clarity ...

Page 8: ...des To adjust glides on Cabinet Pedestal with Drawers you must remove the drawers first in order to access the glide hole After adjusting glides on door cabinets insert dome plugs in front two holes NOTE NOTE GLIDE Y9501884 RAISE LOWER ...

Page 9: ...884 1 To secure back repeat step 6 on page 7 With back attached secure side of back wrapper to side of end panel using three 3 8 countersunk head wood screws 1 1 4 long Re install drawers Attaching an optional asymmetrical wrapper ...

Page 10: ...mmetrical wrap To secure back repeat step 6 on page 7 With back attached secure side of back wrappers to side of end panel using three 3 8 countersunk head wood screws 1 1 4 long for each end Re install drawers Attaching an optional symmetrical wrapper ...

Page 11: ... Kneespace Credenza 1 2 Attach end panel support to end panel using six 6 8 pan head screws 1 long Fig 1 Repeat procedure for other end panel Fig 1 Fig 2 Page 11 of 14 Y9501884 9 1 4 235mm Attach steel plate to support leg using two 2 8 countersunk head wood screws 1 long Fig 2 ...

Page 12: ... top and place the two 2 end panels upon top Fig 1 Make sure they are flush with the front and sides of the credenza top Fig 2 Place center panel onto top setting it 25 32 back from rear edge Fig 1 Fig 2 Y9501884 FRONT FRONT 25 32 20mm SIDE VIEW ...

Page 13: ...ase Page 13 of 14 3 Secure each end panel to the credenza top using six 6 8 pan head wood screws 1 long Attach the center support panel to the credenza top using four 4 8 pan head wood screws 1 long Y9501884 ...

Page 14: ...e is also applied into the biscuit slots on end panels and back Fig 1 Insert three 3 biscuits into the slots in each end panel Fig 2 Fasten back by lining up biscuits with biscuit grooves on back Level unit Clamp and let set for hour minimum NOTE Steelcase Page 14 of 14 Y9501884 BISCUIT Fig 1 Fig 2 ...

Reviews: