

5
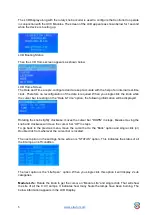
The LCD Display along with the rotary knob encoder is used to configure the Controller to operate
in conjunction with the UVC Modules. The screen of the LCD appears as shown below for 1 second
while the device is booting up.
LCD Booting Status
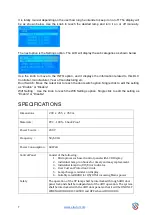
Then the LCD Home screen appears as shown below
LCD Home Screen
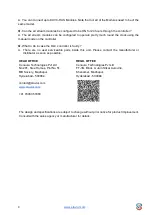
The Date and Time are pre-configured and are kept accurate with the help of an internal real-time
clock. Therefore no reconfiguration of the date is required. When you single click the knob while
the cursor bar is resting on the “Date & Time” option, the following information will be displayed.
Rotating the knob slightly clockwise, moves the cursor bar “DOWN” in steps, likewise moving the
knob anti clockwise will move the cursor bar “UP” in steps.
To go back to the previous menu, move the cursor bar to the “Back” option and single click (or)
Double click from wherever the cursor bar is located.
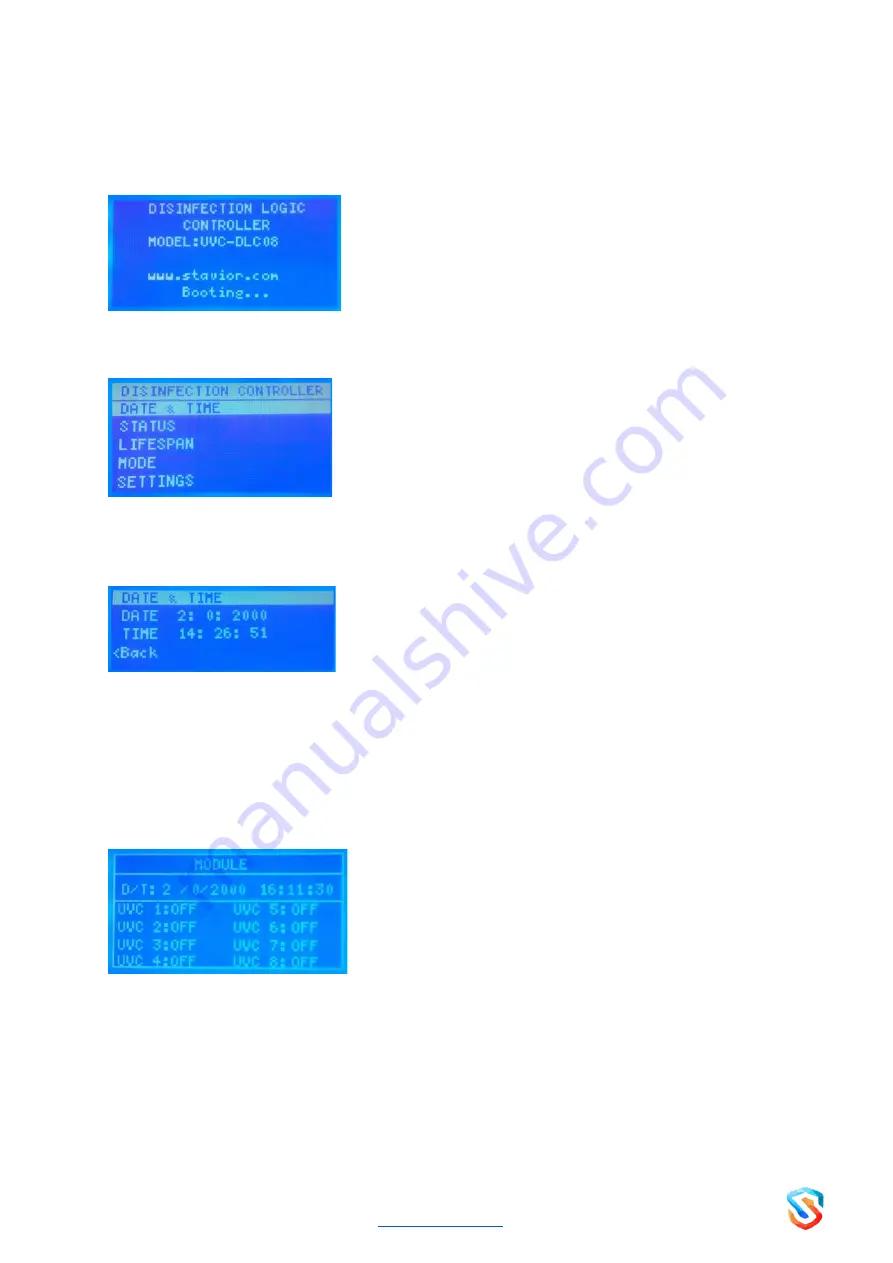
The next option in the settings hom
e screen is “STATUS” option. This indicates the status of all
the 8 lamps, on/off condition.
The next option is the “Life Span” option. When you single click this option it will display 2 sub
categories.
Module Life :
Rotate the knob to get the cursor on “Module Life” and single click. That will show
the Life of all the 8 UV Lamps. It indicates how many hours the lamps have been burning. The
below information appears in the LCD Display.