DE:
Bedienungsanleitung - de.startech.com
FR:
Guide de l'utilisateur - fr.startech.com
ES:
Guía del usuario - es.startech.com
IT:
Guida per l'uso - it.startech.com
NL:
Gebruiksaanwijzing - nl.startech.com
PT:
Guia do usuário - pt.startech.com
Manual Revision: 01/18/2017
For the most up-to-date information, please visit: www.startech.com
Quick Start Guide
Packaging Contents
• 1x USB 2.0 HDMI video capture device
• 1x USB Cable
• 1x Quick install guide
System Requirements
• 1x Computer system with:
Available USB 2.0 port
Microsoft® Windows 8/8.1 (32/64bit) / 7 (32/64bit) / Vista (32/64bit)
• 1x Video source device with HDMI output (Computer, set top box
or Blu-ray player)
• 1x HDMI cable
USB2HDCAPM
USB 2.0 HDMI Capture Device
*actual product may vary from photos
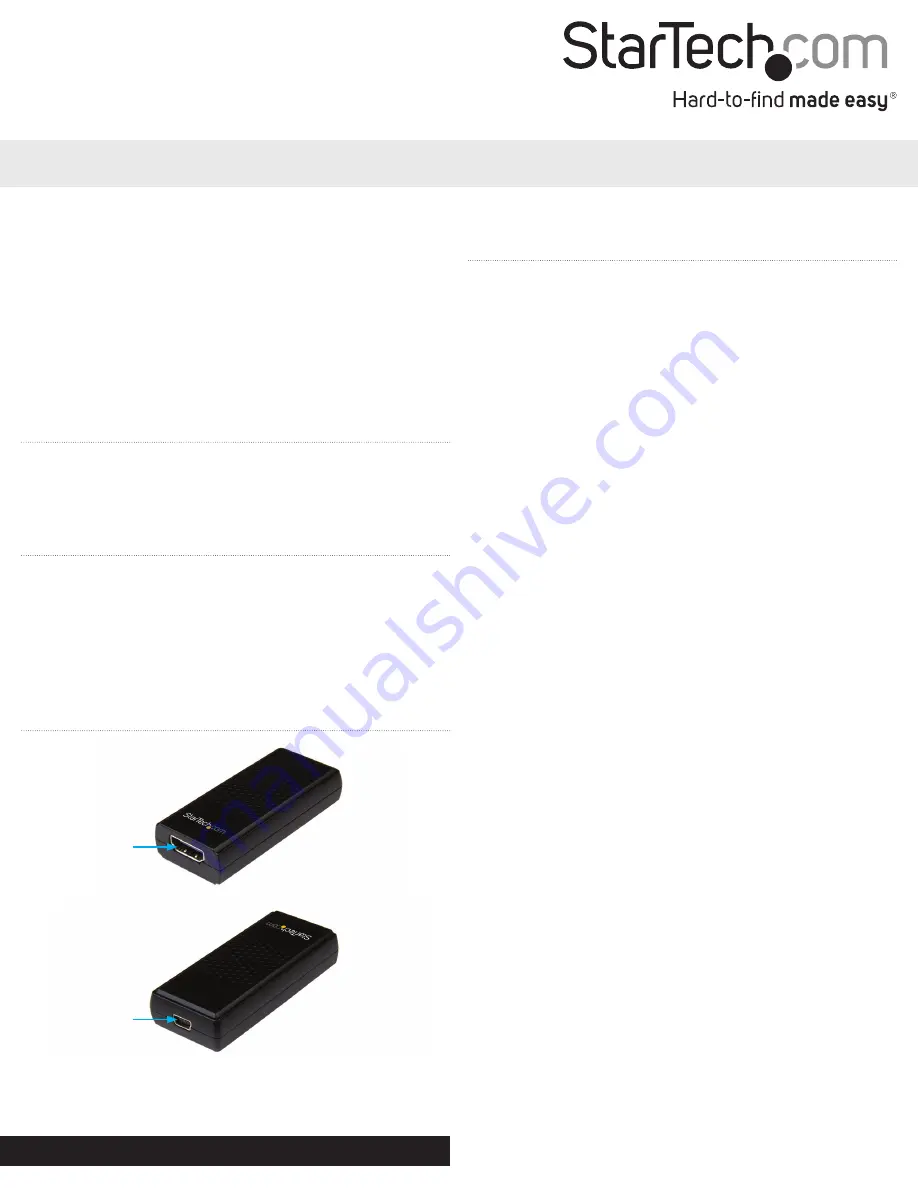
Product Overview
Front View
Rear View
Installation
Hardware Installation
1. Using the included USB cable, connect the Mini USB port on the
capture device to a USB port on your computer system.
2. Using an HDMI cable (not included), connect the HDMI port on
the capture device to the HDMI output port on your video source
device.
Hardware installation is now complete.
Software Installation
Note:
Please ensure the Hardware Installation steps have been
completed prior to beginning the Software Installation steps.
After Hardware Installation the “Found New Hardware Wizard” will
open, click “Cancel” to close the window.
1. Download the latest drivers from the StarTech.com website.
2. Locate the Setup(.exe) application file. This file will be located in
the Windows directory of the downloaded folder.
3. If a Windows Security dialog window appears, click the “Run” or
“Install this driver software anyway” option to proceed. The Device
Driver Installation Wizard will now be displayed.
4. Click the Next button to begin the installation and follow the on
screen prompts to complete the driver portion of the installation
process.
5. Once you have completed the driver installation, The Stream
Catcher InstallShield Wizard will appear. Follow the on screen
prompts to complete the Stream Catcher portion of the
installation process.
6. Once the installation has completed you will be prompted to
restart your computer. Please ensure any unsaved documents are
saved before you agree to restart your computer.
Software installation is now complete.
Launching capture application
1. Once the Installation has completed an ICON on your computer
Desktop will be created. The ICON will be labeled “StreamCatcher”,
click this ICON to launch the software.
2. This will bring up the main menu screen that contains the video
preview window and recording controls. Additional options and
configurations can be found through the Main Menu.
You are now ready to use your USB capture device.
Notes:
HDMI port
Mini USB port
Note:
This capture device will not record digitally encrypted content.


