SERVICE MANUAL
GEN.0000000006502 Rev A © 2021 SRAM, LLC
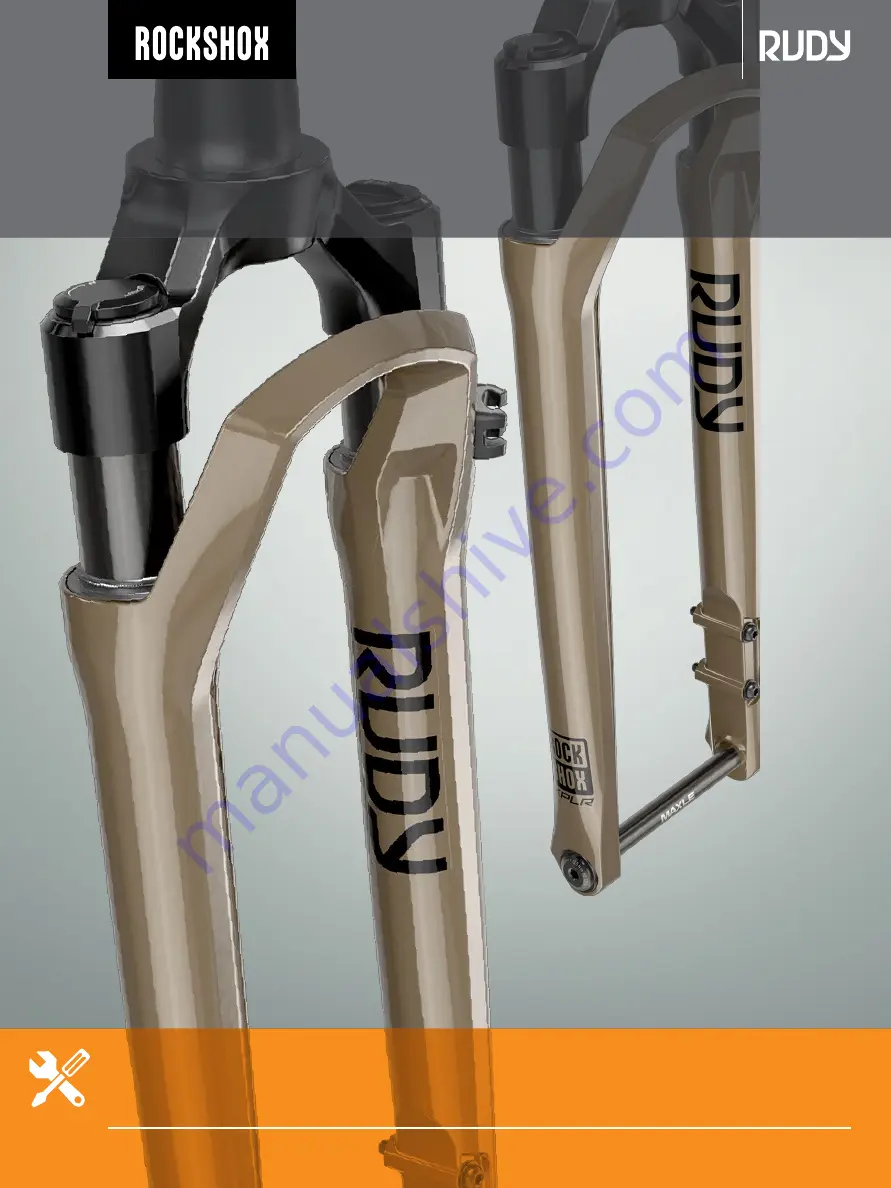
RUDY XPLR
Page 1: ...SERVICE MANUAL GEN 0000000006502 Rev A 2021 SRAM LLC RUDY XPLR...
Page 2: ...y does not apply to products that have been incorrectly installed adjusted and or maintained according to the respective SRAM user manual The SRAM user manuals can be found online at sram com service...
Page 3: ...SAFETY FIRST We care about YOU Please always wear your safety glasses and protective gloves when servicing RockShox products Protect yourself Wear your safety gear...
Page 4: ...RVICE 10 50 200 HOUR SERVICE LOWER LEG REMOVAL 10 50 HOUR SERVICE LOWER LEG SERVICE 14 200 HOUR SERVICE LOWER LEG SEAL SERVICE 16 AIR SPRING SERVICE 18 TRAVEL CHANGE ADJUSTMENT OPTIONAL 18 200 HOUR SE...
Page 5: ...d Clean the part with Clean the part with RockShox Suspension Cleaner or isopropyl alcohol and isopropyl alcohol and a clean lint free shop towel For hard to reach places e g upper tube lower a clean...
Page 6: ...kShox 0w 30 Suspension Oil Maxima PLUSH 3wt Suspension Oil RockShox Dynamic Seal Grease PTFE Bicycle Tools Bicycle stand Downhill tire lever Shock pump Common Tools Air compressor and nozzle Bench vis...
Page 7: ...l bump sensitivity Restores damping performance R e c o r d Y o u r S e t t i n g s Use the charts below to record your settings to return your fork to its pre service settings Record your service dat...
Page 8: ...l Damper Upper Tube Lower Leg Spring Upper Tube Lower Leg Oil Weight Volume mL Oil Weight Volume mL Oil Weight Volume mL Grease Oil Weight Volume mL RUDY Ultimate 30 40 Charger Race Day 3wt Bleed 0w 3...
Page 9: ...ttom nut Maxle insert Rebound damper shaft Compression damper Rebound adjuster mechanism Rebound adjuster adapter Top cap Volume Reducer Lockout adjuster knob Ultimate Lower leg Seal head Bottom out b...
Page 10: ...E HAZARD Verify all pressure is removed from the fork before proceeding Failure to do so can result in injury and or damage to the fork Wear safety glasses NOTICE The Maxle inserts are reverse threade...
Page 11: ...ound assembly from the lower leg assist in removing the rebound assembly from the lower leg Remove the rebound mechanism from the damper side of the lower Remove the rebound mechanism from the damper...
Page 12: ...emove the spring side spring side bottom bolt Clean the bolt and set it aside bottom bolt Clean the bolt and set it aside Insert a 5 mm hex wrench Insert a 5 mm hex wrench minimum 110 mm length into t...
Page 13: ...rom either side the press fit of the shaft s into the lower leg may drain from either side the press fit of the shaft s into the lower leg may still be engaged Reinstall the bottom bolt and bottom nut...
Page 14: ...eg Service 5 0 H o u r S e r v i c e L o w e r L e g S e r v i c e Remove the wire spring Remove the wire spring Remove the foam rings Remove the foam rings Clean the foam rings Clean the foam rings 1...
Page 15: ...iper seals Confirm the foam rings are installed evenly in the space under the Confirm the foam rings are installed evenly in the space under the wiper seals and do not protrude over the bushings wiper...
Page 16: ...er handle to remove the seal tire lever handle to remove the seal Repeat on the other side Discard the wiper seals Repeat on the other side Discard the wiper seals NOTICE Keep the lower leg stable Do...
Page 17: ...to seat the dust wiper seal into the lower leg until the seal surface is flush with the top of the lower into the lower leg until the seal surface is flush with the top of the lower leg leg Repeat on...
Page 18: ...H o u r S e r v i c e S o l o A i r S p r i n g S e r v i c e Remove the top cap Remove the top cap Remove the top cap o ring Install a new o ring Remove the top cap o ring Install a new o ring Do no...
Page 19: ...inside and outside of the upper tube for damage Inspect the inside and outside of the upper tube for damage NOTICE Scratches on the inside surface of the upper tube can cause air to leak If an intern...
Page 20: ...bottom out platform bottom out bumper retaining Remove the top out bottom out platform bottom out bumper retaining ring and seal head ring and seal head from the air shaft from the air shaft Clean and...
Page 21: ...amount of grease evenly around the end of a clean Apply a liberal amount of grease evenly around the end of a clean plastic dowel approximately 60 mm from one end Use the dowel to plastic dowel approx...
Page 22: ...h pieces of the split keeper into the groove on the shaft then install the split keeper o ring install the split keeper o ring Do not grease the split keeper o ring Slide the bottom out platform over...
Page 23: ...g is properly seated in the retaining ring Confirm the retaining ring is properly seated in the retaining ring groove by using the retaining ring pliers to rotate the retaining ring and groove by usin...
Page 24: ...ut knob and remove Loosen the set screw inside the lockout knob and remove the lockout adjuster knob the lockout adjuster knob Base Base Remove the damper cap Remove the damper cap Remove the Race Day...
Page 25: ...fety glasses Hold the damper over an oil pan Hold the damper over an oil pan Slowly Slowly compress the rebound shaft compress the rebound shaft to purge the oil from the port in the damper top cap Cy...
Page 26: ...he rebound shaft then remove the bleed syringe from the top cap top cap Make sure the rebound shaft is fully extended and there is a small Make sure the rebound shaft is fully extended and there is a...
Page 27: ...syringe handle down then release the plunger Allow the bladder to come to a natural resting position by waiting a few moments bladder to come to a natural resting position by waiting a few moments un...
Page 28: ...a vertical position for five minutes This will allow the remaining bubbles to float to the top allow the remaining bubbles to float to the top Extend the rebound shaft Extend the rebound shaft Remove...
Page 29: ...filling until the syringe stops filling Use a shop towel to cover the bleed tip and bleed port then unthread Use a shop towel to cover the bleed tip and bleed port then unthread and remove the syringe...
Page 30: ...o clock Install the adjuster knob with the tab in the 11 o clock unlocked position then tighten the retaining screw Check the adjuster unlocked position then tighten the retaining screw Check the adj...
Page 31: ...from the factory Do not apply extra grease to seals that already have Do not apply extra grease to seals that already have grease on them grease on them Hold the lower leg flat and inject 10 mL of sus...
Page 32: ...damper shafts are visible through the lower leg bolt holes holes Use a pick or small long hex wrench to guide the shaft through the Use a pick or small long hex wrench to guide the shaft through the...
Page 33: ...making sure to fully seat the rebound adjuster adapter into the bottom nut sure to fully seat the rebound adjuster adapter into the bottom nut Use a 2 5 mm hex wrench or the Rebound Adjuster to hold t...
Page 34: ...re service recorded settings to pressurize your air spring or use the air chart on the fork s lower leg and pressurize the air spring or use the air chart on the fork s lower leg and pressurize the ai...
Page 35: ...35 Lower Leg Installation Clean the entire fork Clean the entire fork This concludes the service of your RockShox Rudy XPLR suspension fork 12...
Page 36: ...l Lyrik MatchMaker Maxle Maxle 360 Maxle DH Maxle Lite Maxle Lite DH Maxle Stealth Maxle Ultimate Micro Gear System Mini Block Mini Cluster Monarch Monarch Plus Motion Control Motion Control DNA MRX N...
Page 37: ...1598 8 Chung Shan Road Shen Kang Hsiang Taichung City Taiwan R O C WORLD HEADQUARTERS SRAM LLC 1000 W Fulton Market 4th Floor Chicago Illinois 60607 U S A EUROPEAN HEADQUARTERS SRAM Europe Paasbosweg...