Sports Art Industrial Co., Ltd. TUV-CERT ISO 9001/9002/14000 Certified Quality Products 2013.03.08
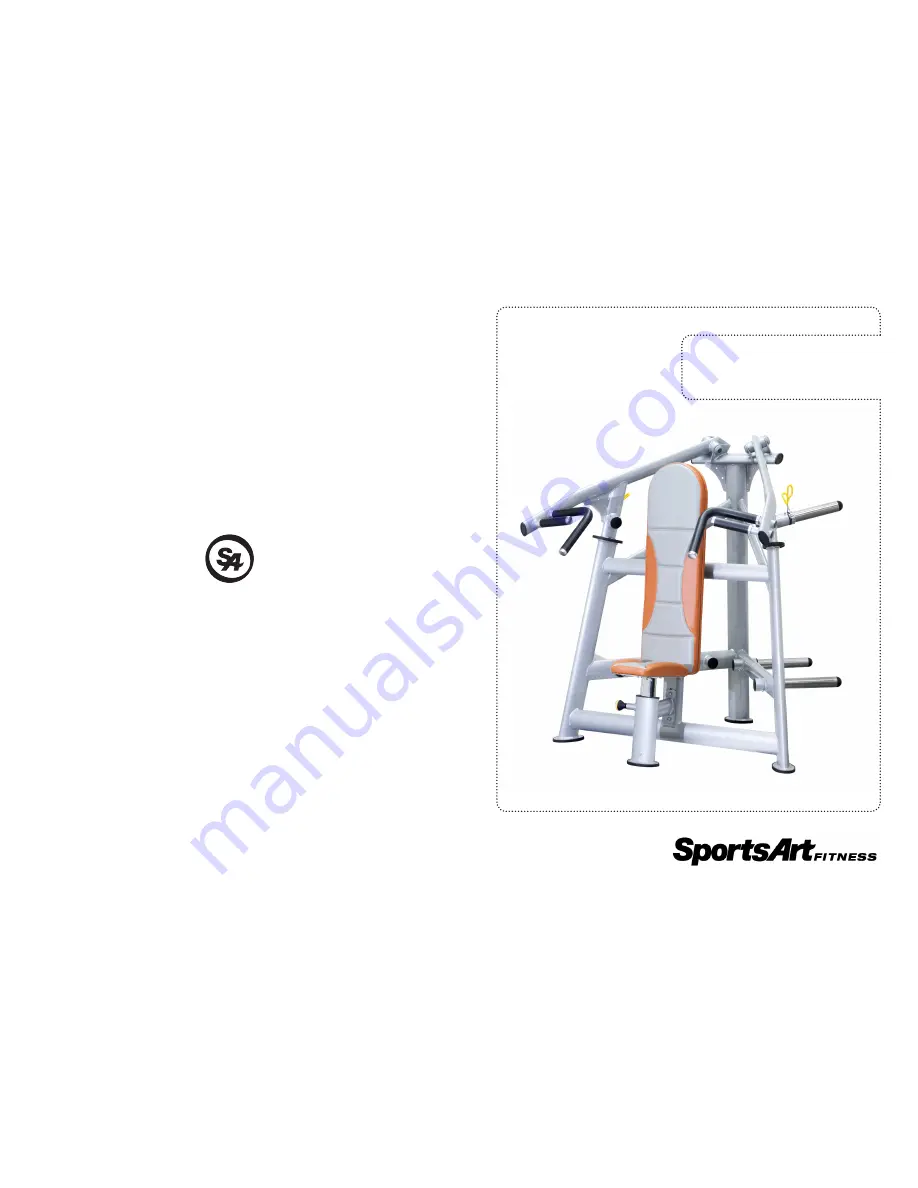
A987 Shoulder Press
Owner’s Manual
Page 1: ...Sports Art Industrial Co Ltd TUV CERT ISO 9001 9002 14000 Certified Quality Products 2013 03 08 A987 Shoulder Press Owner s Manual...
Page 2: ...the Seat Frame 6 STEP 2 Install the Seat Cushion 7 STEP 3 Install the Arm Assemblies 8 STEP 4 Install the Weight Plate Pegs 9 5 OPERATE THE PRODUCT 10 OPERATION Operate the Product 10 6 MAINTENANCE 11...
Page 3: ...als and designed for years of reliable performance this product was made for full commercial use Before this product is assembled or operated we recommend that you familiarize yourself with this manua...
Page 4: ...this manual Be careful when mounting and dismounting the unit Never operate this product if it has been damaged in any way If it is not working properly or has been dropped or damaged contact a servi...
Page 5: ...4 3 LIST OF PARTS Assembly Parts No Name Qty No Name Qty A1 Main frame 1 A6 Left arm assembly 1 A2 Seat frame 1 A7 Weight plate peg 1 A3 Connecting plate 1 A4 Seat cushion 1 A5 Right arm assembly 1...
Page 6: ...washer D20 d6 3 t1 5 Bushing A D6 L73 8 Self lubricating bearings 23 Mushroom top inner hex screw M6 P1 0 L15 Handrail washer D20 d7 t2 0 24 Beveled head inner hex screw M8 P1 25 L20 Spring washer M8...
Page 7: ...correspond to the left and right sides of a person in position to exercise on this product Also for brevity the word screws is used where screws washers and other hardware may be involved STEP 1 Insta...
Page 8: ...irst remove screws 21 from the seat cushion A4 and also remove the screws 24 from the seat frame A2 b Attach the seat cushion plate A4 onto the seat frame A2 then secure the assembly with screws 24 c...
Page 9: ...rm assembly a First remove the screws 22 from both arm assemblies A5 A6 b Attach the right arm assembly A5 onto the main frame A1 secure the assembly with screws 22 Then adhere the round stickers 11 o...
Page 10: ...ht plate pegs a First remove the screws 23 from the weight plate pegs A7 b Install weight plate pegs A7 onto both arm assemblies A5 A6 and the sides of the main frame A1 Use screws 23 to secure the we...
Page 11: ...upported d Select the horizontal grip or vertical grip e Perform the excercise in a controlled manner Exhale when pushing against resistance Note While operating the machine if the weight plate is mov...
Page 12: ...des a maintenance sched ule task list and log MAINTENANCE Schedule Area Day Week Month Quarter Year Notes 1 Exterior Clean 2 Screws Inspect for looseness and secure if necessary 3 Cushions Wipe with a...
Page 13: ...wipe down the product exterior 2 Inspect all screws Secure if necessary 3 Wipe cushions clean with a damp cloth Quarterly tasks 1 Clean and lubricate seat tube once every six months Caution Please fo...
Page 14: ...ter 2 Quarter 3 Quarter 4 Completed Yearly Tasks Year 1 Completed Notes __________________________________________________________ ________________________________________________________________ ____...
Page 15: ...lisez ce product uniquement pour l usage pr vu dans ce manuel La limite de poids de l utilisateur pour le produit est de 227 kg 500 lb Ce produit n est pas destin tre utilis par des personnes y compri...