Installation and Reference Manual
Configuring PBX functionality
Installation and Reference Manual v3.2/0410/6
93
Call Barring
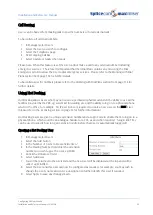
Users can be barred from making calls to specific numbers or for all external calls.
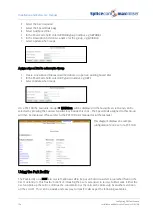
To bar calls to all external numbers:
1
In Manager select Users
2
Select the User you wish to configure
3
Select the Telephony page
4
Tick Outgoing Call Bar
5
Select Update or Apply when ready
Please note: When this feature is set the User cannot make a call to any external number including
emergency services. Therefore it is important that their Dial Plan contains an entry using the Dial
Emergency action to allow the User to dial emergency services. Please refer to the Working with Dial
Plans section from page 114 for further details.
To bar calls to specific numbers please refer to the Working with Dial Plans section from page 114 for
further details.
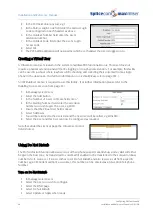
Using Hot Desking
Hot Desking allows Users who may not require a permanent physical extension the ability to use all the
facilities provided by the PBX, eg voicemail, forwarding etc, and the ability to log on to a physical phone
when in the office, for example. An IPUser licence is required to create a new User on the maximiser
(please refer to the Licensing section on page 35 for further information).
Hot Desking Users are given a unique extension number and a Login Code to enable them to log on to a
physical phone, which could be an analogue handset or a PCS, as and when required. A Login Idle Time
can be used to specify how long an extension is idle before that User is automatically logged off.
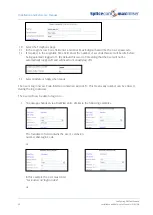
Creating a Hot Desking User
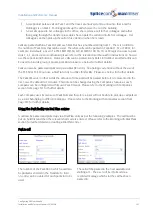
1
In Manager select Users
2
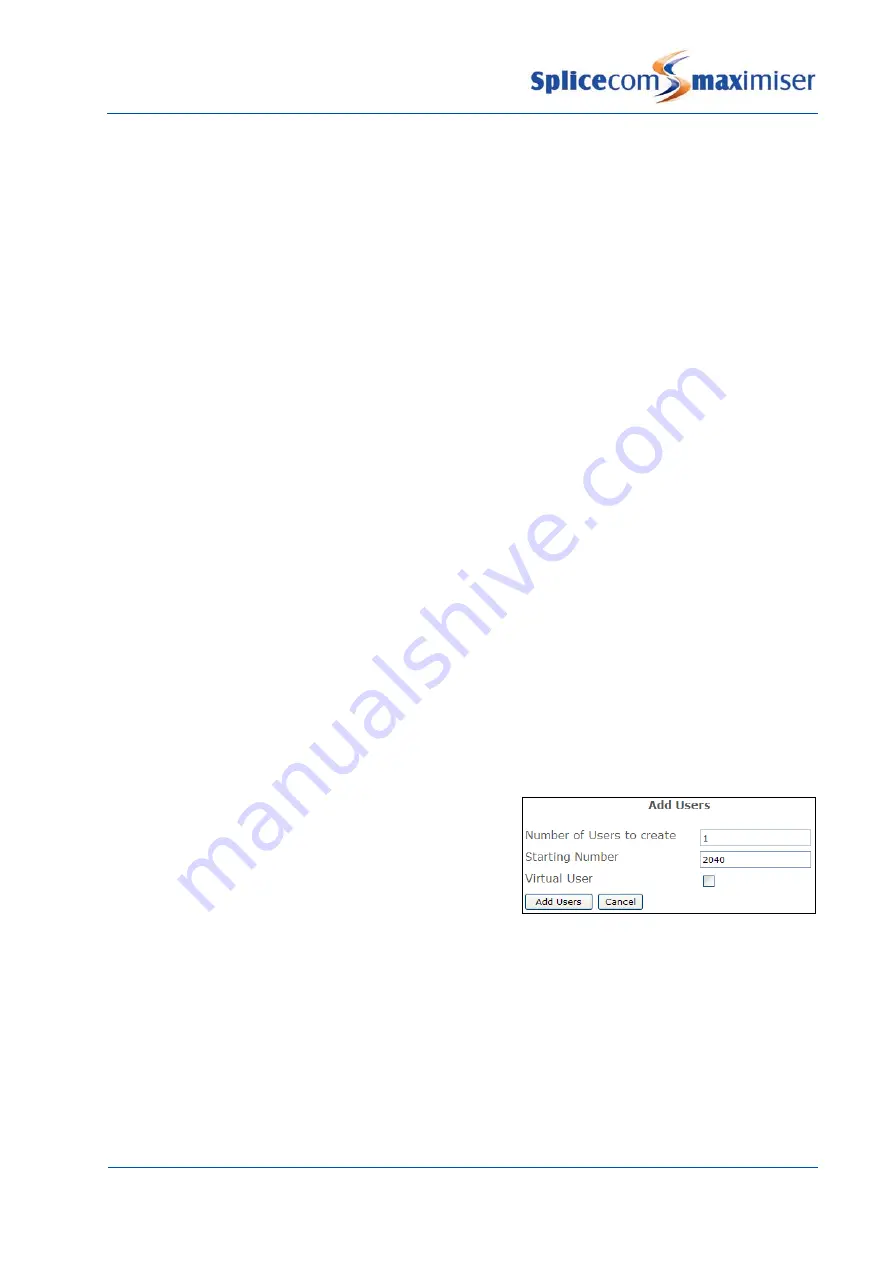
Select the Add button
3
In the Number of Users to Create field enter
1
4
In the Starting Number field enter the extension
number you wish to give the User, eg 2040.
5
Untick the Virtual User field.
6
Select Add Users
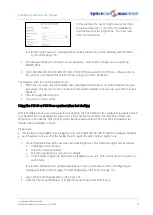
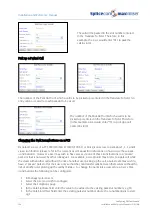
7
You will be returned to the Users List and the new User will be displayed at the top and will be
called, eg Extn2040.
8
Select the User and this User can now be configured as required, for example, you may wish to
change the User’s name and enter a description to further identify this User if required.
9
Select Apply to save any changes made.

