Chapter 5 - Managing Advanced Bucket Management Settings
Manage Buckets
Delete a Nearline or Online Disk Pool
If you want to delete an online or nearline disk pool (for example, to create a larger pool
after adding additional disks to the system) use the instructions in this section to delete a
disk pool.
Note:
You must delete all objects contained in the disk pool before you can delete the
pool.
1.
From the menu bar, select
Configuration > Advanced Bucket Management > Storage &
Policy Management
to display the Advanced Bucket Management screen (see
).
2.
Select the pool you want to delete in the Storage Pools pane, and select
Action > Delete
.
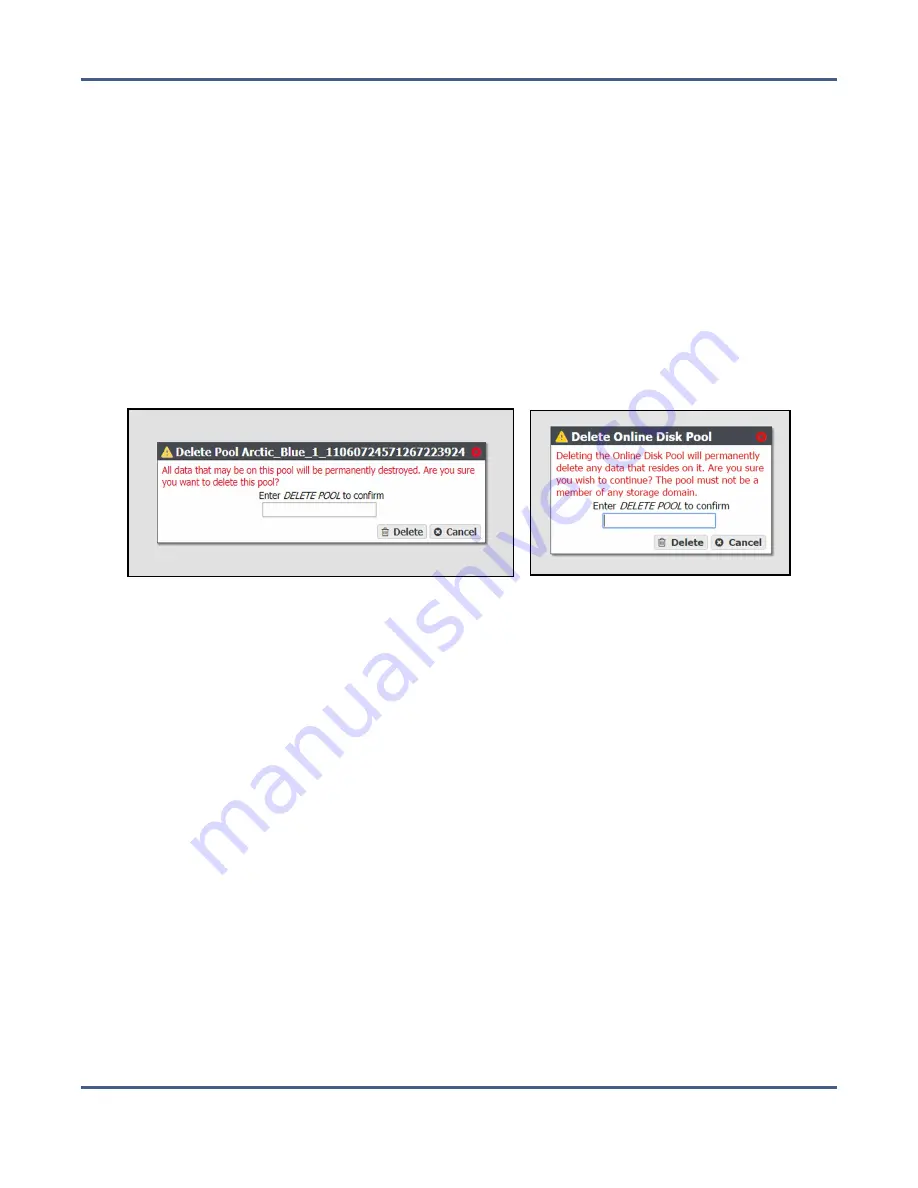
A confirmation dialog box displays.
Figure 77
The Delete Nearline Disk Pool
confirmation dialog box.
Figure 78
The Delete Online Disk
Pool confirmation dialog box.
3.
Enter
DELETE POOL
into the entry field and click
Delete
. The disk pool is deleted.
M
ANAGE
B
UCKETS
Use the instructions in this section to configure ACLs for a bucket, edit, or delete a bucket.
For instructions on creating a new bucket, see
Show Bucket Physical Placement
Once data is transferred to the BlackPearl system, you can view the physical placement of
the data. The BlackPearl user interface displays data placement on disk pools, tapes, and
replication targets. Use the instructions in this section to view physical placement of a
specified bucket.
1.
From the menu bar, select
Configuration > Buckets
. The Buckets screen displays (see
).
November 2020
User Guide-BlackPearl Converged Storage System
- 166 -


