EZ Setup & Main Interface
NVR User Manual
6
3
EZ Setup & Main Interface
3.1 EZ Setup
The disk icons will be shown on the top of the startup interface. You can view the number and status of each disk quickly and conveniently through
these icons ( : no disk;
: unavailable disk;
: RW available disk).
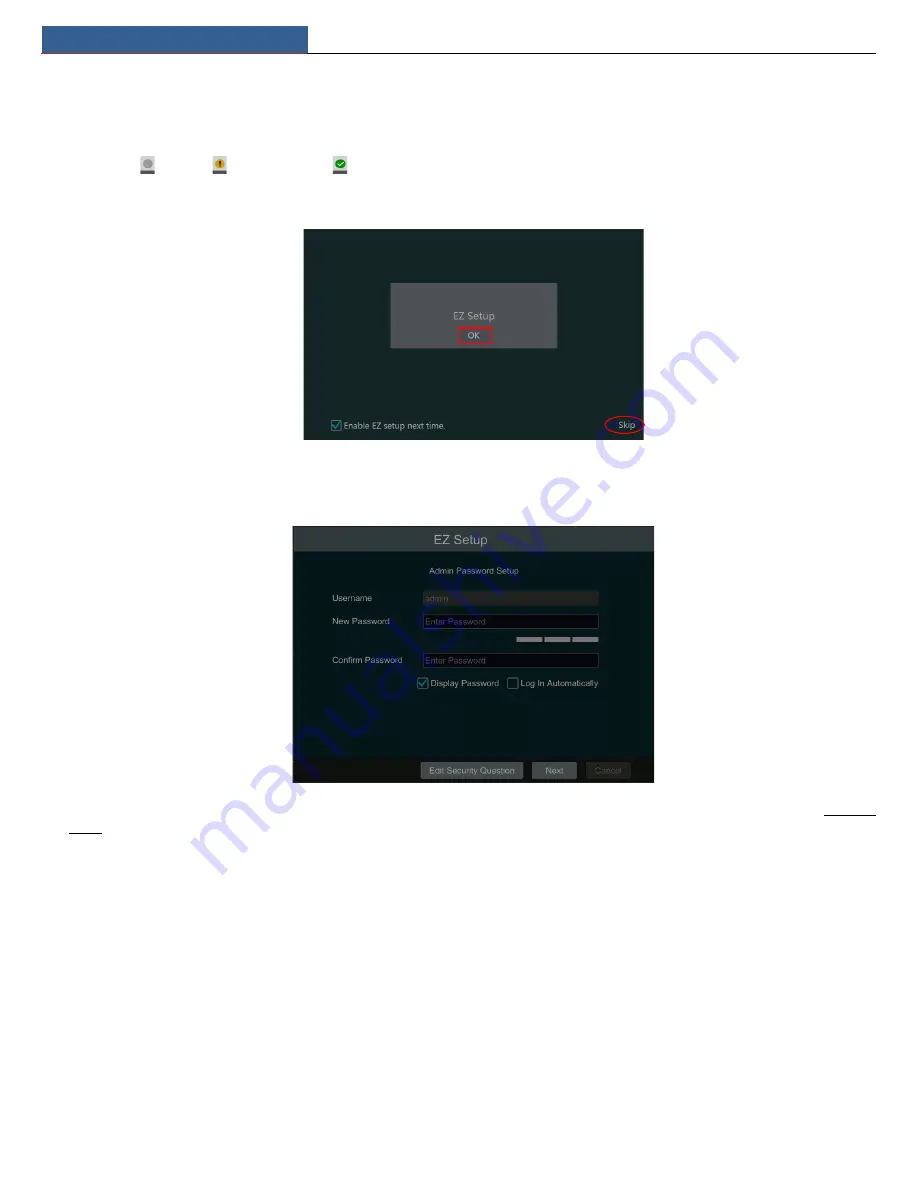
You can quickly configure the NVR by clicking “OK” to make the NVR work normally. You must configure the wizard if you start the NVR for the first
time (or click “Skip” to cancel the EZ Setup next time).
Click “OK” to start wizard. The setting steps are as follows.
①
System Login
. Set your own password when you use the wizard for the first time (the default username of the system is
admin
); select the login
username and enter the password you set by yourself.
Click “Edit Security Question” to set questions and answers for password security of admin. If you forget the password, please refer to Q4 in Appendix
A FAQ for details.
Click “Next” to continue or click “Cancel” to exit the wizard.
②
Date & Time.
When booting up for the first time, the device will prompt you for time settings or go to Settings→System→Date and Time for
details.
System Time: Set the time and date format of the system
DST: Toggle Daylight Saving Time On or Off
Time format: Choose between 24-hour mode or 12-hour mode.
NTP: Specify an NTP server to synchronize the time (optional).


