25
Aspect
[ASPECT]
You can set the aspect ratio of the picture to be displayed for the current input signal (page 14).
1.85:1 Zoom:
A 1.85:1 aspect ratio picture is displayed in its original aspect ratio, enlarged so that black
bands do not appear at the top and bottom of the projection surface.
2.35:1 Zoom:
A 2.35:1 aspect ratio picture is displayed in its original aspect ratio, enlarged so that black
bands at the top and bottom of the projection surface are as small as possible. When you select “2.35:1
Zoom” from “Trigger Select 1/2” on the Installation
menu, a 12 V signal is output from the
TRIGGER 1 or TRIGGER 2 connector (page 31).
H Stretch:
A 16:9 video is projected on the entire 2.35:1 screen.
Normal:
Input video is displayed in its original aspect ratio, enlarged to fill the projection surface. This
mode is suitable for viewing 1.78:1 (16:9) and 1.33:1 (4:3) video.
V Stretch:
This is the most suitable mode for using a 2.35:1 screen to view 2.35:1 video with a
commercially available anamorphic lens.
When you select “V Stretch” from “Trigger Select 1/2” on the Installation
menu, a 12 V signal is
output from the TRIGGER 1 or TRIGGER 2 connector (page 31).
Squeeze:
With this setting, 1.78:1 (16:9) and 1.33:1 (4:3) video will be displayed in their correct aspect
ratios when you use a commercially available anamorphic lens.
Stretch:
Displays video that has been squeezed to 1.33:1 (4:3) as 1.78:1 (16:9) aspect ratio.
Tips
• When you select “V Stretch” or “Squeeze,” select the anamorphic lens type from “Anamorphic Lens”
in the Installation
menu.
• Selectable aspect modes vary depending on the input signal (page 45).
• Aspect setting is stored for each of the five Picture Positions. Adjust the aspect after selecting the
Picture Position. Final adjusted values are stored automatically.
• When “H Stretch” is selected, the aspect ratio of input video will be landscape.
Blanking
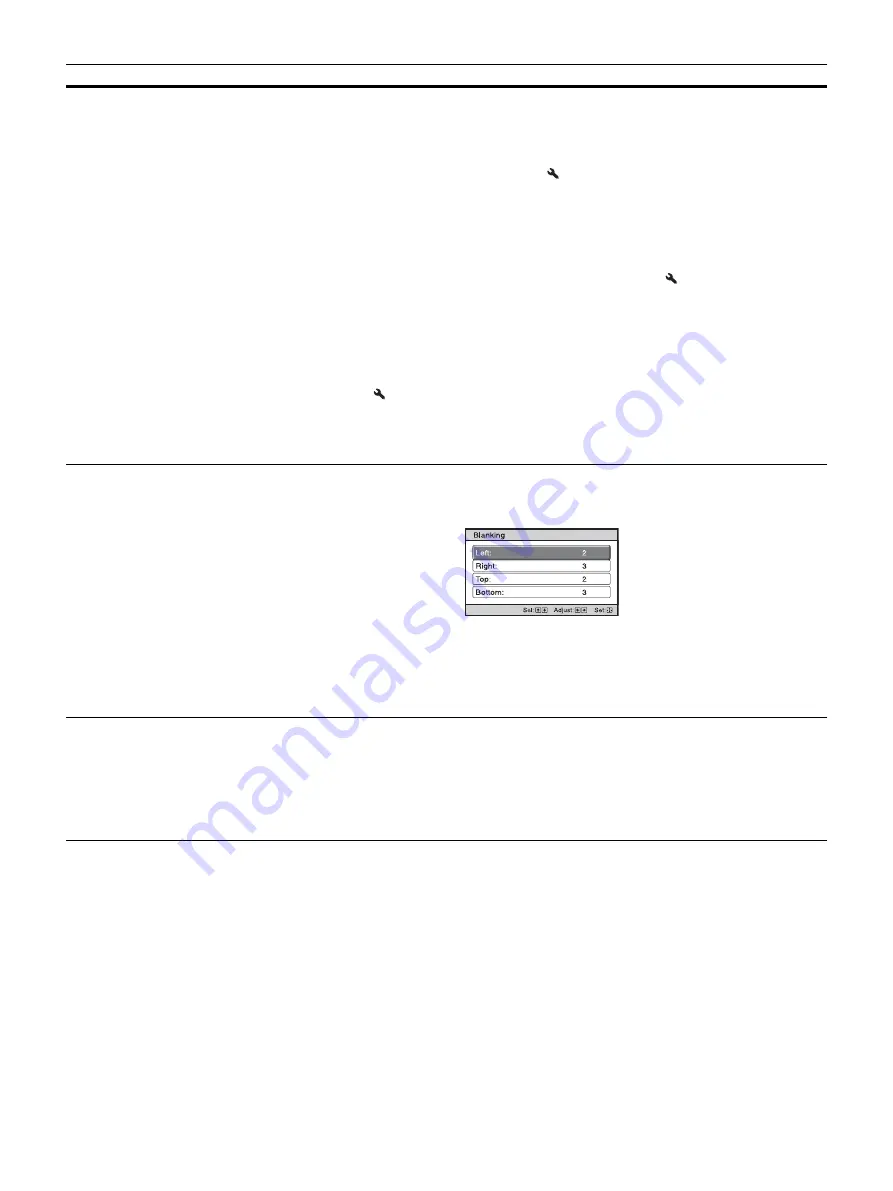
This feature allows you to adjust the displayable region within the four directions of the screen.
On:
Select the edge to adjust by highlighting Left, Right, Top, or Bottom using the
M
/
m
buttons.
Adjust the amount of blanking using the
<
/
,
buttons.
Off:
Turns off the Blanking function.
Tips
• Depending on the aspect ratio setting, right/left blanking may not be available.
• Blanking setting is stored for each of the five Picture Positions. Adjust the blanking after selecting the
Picture Position. Final adjusted values are stored automatically.
Image Shift
On:
You can adjust the image position.
H:
The image moves to the right as the value increases, and moves to the left as decreases.
V:
The image moves up as the value increases, and moves down as decreases.
Off:
You can turn off the image shift function.
Tip
When displaying one image with two projectors installed side-by-side, position both images to align
their adjoining edges.
Setting items
Description
Summary of Contents for VPL-VW5000ES
Page 53: ...Sony Corporation ...


