18
Appendix
Troubleshooting
Unit does not operation
Before sending the unit out for servicing, check the items listed below. If you still cannot solve the problem,
contact your Sony Authorized dealer.
Problem
Cause/Remedy
Power does not switch on (Power lamp does not light).
Power does not switch off.
Display not on or difficult to see.
Image data cannot be read.
Image data cannot be read from a CD-ROM or CD-R.
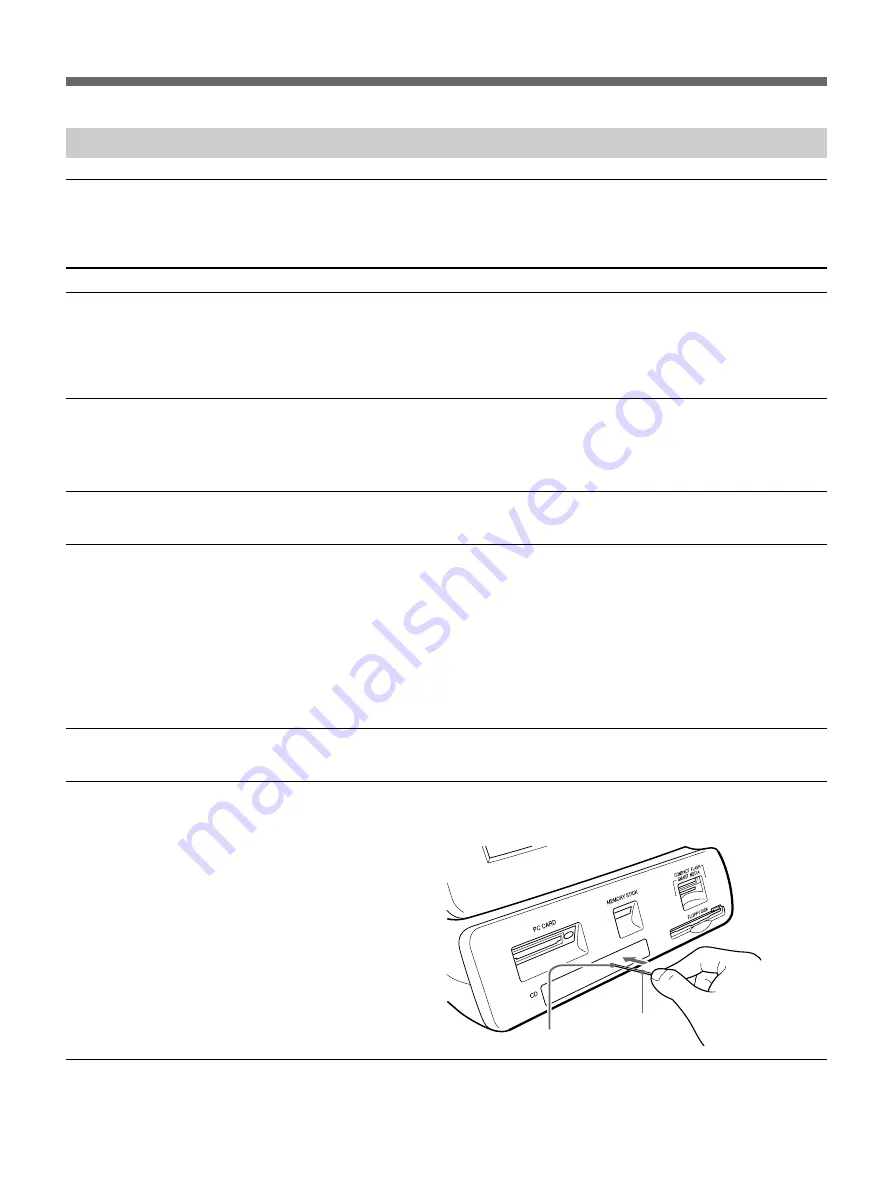
CD-R drive tray does not open.
c
Power is not switched on.
Turn on the main power switch. (page 10)
c
Even if the main power switch appears to be in the on position, it may not have been
pressed correctly.
Make sure that the power switch on the back of the display has been fully depressed.
(page 10)
c
The main unit may still be doing processing.
Wait a few moments for the main unit to stop processing
c
An abnormal condition may have caused the main unit to hang up.
On the back of the display, push the power switch in and hold for a few seconds, then
release the switch and continue operation.
c
Depending on the display angle, the display may not be visible or may be difficult to see.
The display angle can be adjusted. Adjust the angle of the display to improve the display
appearance. (page 6)
c
A mounted storage media does not contain any data.
Insert a storage media that contains image data.
c
Data has been recorded on a storage media in a format that the main unit does not
recognize.
Be sure to store image data in a format that the main unit can recognize. (page 23)
c
The PC card, Memory Stick, SmartMedia card, CompactFlash card, or floppy disk may
not be properly inserted.
Make sure that the storage media is fully inserted. (page 11)
c
The storage media may not be inserted in the correct direction.
Set the media in the direction shown on the operation screen.
c
The CD-ROM or CD-R may have been inserted with the label side (the printed side)
facing down.
Set the CD-ROM or CD-R with the label facing up.
c
When a message appears prompting you to remove the media, or if the tray does not open
after operation is completed, insert the CD eject pin into the manual eject hole and press it
in to open the tray.
Manual eject slot
CD eject pin


