Installing the Printer Driver
12
7
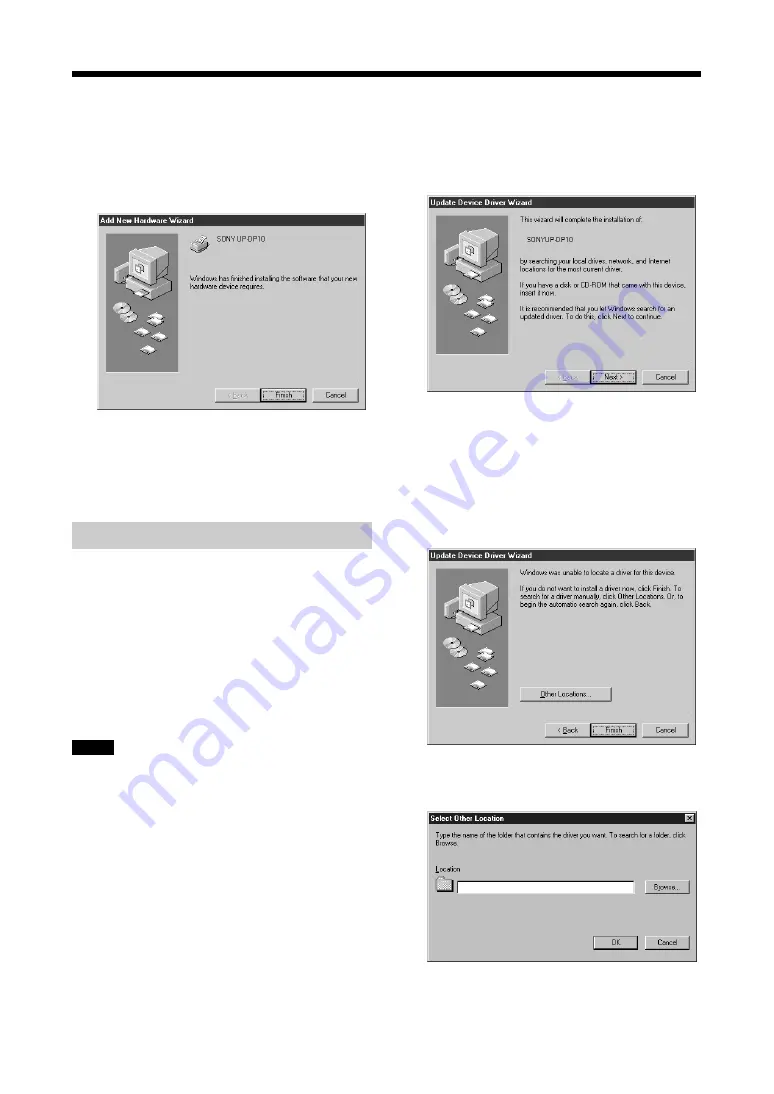
If necessary, you can type a name for the
printer in the [Printer name] field. Then,
click [Finish].
After the file is copied, the window changes
as shown below.
8
Click [Finish].
The wizard ends. Installation is now
complete.
With Windows 95
Install the printer driver that is contained in the
CD-ROM that is provided with the printer. The
“printer driver” is the software that allows you to
print on the UP-DP10, using the Print function of
typical application software.
Before installing the printer driver, turn the
computer and the printer off, and then connect
the printer to the computer.
Notes
• The driver does not support connection with a
USB cable under Windows 95. Use a printer
cable.
• The installation procedure may differ from the
procedure described here, depending on the
Windows 95 version that you are using. If that
is the case, refer to your Windows 95 operating
manual for instructions.
1
Turn the printer on first, and then turn the
computer on. Once Windows 95 starts up,
the “Update Device Driver Wizard” window
appears.
If the “Update Device Driver Wizard” dialog
box does not appear when Windows 95 starts
up, install the printer by selecting [Start]
t
[Settings]
t
[Printers]
t
[Add Printer].
2
Click [Next].
The window changes as shown below.
3
Select [Other Locations].
The window changes as shown below.
4
Place the “Printer Software UP-DP10” CD-
ROM in the CD-ROM drive.


