O
per
at
ion
Adjusting the Printouts
13
Adjusting the Printouts
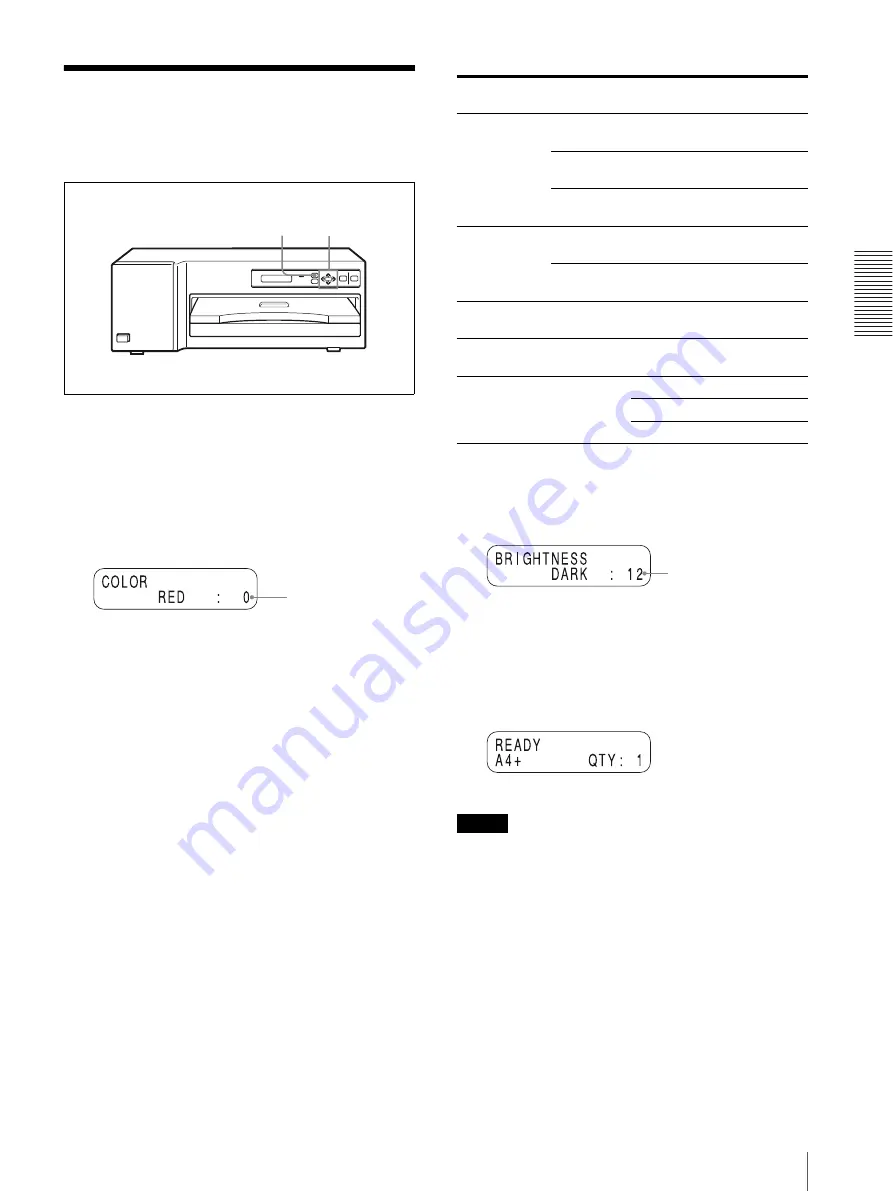
You can adjust the picture quality of a printout with the
MENU button before printing. The most recent setting
remains effective until changed.
1
Press the MENU button.
The COLOR ADJUST menu appears.
2
Display the first item of the printout adjust menu
(for RED) in the printer window display by
pressing the
f
button.
The default or preset level is shown as a value.
3
Perform ajdustment.
1
Select the item for adjustment by using the
F
or
f
button.
f
: Scrolls up to the next item.
F
: Scrolls down to the previous item.
2
Adjust the level by pressing the
G
or
g
button.
You can adjust the level for RED, GREEN and
BLUE of the color, DARK and LIGHT of the
tone and GAMMA of the half tone between –
32 to +32. The value 0 is the standard level.
g
: Increases the level.
G
: Decreases the level.
The sharpness can be adjusted between 0 to 3.
1 is the standard value.
The LAMINATION can be adjusted among 3
kinds of the lamination types: Glossy/Texture/
Matte.
a) When you press
Example: To set the level of DARK to 12
Press the button Twelfth.
4
To exit from the printout adjust menu, press the
MENU button again.
The printer returns to standby status.
Notes
• You can also adjust the printout picture quality from
the supplied printer driver installed in the computer
connected to the printer. By executing printing from
the computer, the values set on the printer is updated
by ones set from the printer driver.
• The next printout is printed with the newly set values.
You cannot adjust the color during printing.
1,4
2,3
Default level (or preset
level)
Adjustment items
Adjustment
content
COLOR
RED
Red becomes
stronger.
a)
GREEN
Green becomes
stronger.
a)
BLUE
Blue becomes
stronger.
a)
BRIGHTNESS DARK
Dark tone becomes
stronger.
a)
LIGHT
Light tone becomes
stronger.
a)
SHARPNESS
The outlines become
sharper.
CONTRAST
GAMMA
Half tone colors
become stronger.
a)
LAMINATE
Glossy
Glossy surface
Texture Silk pattern surface
Matte
Foggy pattern surface
Level value changes.


