80
Dubbing Using Dubbing
List
You can select the titles you want to dub
using Dubbing List. You can also edit titles
before dubbing without changing the original
titles.
1
Press SYSTEM MENU.
The System Menu appears.
2
Select “Dubbing,” and press ENTER.
3
Select a dubbing direction, and press
ENTER.
To dub titles from the HDD to a disc,
select “HDD -> DVD.”
To dub titles from a disc to the HDD,
select “DVD/CD -> HDD.”
4
Select “Create New Dubbing List,”
and press ENTER.
The Dubbing List appears.
• If you have previously saved a Dubbing
List and want to resume editing it,
select “Use Previous Dubbing List,”
and go to step 7.
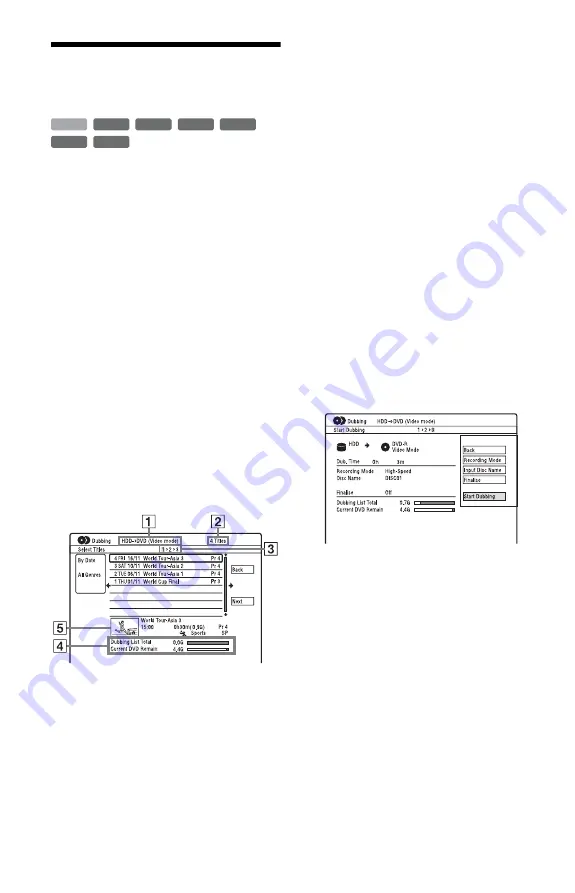
A
Direction of dubbing
B
Total number of titles to be dubbed
C
Dubbing step number
Display 1: Select a title you want to
dub (the “Select Titles” display).
Display 2: Edit a title (the “Title
Edit” display).
Display 3: Confirm the settings and
start dubbing (the “Start Dubbing”
display).
D
Total size of the selected titles and
available space on the disc to be
dubbed (approximate)
E
Selected title’s thumbnail picture
5
Select a title, and press ENTER.
The selected title changes colour.
When you select “HDD -> DVD” in step
3, you can change the title order or search
for a title by genre (see “3. Playing the
Recorded Programme (Title List)” on
page 33).
6
Repeat step 5 to select all of the titles
in the order you want to dub.
7
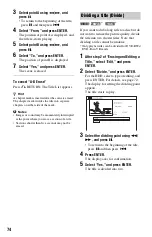
Select “Next” using
,
, and press
ENTER.
The “Title Edit” display appears.
For details about editing, see “To edit
titles on the Dubbing List” on page 82.
8
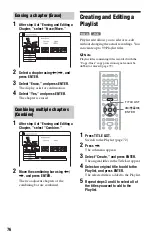
Select “Next” using
,
, and press
ENTER.
The “Start Dubbing” display appears.
9
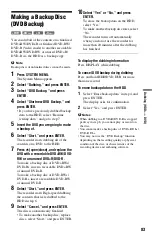
Select an option using
M
/
m
, and press
ENTER.
The options differ depending on the
dubbing direction or disc type.
“Recording Mode”: Changes the
dubbing mode of all selected titles at a
time using
M
/
m
“Input Disc Name”: Changes the disc
name (page 37).
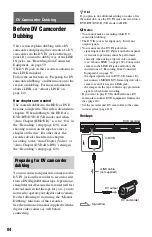
“Finalise”: Select “Yes” to finalise a disc
automatically after dubbing (DVD-RW/
DVD-R (Video mode), or DVD+R).
+
RW
-RW
VR
-RW
Video
-R
VR
+
R
HDD
-R
Video


