86
Creating a Copy of the Edited Contents (Copy Dubbing)
3
To use the default name, press
<
/
,
to select
“OK,” then press ENTER.
Notes
• You cannot set a scene to be shorter than one second.
• In order for a One Touch Dub recording to be added to the DV/D8 Edit
List, “Add to Edit List” in Features Setup must be set to “On”
(page 98).
Creating a Copy of the
Edited Contents
(Copy Dubbing)
You can make copies of the programs in the DV/D8 Edit List.
Each time you dub a DV/Digital8 format tape, the start and stop
points of the selected scenes (called a “program”) are saved in a
DV/D8 Edit List. You can select a program from the DV/D8 Edit
List and use this information to copy the same contents onto
another disc of your choice.
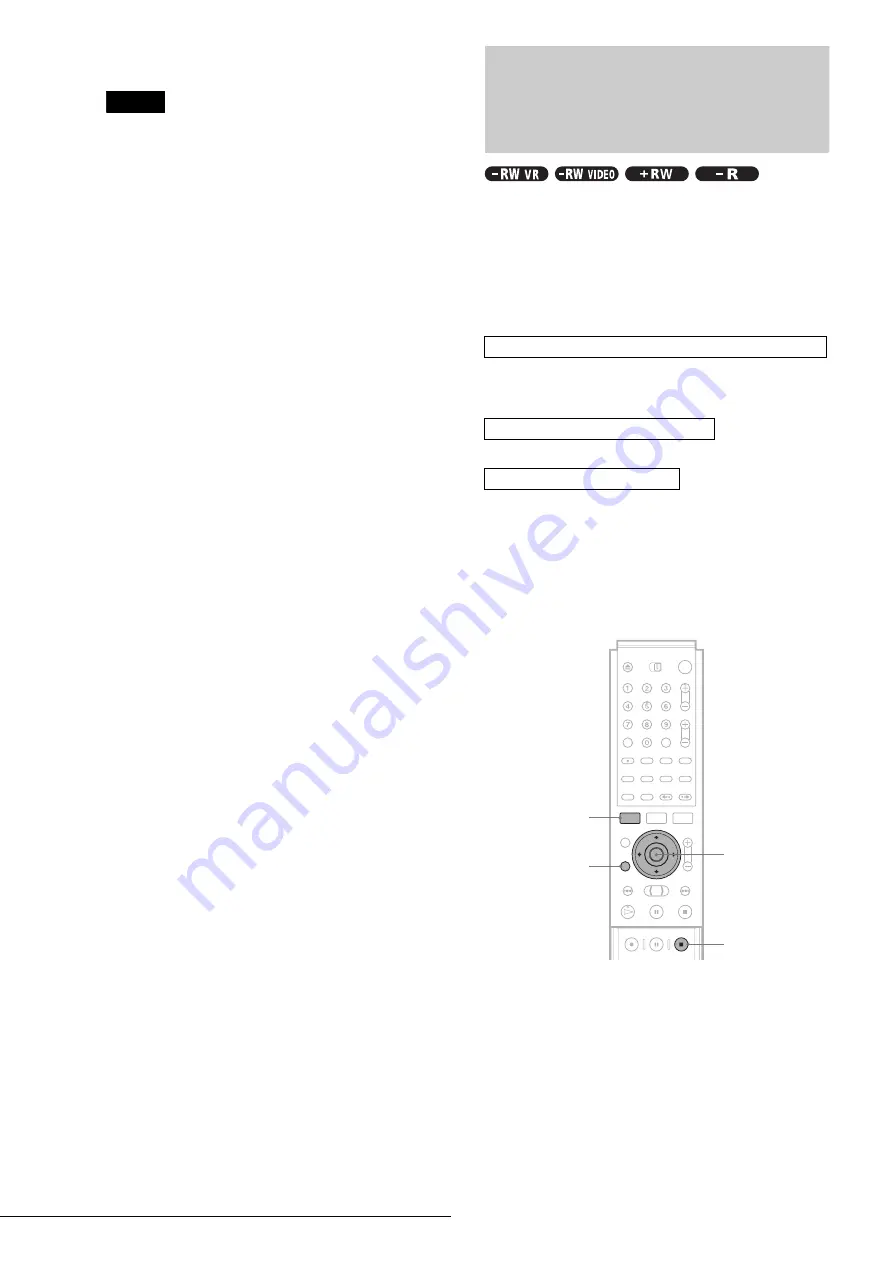
To use this function, you will do the following:
Be sure to insert the original DV/Digital8 format tape that
corresponds to the program in the DV/D8 Edit List.
m
m
The recorder will fast forward and rewind the tape automatically
and record the scenes to a disc of your choice. On a DVD-RW
(VR mode), chapter marks are inserted at the start of each scene
and where the recordings start on the tape. For other discs, the
recorder marks chapters either in 6 or 15 minute intervals
depending on the setting in “Auto Chapter” in Features Setup
.
a
Follow steps 1 to 7 of “Preparing for recording
using the DV IN jack” (page 75), then press
SYSTEM MENU.
Be sure to insert the original DV/Digital8 format tape
that corresponds to the program in the DV/D8 Edit
List.
b
Press
M
/
m
to select “DV/D8 EDIT,” then
press ENTER.
The DV/D8 Edit menu appears.
Connect your digital video camera and prepare for recording
Select a program from the DV/D8 Edit List
Dub the selected scenes to a disc
<
/
M
/
m
/
,
,
ENTER
RETURN
SYSTEM MENU
x
REC STOP


