D
V
/D
8 D
ubb
in
g (DV/
D
8
t
DV
D)
69
US
Dubbing From a DV/D8
Format Tape to a DVD
You can simply record the entire contents of a DV/
D8 format tape onto a disc. The recorder controls
the DV camcorder for the whole process. You can
also select the scenes on the tape using the on-
screen display. See “Dubbing selected scenes” on
page 70.
◆
How titles and chapters are created
The dubbed contents on the disc become one title,
and the title is then divided into chapters at either
5 or 15-minute intervals, according to the “DVD
Auto Chapter” setting of “Features” in the “Setup”
display.
Notes
• To play the dubbed disc on other DVD equipment,
finalize the disc (page 66). If you set “Auto Finalize” to
“On” in the “Features” setup (page 85), the Auto
Finalize function works for DVD-RWs (Video mode),
DVD-Rs (Video mode) and DVD+Rs after dubbing.
For details, see page 67.
• Do not connect the
(USB) jack at the same time.
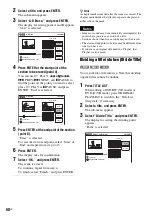
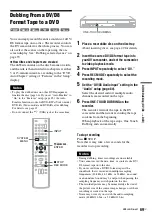
1
Place a recordable disc on the disc tray.
About inserting discs, see page 49 for details.
2
Insert the source DV/D8 format tape into
your DV camcorder, and set the camcorder
to video playback mode.
3
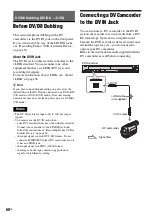
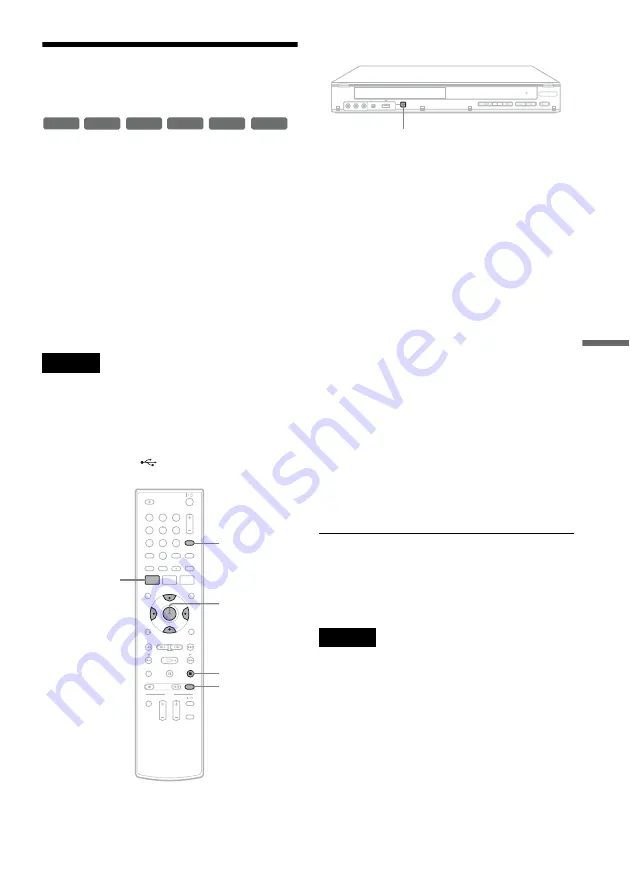
Press INPUT repeatedly to select “DV.”
4
Press REC MODE repeatedly to select the
recording mode.
5
Set the “DV/D8 Audio Input” setting in the
“Audio” setup (page 84).
Select the desired audio if multiple audio
channels are recorded on the tape.
6
Press ONE-TOUCH DUBBING on the
recorder.
The recorder rewinds the tape in the DV
camcorder and then starts recording the tape
contents from the beginning.
When playback of the tape stops, One Touch
Dubbing ends automatically.
To stop recording
Press
x
STOP.
Note that it may take a few seconds for the
recorder to stop recording.
Notes
• During dubbing, timer recordings are unavailable.
• You cannot record the date, time, or contents of a DV/
D8 format tape onto the disc.
• If you record from a DV/D8 format tape with a
soundtrack that is recorded in multiple sampling
frequencies (48 kHz, 44.1 kHz, or 32 kHz), no sound,
or an unnatural sound may be output when passing the
sampling frequency switch point on the disc.
• The recorded picture may be momentarily affected if
the picture size of the source image changes, or if there
is nothing recorded on the tape.
• Noise may occur if you switch the audio sampling
mode (48 kHz/16 bits
t
32 kHz/12 bits).
-RW
VR
-RW
Video
+
RW
+
R
-R
VR
-R
Video
1
1
2
2
3
3
4
4
5
5
6
6
7
7
8
8
0
0
9
9
REC MODE
INPUT
SYSTEM
MENU
M
/
m
/
<
/
,
,
ENTER
x
STOP
REC
ONE-TOUCH DUBBING
,
continued
Summary of Contents for RDR-GX360
Page 5: ...5US ...
Page 29: ...Hookups and Settings 29US ...
Page 128: ...Sony Corporation Printed in China AK68 01519A ...


