13
This section describes how to operate the unit to view a picture from the equipment connected to the unit. It also describes
how to switch the screen size according to the picture.
Projecting the Picture
1
Turn on both the unit and the equipment connected to
the unit.
2
Press INPUT to display the input palette on the
projection surface.
3
Select the equipment from which you want to display
images.
Press INPUT repeatedly or press
M
/
m
/ENTER to
select the equipment from which to project.
Tips
• When “Status” is set to “Off” on the Setup
menu, the input
palette does not appear. Press the INPUT button to switch between
input terminals sequentially.
• You can also switch the input connectors using the A to E buttons
on the remote control.
• You can change the language for the menu and on-screen displays
in “Language” on the Setup
menu (page 25).
1
Press the
?
/
1
button twice on the unit or press the
1
button once on the remote control.
The projector starts shutdown and turns off.
2
Unplug the AC power cord from the wall outlet.
Never disconnect the AC power cord while the unit is turned on.
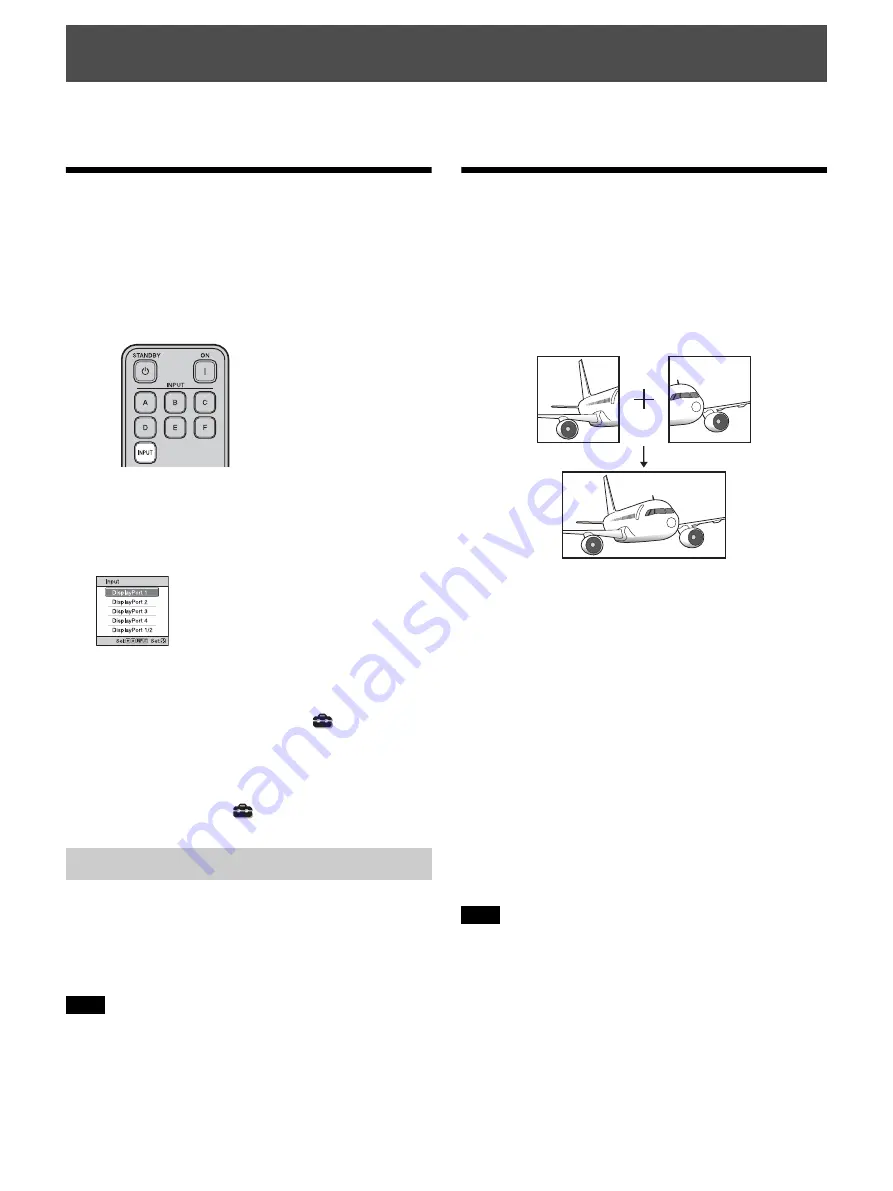
Projecting High-
Resolution Images (V
Split display)
Signals transferred after an image is split at “4096 × 2160”
or “3840 × 2160” resolution are projected.
1
Connect DisplayPort output 1 and DisplayPort output
2 of the workstation to DisplayPort input 1 and
DisplayPort input 2 of the unit respectively (page 11).
2
Turn on the unit and workstation.
3
Select DisplayPort 1/2 in the input palette.
4
Select either “2048 × 2160” or “1920 × 2160”
resolution in the setting screen on the workstation*.
5
Select 60Hz for the refresh rate.
* For information on the setting screen, as operation
differs depending on the OS or the graphic boards
which are installed in the workstation, consult with
the manufacturer of the workstation or graphic
boards.
Input the synchronized signals output from the same signal system
in the same signal format to DisplayPort 1 and DisplayPort 2.
Projecting
Turning Off the Power
Note
Example: To view the picture from the video equipment
connected to the DisplayPort 1 connector of this unit.
Note
Summary of Contents for PXW-Z280
Page 49: ...Sony Corporation ...


