31
Connecting to Computers
Conne
c
tin
g
to
Comp
ute
rs
Connecting to
Computers
By connecting the unit to a video editing
computer, you can play back and edit data
that is stored on the HDD cartridge or SxS
memory card installed in the unit.
HDD cartridge and SxS memory card data
cannot be handled simultaneously on the
connected computer. Before connecting the
unit to the computer, you must select
whether to use data stored on the HDD
cartridge or on the SxS memory card from
the unit.
We recommend connecting the AC adaptor
and using AC power to eliminate concerns
about battery charge during use.
Connect the AC adaptor to the DC IN
connector on the unit, connect the power
cord to the AC adaptor, and connect to an
AC power source.
Note
Power cannot be supplied from the computer.
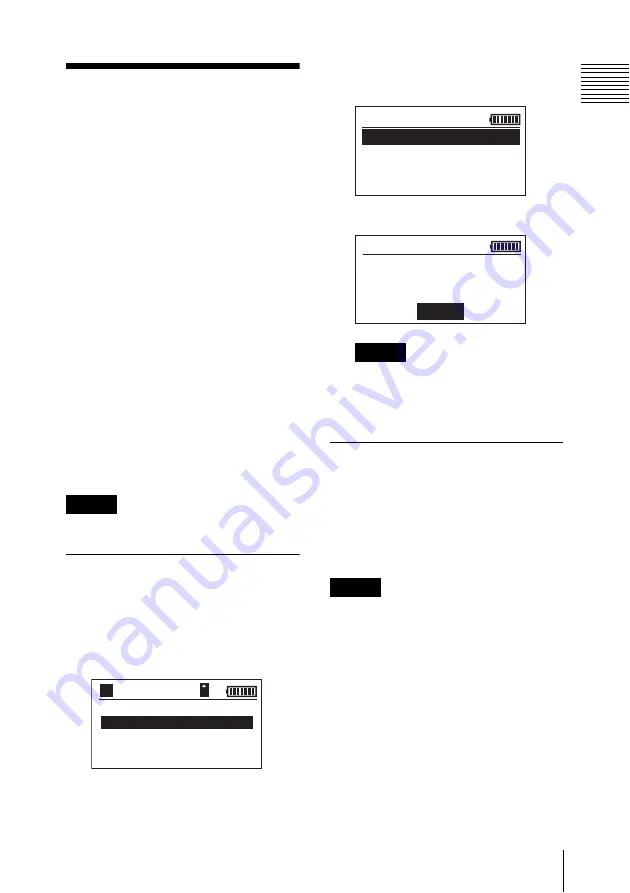
Selecting the HDD
Cartridge or SxS Memory
Card
1
Select CONNECT TO PC in the main
menu, and press the SET button.
2
Select HDD MODE or SxS MODE,
and press the SET button.
The selected mode appears at the top of
the screen.
Note
If “No HDD” appears after selecting HDD
MODE, turn off the unit, remove and
reinstall the HDD cartridge, and perform
the procedure again from the main menu.
Connecting the Computer
After you select a mode and it appears at the
top of the screen, connect the computer to
the unit using an eSATA cable (optional) or
the USB cable (supplied). Using an eSATA
cable enables data transfer at higher speed.
Note
To connect an eSATA cable, your computer
requires an eSATA connector or eSATA
expansion card.
BROW
S
E HDD
CONNECT TO PC
BROW
S
E
S
x
S
S
ETUP
A
080/ 080
GB
HDD MODE
S x S MODE
E X I T
CONNECT TO PC
EX I T
HDD MODE


