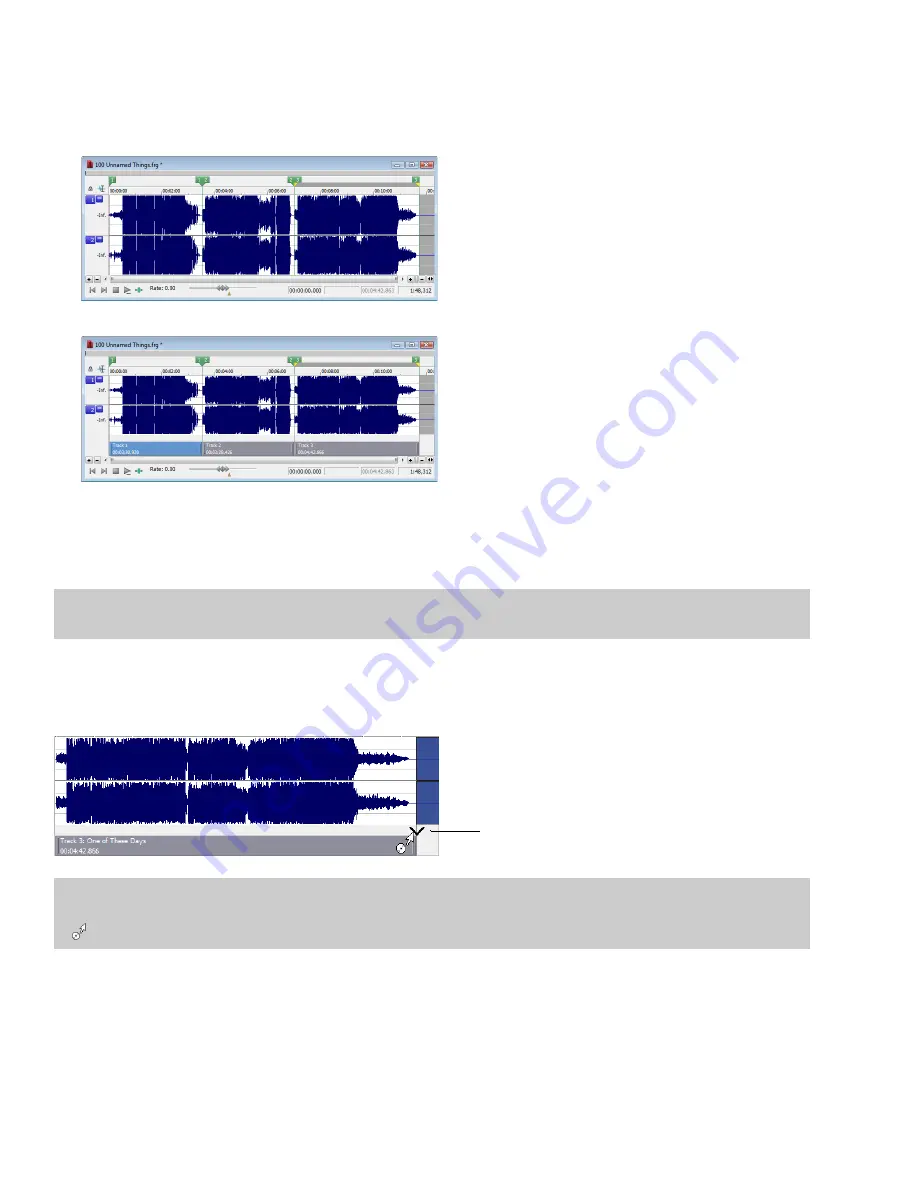
Creating CD tracks from regions in a file
If you have a live recording that uses regions to indicate the sections of the recording, you can use this feature to create tracks without
having to scan through the audio and create tracks manually.
1.
Add regions as necessary to indicate the tracks in your recording.
2.
From the
Edit
menu, choose
Track List
, and then choose
Create Tracks from Regions
. Each region is marked with a CD track.
You can drag CD tracks to rearrange them, drag either end of a track to change its length, or use the Track List window to edit the
track’s position or name.
Adding files to a data window and creating tracks
Tip:
When you create a track using a media file that includes title and artist metadata, this information will be added to the Track List
window as CD Text.
Dragging files to the CD layout bar
Drag a file to the CD layout bar at the bottom of a data window. An indicator is displayed to show you where the track will be added
when you release the mouse. When you drop the file, a track is created, and pause time is added before the new track.
Track placement indicator
Note:
If you want to add a CD track without pause time, drag the file to the waveform display above the CD layout bar. If
Options
>
Drag-and-Drop Editing
>
CD Track
isn’t selected, click the right mouse button while dragging until the cursor is displayed with a CD icon
) to show you where the track will be added.
(
294
|
CHAPTER 20
Summary of Contents for Pro 10
Page 1: ...Pro 10 Sound Forge User Manual ...
Page 2: ......
Page 26: ...20 CHAPTER 1 ...
Page 60: ...54 CHAPTER 2 ...
Page 152: ...146 CHAPTER 8 ...
Page 166: ...160 CHAPTER 9 ...
Page 176: ...170 CHAPTER 10 ...
Page 200: ...194 CHAPTER 11 ...
Page 220: ...214 CHAPTER 12 ...
Page 236: ...230 CHAPTER 13 ...
Page 266: ...260 CHAPTER 16 ...
Page 278: ...272 CHAPTER 17 ...
Page 312: ...306 CHAPTER 20 ...
Page 346: ...340 APPENDIX C ...
Page 366: ...360 APPENDIX E ...


