Saving sampler configurations
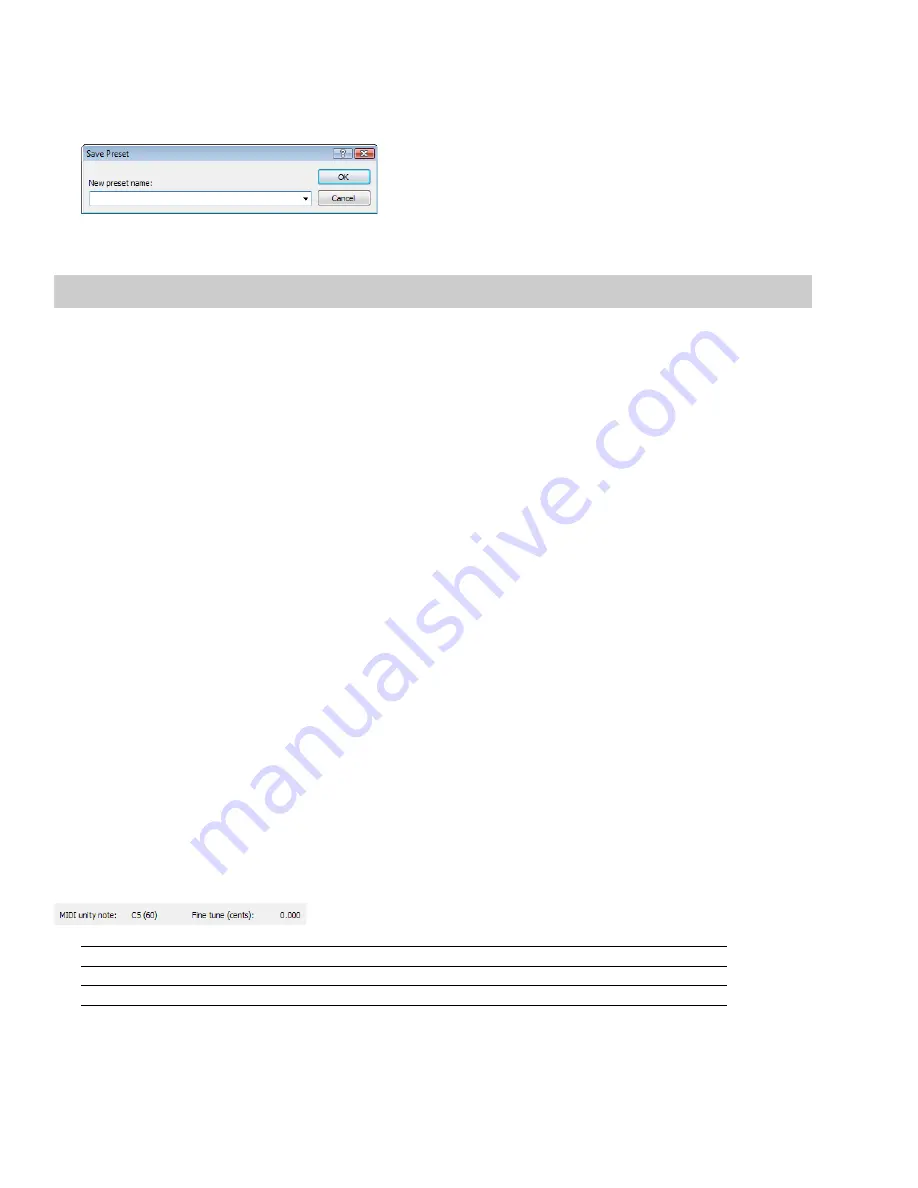
Once you complete a sampler configuration, you can save it as a preset and quickly access it in the future.
1.
From the Sampler Configuration dialog, click
Save As
. The Save Preset dialog appears.
2.
Enter a descriptive name in the
New preset name
box and click
OK
. The new configuration is saved and can now be chosen from
the
Configuration
drop-down list in the Sampler dialog.
Note:
To delete a preset, choose it from the
Preset
drop-down list and click
Delete
.
Sending and receiving samples
Once you have accurately configured the sampler setup, you can send and receive samples using the
Send Sample
and
Get Sample
buttons in the Sampler dialog.
Sending a sample
1.
From the
Tools
menu, choose
Sampler
. The Sampler dialog is displayed.
2.
From the
Configuration
drop-down list, choose the sampler configuration.
3.
Enter the sample number to be sent in the
Logical send/receive sample number
box. The Sampler Tool takes into account the
configuration’s sample bias and displays values for the
Actual send sample number
and
Actual receive sample number
.
Creating a sampler configuration
4.
Click
Send Sample
. Sample transfer starts. A meter in the status bar indicates the progress of the transfer. You can cancel a transfer
at any time by clicking
Cancel
or pressing Esc.
Receiving a sample
1.
From the
Tools
menu, choose
Sampler
. The Sampler dialog appears.
2.
From the
Configuration
drop-down list, choose the sampler configuration.
3.
Enter the sample number to be received in the
Logical send/receive sample number
box. The Sampler Tool takes into account the
configuration’s sample bias and displays values for the
Actual send sample number
and
Actual receive sample number
.
Creating a sampler configuration
4.
Click
Receive Sample.
Sample transfer starts. A meter in the status bar indicates the progress of the transfer. You can cancel a
transfer at any time by clicking
Cancel
or pressing Esc.
MIDI unity note and Fine tune
Once you specify a configuration in the Sampler dialog, the
Sampler
area near the bottom of the dialog displays all relevant sampler
configuration information.
The bottom pane of the dialog contains two additional parameters:
MIDI unity note
and
Fine tune
.
Parameter
Description
MIDI unity note
The
MIDI unity note
value indicates the pitch to which the sample is tuned.
Fine tune
The
Fine tune
value indicates any minor tuning differences (measured in cents) in the sample.
244
|
CHAPTER 15
Summary of Contents for Pro 10
Page 1: ...Pro 10 Sound Forge User Manual ...
Page 2: ......
Page 26: ...20 CHAPTER 1 ...
Page 60: ...54 CHAPTER 2 ...
Page 152: ...146 CHAPTER 8 ...
Page 166: ...160 CHAPTER 9 ...
Page 176: ...170 CHAPTER 10 ...
Page 200: ...194 CHAPTER 11 ...
Page 220: ...214 CHAPTER 12 ...
Page 236: ...230 CHAPTER 13 ...
Page 266: ...260 CHAPTER 16 ...
Page 278: ...272 CHAPTER 17 ...
Page 312: ...306 CHAPTER 20 ...
Page 346: ...340 APPENDIX C ...
Page 366: ...360 APPENDIX E ...


