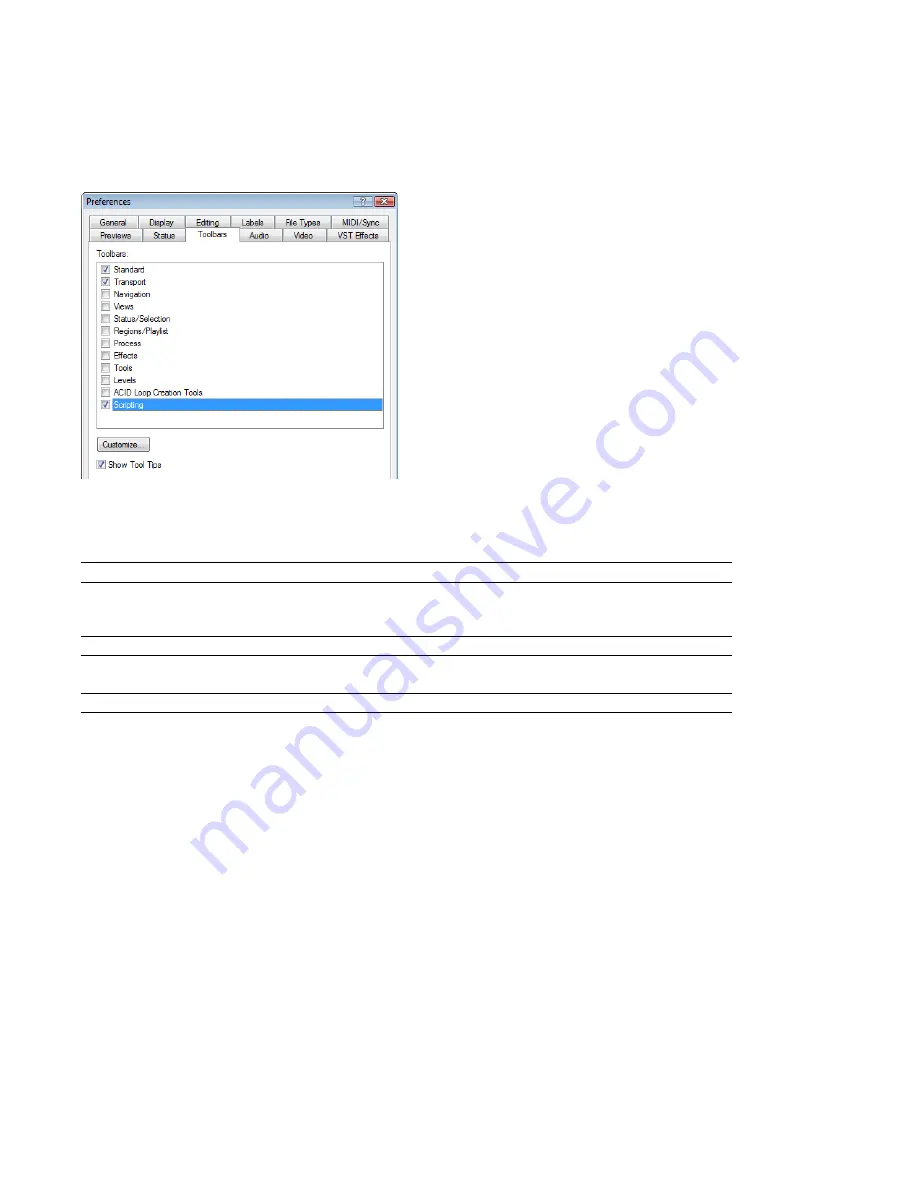
Using the Scripting toolbar
Adding or removing toolbar buttons
1.
From the
View
menu, choose
Toolbars
. The Preferences dialog appears with a list of available toolbars.
2.
Select the
Scripting
check box.
3.
Click
Customize
. The Customize Toolbar dialog appears.
4.
Use the controls in the Customize Toolbar dialog to add, remove, or rearrange the buttons on the selected toolbar. All scripts from
the Script Menu folder are listed in the
Available tools
column.
If you want to
Then
Add a script to the toolbar
Select a script in the
Available tools
column and click the
Add
button.
Note:
The script will appear before the currently selected button.
Remove a script from the toolbar
Select a script in the
Current tools
column and click the
Remove
button.
Rearrange the buttons
Select a script in the
Current tools
column and click the
Move Up
or
Move
Down
button.
Restore the toolbar to its default setting
Click the
Reset
button.
5.
Click the
OK
button.
236
|
CHAPTER 14
Summary of Contents for Pro 10
Page 1: ...Pro 10 Sound Forge User Manual ...
Page 2: ......
Page 26: ...20 CHAPTER 1 ...
Page 60: ...54 CHAPTER 2 ...
Page 152: ...146 CHAPTER 8 ...
Page 166: ...160 CHAPTER 9 ...
Page 176: ...170 CHAPTER 10 ...
Page 200: ...194 CHAPTER 11 ...
Page 220: ...214 CHAPTER 12 ...
Page 236: ...230 CHAPTER 13 ...
Page 266: ...260 CHAPTER 16 ...
Page 278: ...272 CHAPTER 17 ...
Page 312: ...306 CHAPTER 20 ...
Page 346: ...340 APPENDIX C ...
Page 366: ...360 APPENDIX E ...


