15
Preparations
Prep
ar
at
ion
s
5
Repeat step
4
.
All of the indicators will light, and the
mode switching process will begin.
When the process is complete, the unit
turns off.
6
Press and hold the power switch for
about three seconds to turn the unit on.
The selected drive mode is enabled.
Connect the unit to a camcorder or
recorder, and format the HDD.
For more information on formatting, see
“Formatting” (page 18).
If you accidentally changed the
MODE SELECT switch
When all of the indicators are flashing,
leave the unit alone for about 30 seconds
and wait for the unit to turn off. After the
unit turns off, return the MODE SELECT
switch to its original setting.
Selecting the drive
When using the unit’s HDD as three 73 GB
drives, select which of the drives to use (A,
B, or C) using the DRIVE SELECT switch.
1
Press the power switch while holding
down the DRIVE SELECT switch.
The DRIVE SELECT indicator (A, B,
or C) of the currently selected drive
will flash.
2
Press the DRIVE SELECT switch to
select a drive to use.
Each press of the DRIVE SELECT
switch changes the drive selection in
order from A
t
B
t
C
t
A.
If the unit is not operated for five
seconds, the drive selection will be
applied, and the DRIVE SELECT
indicator of the selected drive and the
POWER indicator will remain lit.
Note
The DRIVE SELECT switch cannot
be used when the POWER indicator
is lit. You must select the drive
before the unit is turned on.
Installing on the
Camcorder
Note
When installing this unit onto the
PMW-EX1, be sure to consult your Sony
representative.
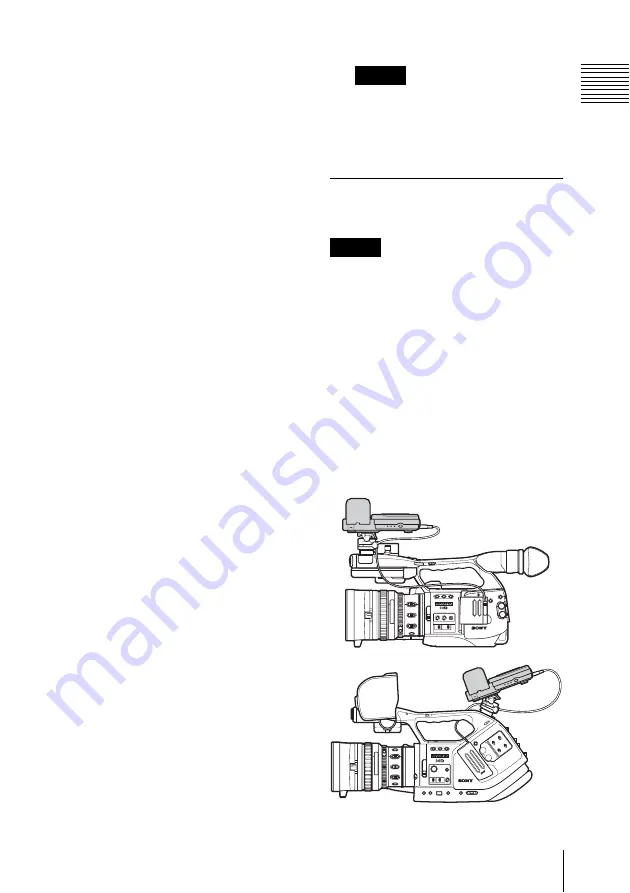
Use the shoe adaptor and PHU connection
cable to install this unit on the camcorder.
Camcorder installation
position
To use this unit, install it on the accessory
shoe of your supported camcorder.
The following illustrations show the typical
mounting positions.


