


15
GB
Assigning the IP Address to the Camera
Bas
ic
In
s
tal
la
tio
n
and
C
onn
ec
tion
s
When the IP address has been assigned to
the camera, check that you can actually
access the camera using the Web browser
installed in your computer.
This section explains how to access the
camera using the Internet Explorer.
For details on the operations using the Web
browser, i.e. for using a Web browser that is
not the Internet Explorer, see the User’s
Guide stored in the supplied CD-ROM.
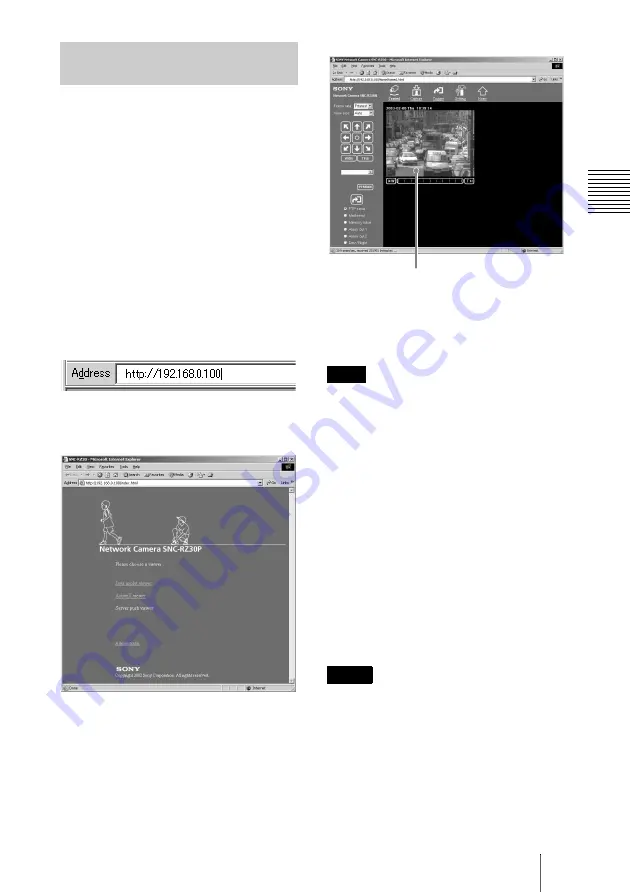
1
Start the Web browser on the
computer and type the IP
address of the camera in the
URL box.
The Welcome page of
Network
Camera SNC-RZ30
is displayed.
2
Click ActiveX viewer.
The Main Viewer page is displayed and
the monitor image from the camera
appears on the screen.
When you display the monitor image
from the camera for the first time, the
Security Warning appears. Click
Yes
and install the ActiveX Control.
Now the IP address assignment is
completed.
Proceed to “Installing the Camera.”
To operate the welcome page correctly, set
the security level of the Internet Explorer to
Medium
or lower, as follows:
1
Select
Tool
from the menu bar of
Internet Explorer, then select
Internet
Options
and
Security
tab in
sequence.
2
Click the
Internet
icon (when using
the camera via the Internet) or
Local
intranet
icon (when using the camera
via a local network).
3
Set the slider to
Medium
or lower. (If
the slider is not displayed, click
Default Level
.)
• When you install ActiveX viewer on
Windows NT4.0, Windows 2000 or
Windows XP, you should have logged in
the computer as the Administrator.
• If you cannot display the image on
Windows NT4.0 or Windows 98, install
MFC42DLL Version Up Tool stored in
the supplied CD-ROM.
• If Automatic configuration is enabled in
the Local Area Network (LAN) Settings
Accessing the Camera Using
the Web Browser
Note
Notes
Monitor image


