104
Adjusting the Camera
4
Use the ZOOM button to zoom in or out.
Press the ZOOM T button to zoom in (to enlarge image), and the ZOOM W
button to zoom out (to obtain wider range of image).
5
Press the
V
,
v
,
B
or
b
button to adjust the camera angle so that the desired
angle of view is obtained.
6
Press the ENTER button.
Normally, the brightness is automatically adjusted to obtain a optimum level.
You can also adjust it manually.
It is recommended that the brightness be adjusted automatically.
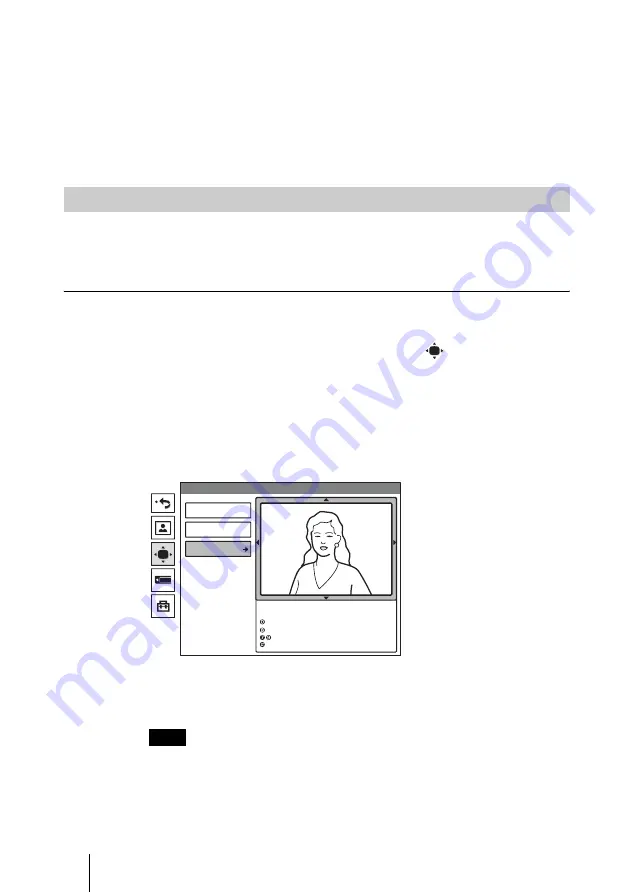
To set the system to camera adjustment mode
1
Press the MENU button on the Remote Commander to display the Setup
menu, then press the
V
or
v
button to select the
(camera) icon.
The Camera menu appears.
2
Use the
V
,
v
,
B
or
b
button to select “Adjustments”, then press the ENTER
button.
The color of the screen frame changes, then you can adjust the zoom and
camera angle.
The guidance for operations will be displayed under the screen.
3
While in communication, press the FAR/NEAR button on the Remote
Commander to select the camera to be adjusted.
When the remote camera is selected, the FAR indicator is displayed.
When the remote camera is selected, only manual focus adjustment is available.
To display the picture to fill the display
To display the picture in full screen while the Camera menu is displayed, select
“Adjustments”, then press the PinP button on the Remote Commander. To
Adjusting the Brightness
Note
Preset Save
Preset Load
Adjustments
Camera
Use the following Remote Commander
buttons to adjust the camera.
: Auto adjustment On.
: Backlight On/Off.
: Brightness.
: Flicker free On/Off.
Summary of Contents for Ipela PCS-TL50
Page 283: ...Sony Corporation ...


