A
d
mini
s
tra
ting
t
he
Came
ra
Setting the User — User Menu
47
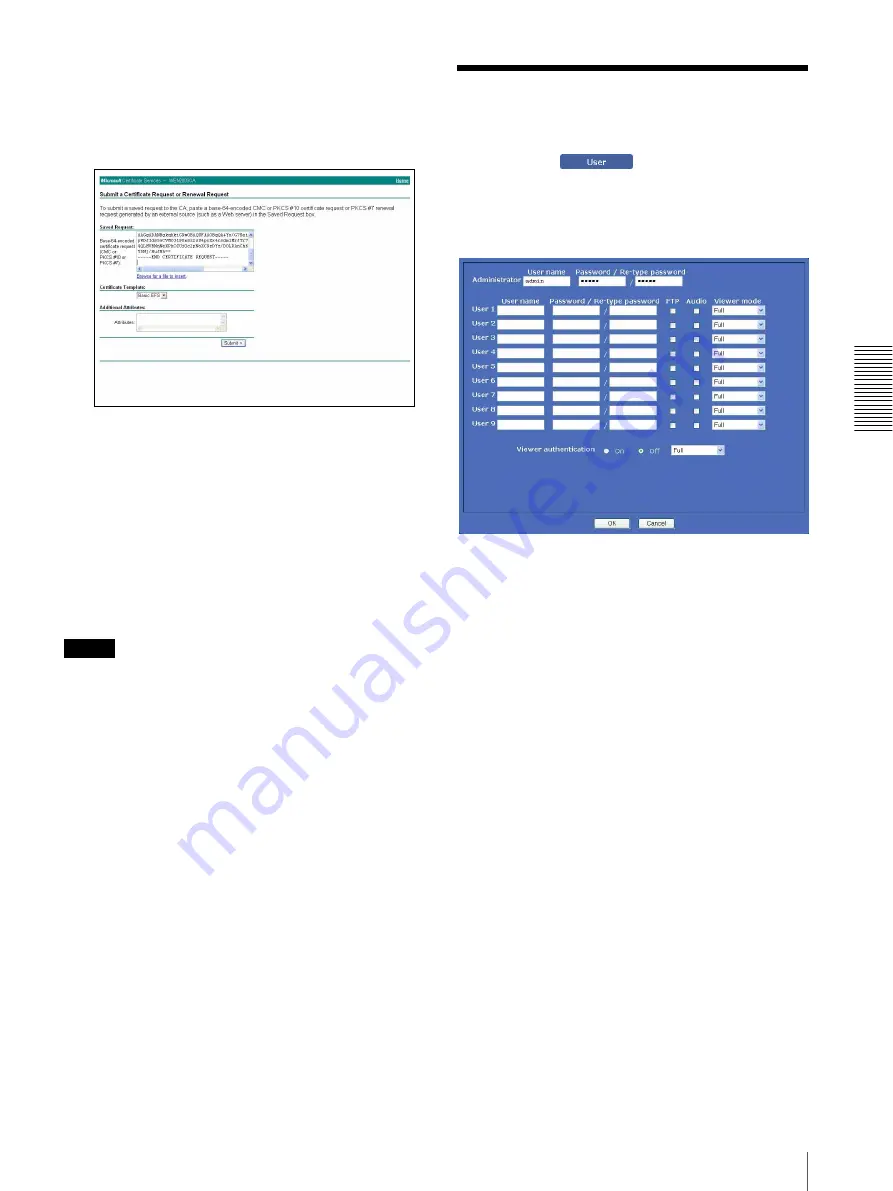
The “Submit a Certificate Request or Renewal
Request” page opens.
5
Paste the contents of the certificate request exported
from the camera in the
Saved Request
text box.
6
Set
Certificate Template
to
User
and click
Submit
.
Message “The certificate you requested was issued
to you.” appears.
7
Select
Base 64 encoded
and click
Download
certificate
.
The certificate is now saved. Import the saved file
to the camera as the camera’s client certificate.
For details, see “To import the client certificate” in
the Client certificate tab on page 42.
Note
The certificate saved in the procedure above has the
same file name as the default file name for saving the CA
certificate (certnew.cer).
Be careful not to overwrite the file on the client PC.
Setting the User
— User Menu
When you click
in the Administrator menu,
the User menu appears.
Use this menu to set the user names and passwords of
Administrator and up to 9 kinds of users (User 1 to User
9), and the access right of each user.
Administrator
Specify
User name
,
Password
and
Re-type password
.
User 1 to 9
Specify
User name
,
Password
,
Re-type password
,
FTP, Audio
and
Viewer mode
for each user ID.
User name
Type a user name between 5 and 16 characters.
Password
Type a password between 5 and 16 characters.
Re-type password
To confirm the password, retype the password that you
typed in the
Password
box.
FTP
Set whether this user is allowed to log in to an FTP
server or not. Check the box if the user is allowed to log
in to an FTP server.
Audio
Select audio output to a speaker connected to the line
output jack of the camera by using the SNC audio
upload tool stored in the supplied CD-ROM. Check this
box to output the audio.


