


NAS-SC500PK.GB.4-114-863-
11
(1)
GB
“GIGA JUKE”
M
usic S
er
ver
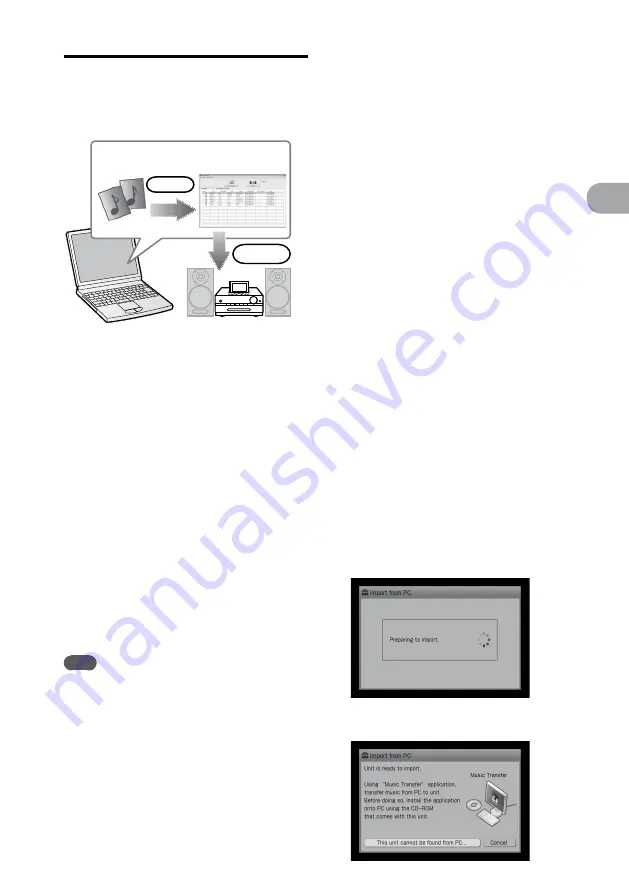
Importing audio files from a
computer
You can use the “Music Transfer” software to
import audio files stored on your computer.
“Music Transfer”
Audio files
Import
Transfer
Do the following to import audio files.
1
Install the “Music Transfer” software
to your computer.
2
Import the audio files on your
computer to the “Music Transfer”
software.
3
Transfer the audio files that you have
imported to the “Music Transfer”
software to the unit.
For details on use of the “Music Transfer” software,
refer to the “Music Transfer” on-line help.
Display “Music Transfer” on-line help as follows.
Click [Start], and then select [All programs]
– [Music Transfer LAN] – [Music Transfer
Help].
Select [Music Transfer Help] from the [Help]
menu of the “Music Transfer” software.
Note
The only audio formats that can be imported are MP3,
OMA*
1
, WMA*
1
, WAV*
1
and AAC*
1
*
2
. However,
depending on the file, an audio file may still be
unimportable even if it is one of these formats.
*
1
Without copyright protection (Digital Rights
Management)
*
2
Files are automatically converted to MP3 format.
To install “Music Transfer” software
to your computer
Confirm before installation
For details on system requirements for this
software, see page 179.
1
Turn on the computer and start up
Windows.
Make sure to log on to the computer using the
computer administrator account.
2
Insert the supplied “Music Transfer”
CD-ROM to the CD drive of the
computer.
The installer starts up automatically and the
installation Wizard appears.
3
Read the notes, and then install
the software according to the
instructions.
Remove the CD-ROM after the installation is
completed.
Preparations for importing audio
files to the unit
When the HOME NETWORK function is
ready for use
If you have already set up a network and have
connected the unit to the Internet, do the
following procedure.
Enter the Settings menu and select
[Import from PC] on the unit.
The unit starts preparing for audio file import.
When preparations have completed, the following
display appears.
Summary of Contents for Giga Juke NAS-SC500PK
Page 44: ...44GB ...
Page 46: ...46GB ...
Page 132: ...132GB ...
Page 151: ...151GB Troubleshooting Troubleshooting Troubleshooting 153 ...
Page 152: ...152GB ...
Page 167: ...167GB Precautions Specifications Precautions Specifications Precautions Specifications 169 ...
Page 168: ...168GB ...