


US
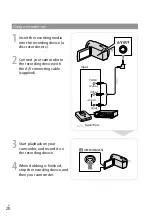
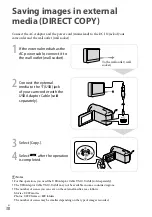
Using “PMB Portable”
“PMB Portable” which allows you to easily
upload images to a network service starts
up by connecting your camcorder to a
computer.
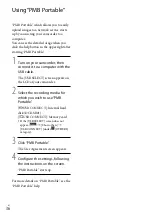
You can see the detailed usage when you
click the help button in the upper right after
starting “PMB Portable.”
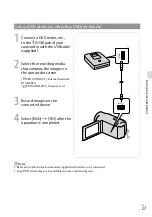
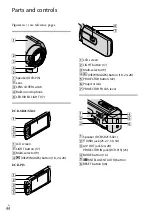
1
Turn on your camcorder, then
connect it to a computer with the
USB cable.
The [USB SELECT] screen appears on
the LCD of your camcorder.
2
Select the recording media for
which you wish to use “PMB
Portable.”
[ USB CONNECT]: Internal hard
disk (DCR-SR21)
[ USB CONNECT]: Memory card
If the [USB SELECT] screen does not
appear,
[Show others]
[USB CONNECT] (under [OTHERS]
category).
3
Click “PMB Portable.”
The User Agreement screen appears.
4
Configure the settings, following
the instructions on the screen.
“PMB Portable” starts up.
For more details on “PMB Portable,” see the
“PMB Portable” help.
Summary of Contents for DCR-PJ5
Page 2: ... US ...
Page 10: ...10 US Everyday as unforgettable moment with Handycam Capturing Page 16 Recording ...
Page 11: ...11 US Sharing Page 25 Creating a disc Sharing now Page 22 Projector DCR PJ5 Only ...
Page 57: ......
Page 60: ... ES Cada día se vive como un momento inolvidable con Handycam Captura Página 10 Grabación ...


