


Playback
52
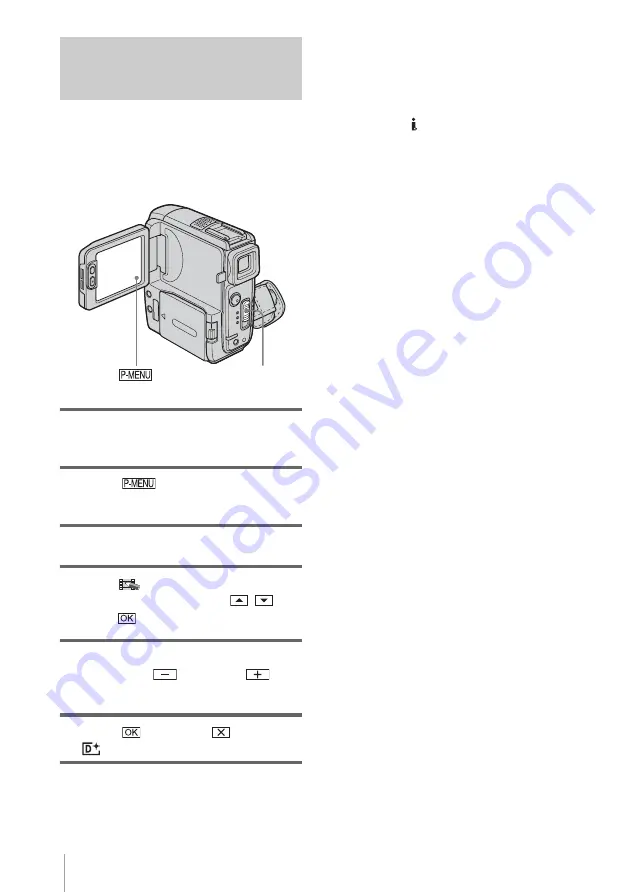
Viewing recordings with added
effects – Digital effect
You can apply [STILL], [FLASH], [LUMI.
KEY], and [TRAIL] effects when viewing
recorded pictures. For details on each effect,
see page 44.
1
Slide the POWER switch repeatedly to
select the PLAY/EDIT mode.
2
Touch
while the picture you
want to add the effect to is displayed.
3
Touch [MENU].
4
Select
(PICT. APPLI.), then
[D.EFFECT] by touching
/
and
touch .
5
Select an effect, then adjust the effect
by touching
(decrease)/
(increase).
6
Touch
twice,
then .
appears.
To cancel Digital effect
Follow steps 2 to 4, then select [OFF] in step 5.
b
Note
• You cannot add effects to externally input pictures.
Also, you cannot output pictures edited with digital
effects via the DV Interface.
z
Tip
• You cannot record the pictures edited using special
effects on the tape in your camcorder, but you can
copy them to a “Memory Stick Duo” (p. 96) or
another tape (p. 94).
POWER switch


