17
Assembly
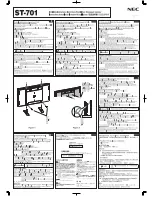
When the tilt unit is removed
First put the front of the cover over the stand, then fit
the back of the cover while bending it outward.
10
Connect the supplied connecting cable to the DC 12V
and LAN (10/100) connectors on the rear panel of the
control unit.
Plug the connector of the DC cable (L-shaped) to the
DC 12V connector.
11
Plug the connecting cable into the DC 12V OUT and
LAN (10/100) connectors on the rear panel of the
monitor.
When connecting the cable into the DC 12V OUT
connector, be sure to plug the connector of the cable
into the DC 12V OUT connector on the monitor in the
right direction.
Tilting the monitor
Loosen the tilting screw located inside the cover of the
right stand and that of the left stand, and then tilt the
monitor by holding the top of the monitor and the bottom
of the monitor or control unit. Be sure to secure the tilting
screws after tilting.
Note
Lower cover
Screw A
Note
Plug the
connector in the
right direction.
DC 12V OUT
connector
LAN (10/100)
connector
Tilting screw


