77
Recording Outputs from the Unit to the Internal Storage
A
d
v
anc
ed
O
pera
tio
ns
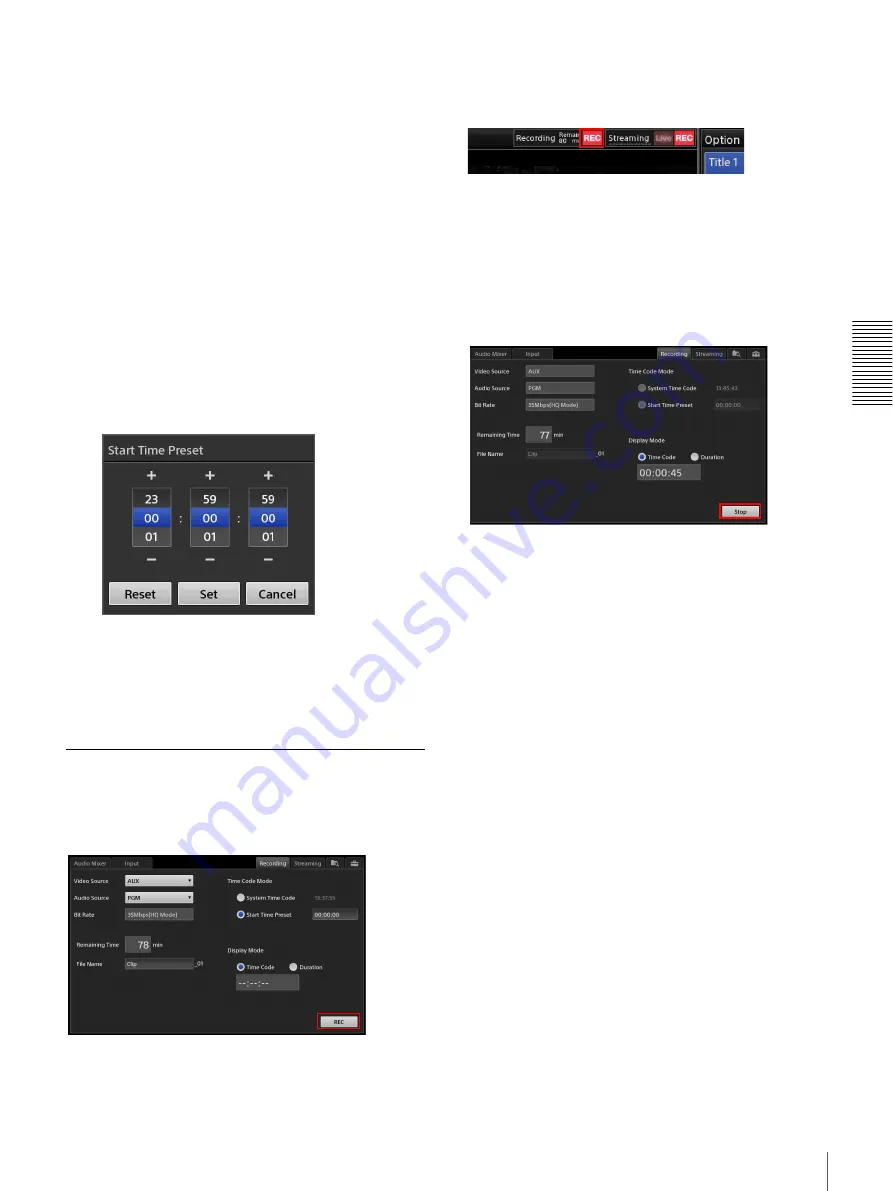
[Audio Source]:
Select [PGM] or [MIX] as the audio you
want to record.
[Bit Rate]:
This is fixed at 35 Mbps (HQ Mode).
[Remaining Time]:
Displays the remaining recording
time in minutes.
When the remaining time reaches 10 minutes, the time
is displayed in red.
[File Name]:
Enter the name of the file to be recorded
using up to 20 alphanumeric characters.
You cannot overwrite files using the same name.
[Time Code Mode]:
Select the timecode to use to start
recording.
•
[System Time Code]:
Select this to use the time
specified in the [System Setup] menu > [Date/
Time].
•
[Start Time Preset]:
Select this to start recording
from a specific timecode. When [Start Time Preset]
is selected, tap the timecode display field, and
specify the timecode in the [Start Time Preset]
dialog box.
[Display Mode]:
Select whether to display the timecode
or the recording time in the time display when
recording is in progress.
Select [Time Code] to display the timecode, or select
[Duration] to display the recording time.
Starting and Stopping Recording
Starting recording
Tap [REC] in the [Recording] screen.
Recording starts.
When recording starts, [REC] changes to [Stop], and the
[REC] status displayed at the top of the main screen lights
red.
Recording will stop automatically in the following cases.
• When the remaining recording time reaches 0 minutes.
• When the recording time of a single file reaches 6
hours.
Stopping recording
Tap [Stop].
A confirmation message appears. When you tap [Yes],
recording stops and the [REC] status turns off.
[Stop] changes to [REC], and the [REC] status displayed
at the top of the main screen turns off.
Summary of Contents for AWS-750
Page 121: ......


