14
Chapter 2: Getting Started
G
e
tting St
ar
ted
Touch Screen
The touch screen is not active during live imaging.
It can be used to select and adjust menu items
on frozen images, in Patient Information, in Image Review, and in System Set-up.
Tap the display gently with the stylus or a finger to select or adjust menu items. When performing
a measurement, it is recommended that the stylus be used rather than a finger for easier caliper
placement. Use the directional controller for precise caliper movements.
The following convention is used in the User Guide to describe the touch screen action:
Note: If the touch screen alignment is off, calibrate the touch screen. See
“To calibrate the touch screen:”
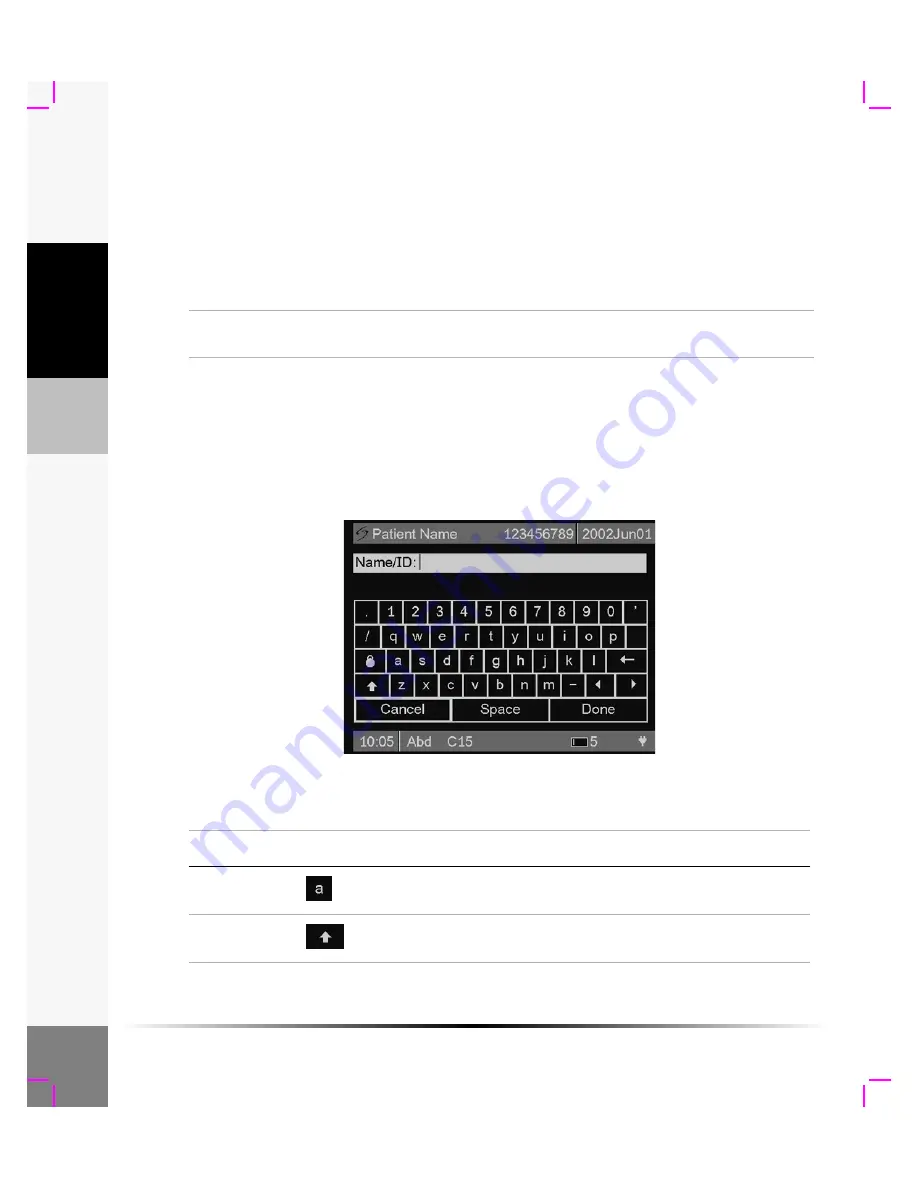
On-Screen Keyboard
The on-screen keyboard is used for alphanumeric data entry. It is available for entering Patient
Information and the System Date/Time. Alphanumeric data can be entered using the directional
controller and/or the touch screen.
Figure 4 On-screen Keyboard
Tap
Touch the desired menu item or location on the screen using the stylus or your
finger.
Table 3: On-screen Keyboard
Key
Icon
Description
Alphanumeric
Select or tap any alphanumeric key. Use numeric keys when
entering date/time.
Shift
Select or tap the shift key to capitalize the first letter of a name.
The keyboard reverts to lower case after entering the first letter.
Summary of Contents for iLook
Page 1: ...iLook USER GUIDE...
Page 2: ......
Page 3: ...iLook USER GUIDE...
Page 8: ...vi...
Page 28: ...20 Chapter 2 Getting Started Getting Started...
Page 40: ...32 Chapter 3 The Exam Exam...
Page 64: ...56 Chapter 5 Safety Safety...
Page 88: ...80 Chapter 8 References References...
Page 94: ...86 Chapter 9 Glossary Glossary...
Page 100: ...92 Index Index...
Page 101: ......
Page 102: ...P02651 04...


